Shed
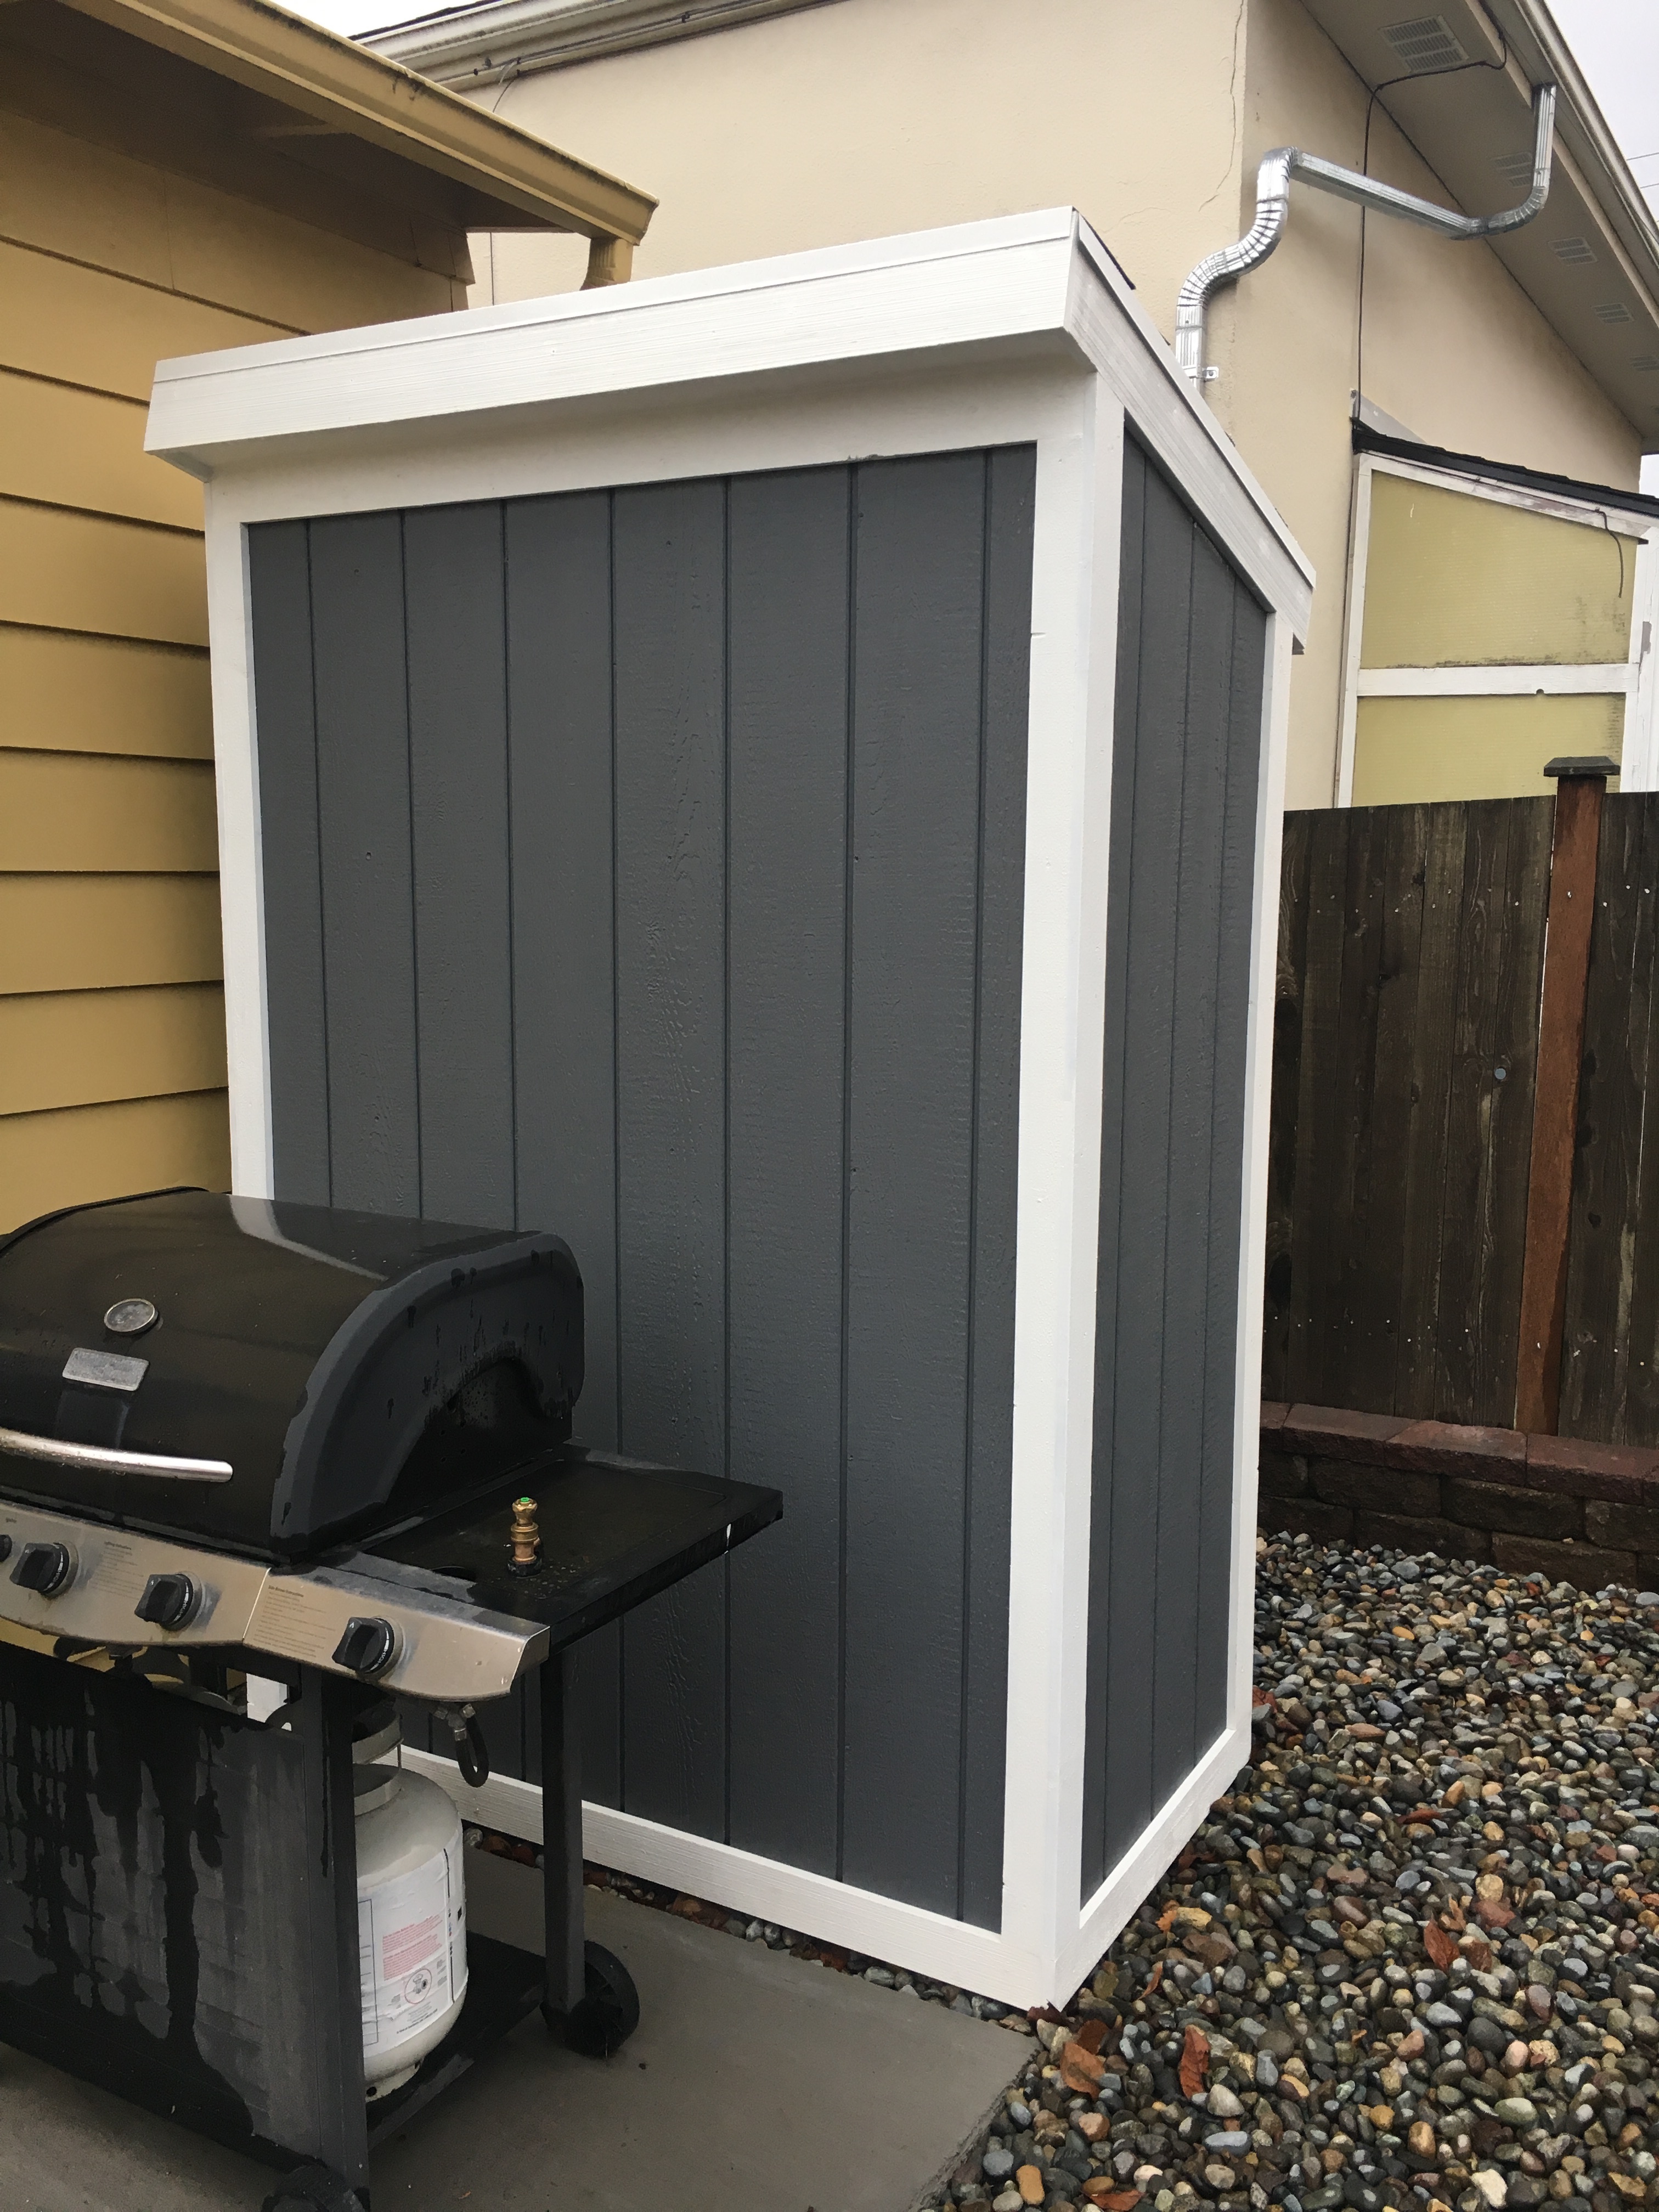
While my dad was helping me pour the concrete for my patio, he suggested that I build a shed. It hadn’t occurred to me, but I had been looking for a way to finish up that end of the yard. This would work well to frame the barbecue as well as to make the yard feel more closed in an cozy, and provide some storage for yard care tools as well.
I made my plans informed by a lot of different articles, designs, and pictures, but this is the article I referenced most closely.
When building out the yard, I cast four concrete pillars 20” down with brackets to accept the floor of the shed. When casting them, I screwed the brackets to some scrap 2x4s so I could make sure they were perfectly square and level. Once cured, I finished the rest of the yard before coming back to the shed.
The floor is made of 2x6 boards, topped with 3/4” plywood. The framing is all pretty conventional as well, though I went with 12” spacing on the walls since that’s what worked out best, and because I wanted to keep the small structure very strong. I used screws for the whole thing because I didn’t have a nail gun and I thought this would hold better, but I didn’t anticipate how much longer it would take over nails.
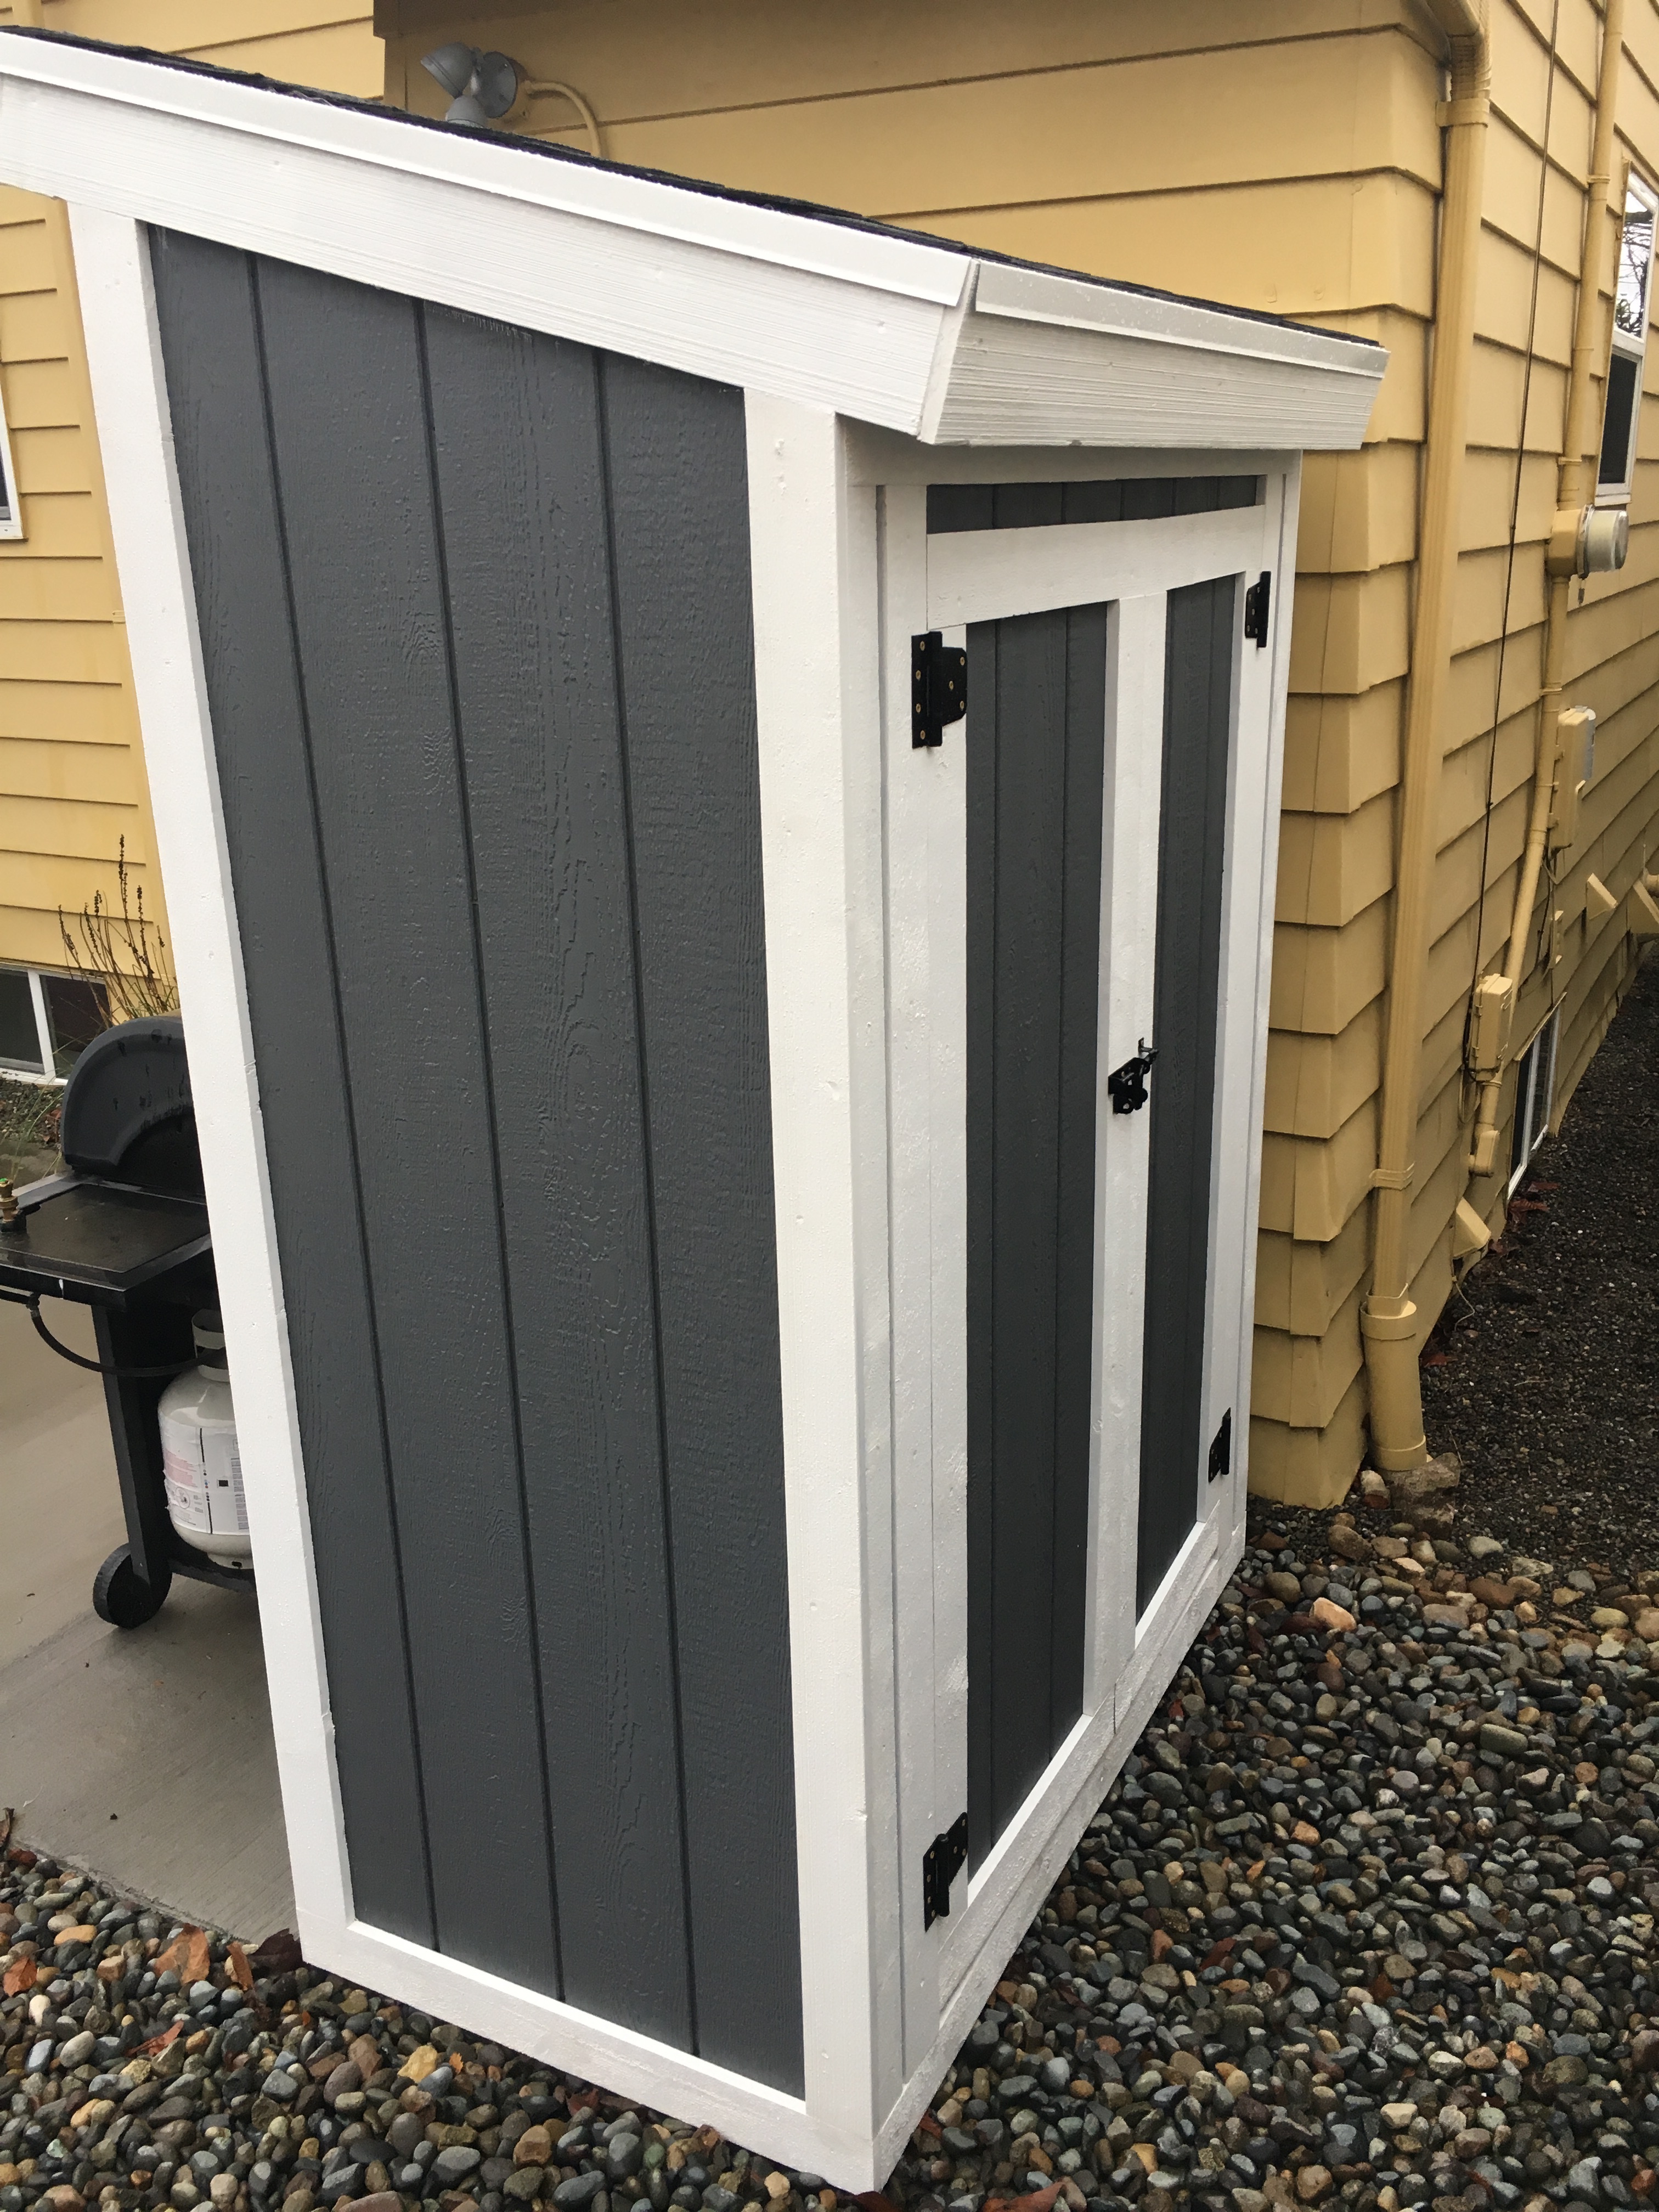
The roof is a single-slant and the boards are secured with hurricane ties. I cut small bird mouths out of the boards so they’d rest flat on the headers of the walls before screwing them down. I did forget to cut them at an angle, so the fascia looks a little bit weird.
My daughter helped me pre-paint the sheathing (mostly she painted the grooves and I painted the face), and she was very much a net help and only got a little paint in her hair. After two coats of paint had dried I was able to cut the sheathing to size and put it in place. At the same time I could cut some plywood for the roof, which was a very welcome development as it meant I could keep the tools outside rather than lugging them in and out every day.
I set about pre-painting the trim and while it dried I worked on building out the doors and getting them mounted. I also put up some felt on the roof so as to provide at least a little bit better rain protection. About a week after that I was able to get the shingles up in an afternoon break in the rain. It was my first time doing shingles and by far the most time-consuming part of it was just the cutting. If I had to do much more roofing, I’d take a few minutes to set up a better cutting station.
The most difficult part of this project was just finding enough days without rain to get all the painting done. Still, I was able to caulk the thing to fill in all the little gaps and get it painted eventually.
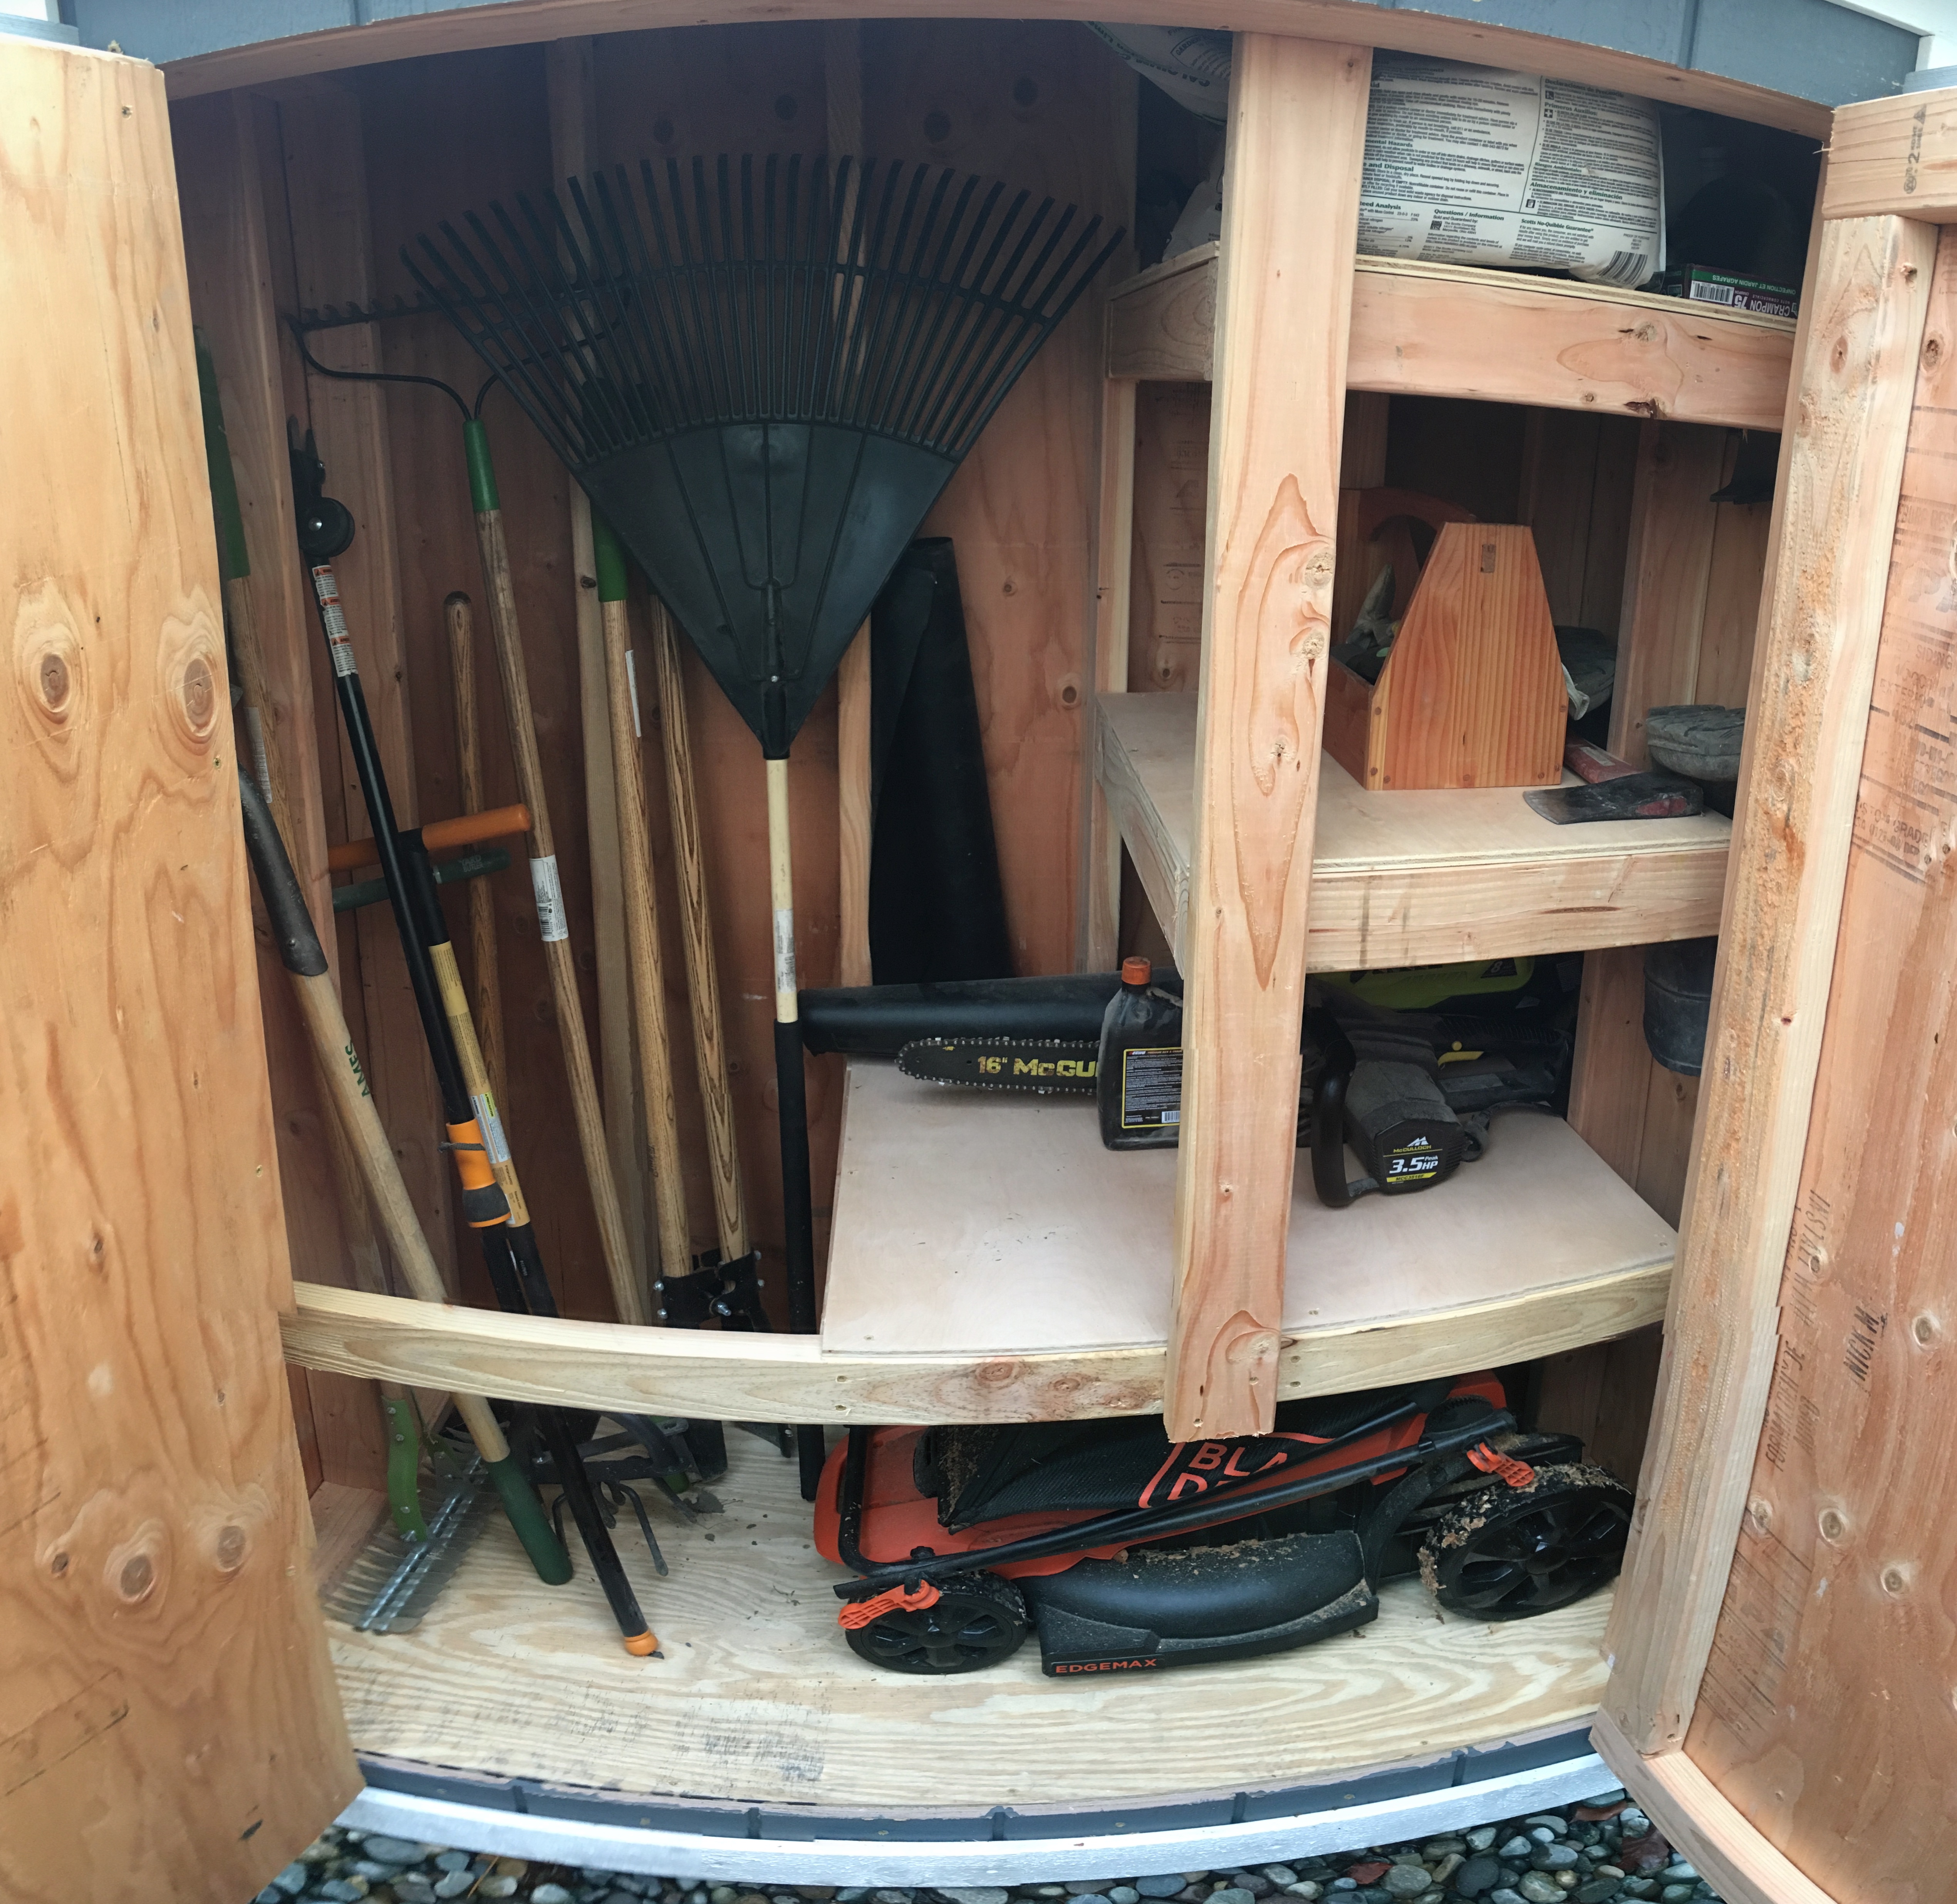
On the inside, I installed a set of shelves to hold various tools. The lowest is set high enough to accommodate a lawn mower, and despite only being about 10 square feet, it’s surprisingly capacious.