New Fence
I’m doing some landscaping in my back yard that will make access difficult to a fence that I share with a neighbor. We’d both thought of replacing it, and this work served as the catalyst. This was the first fence I was building myself, so I was a little uncertain how it would go.
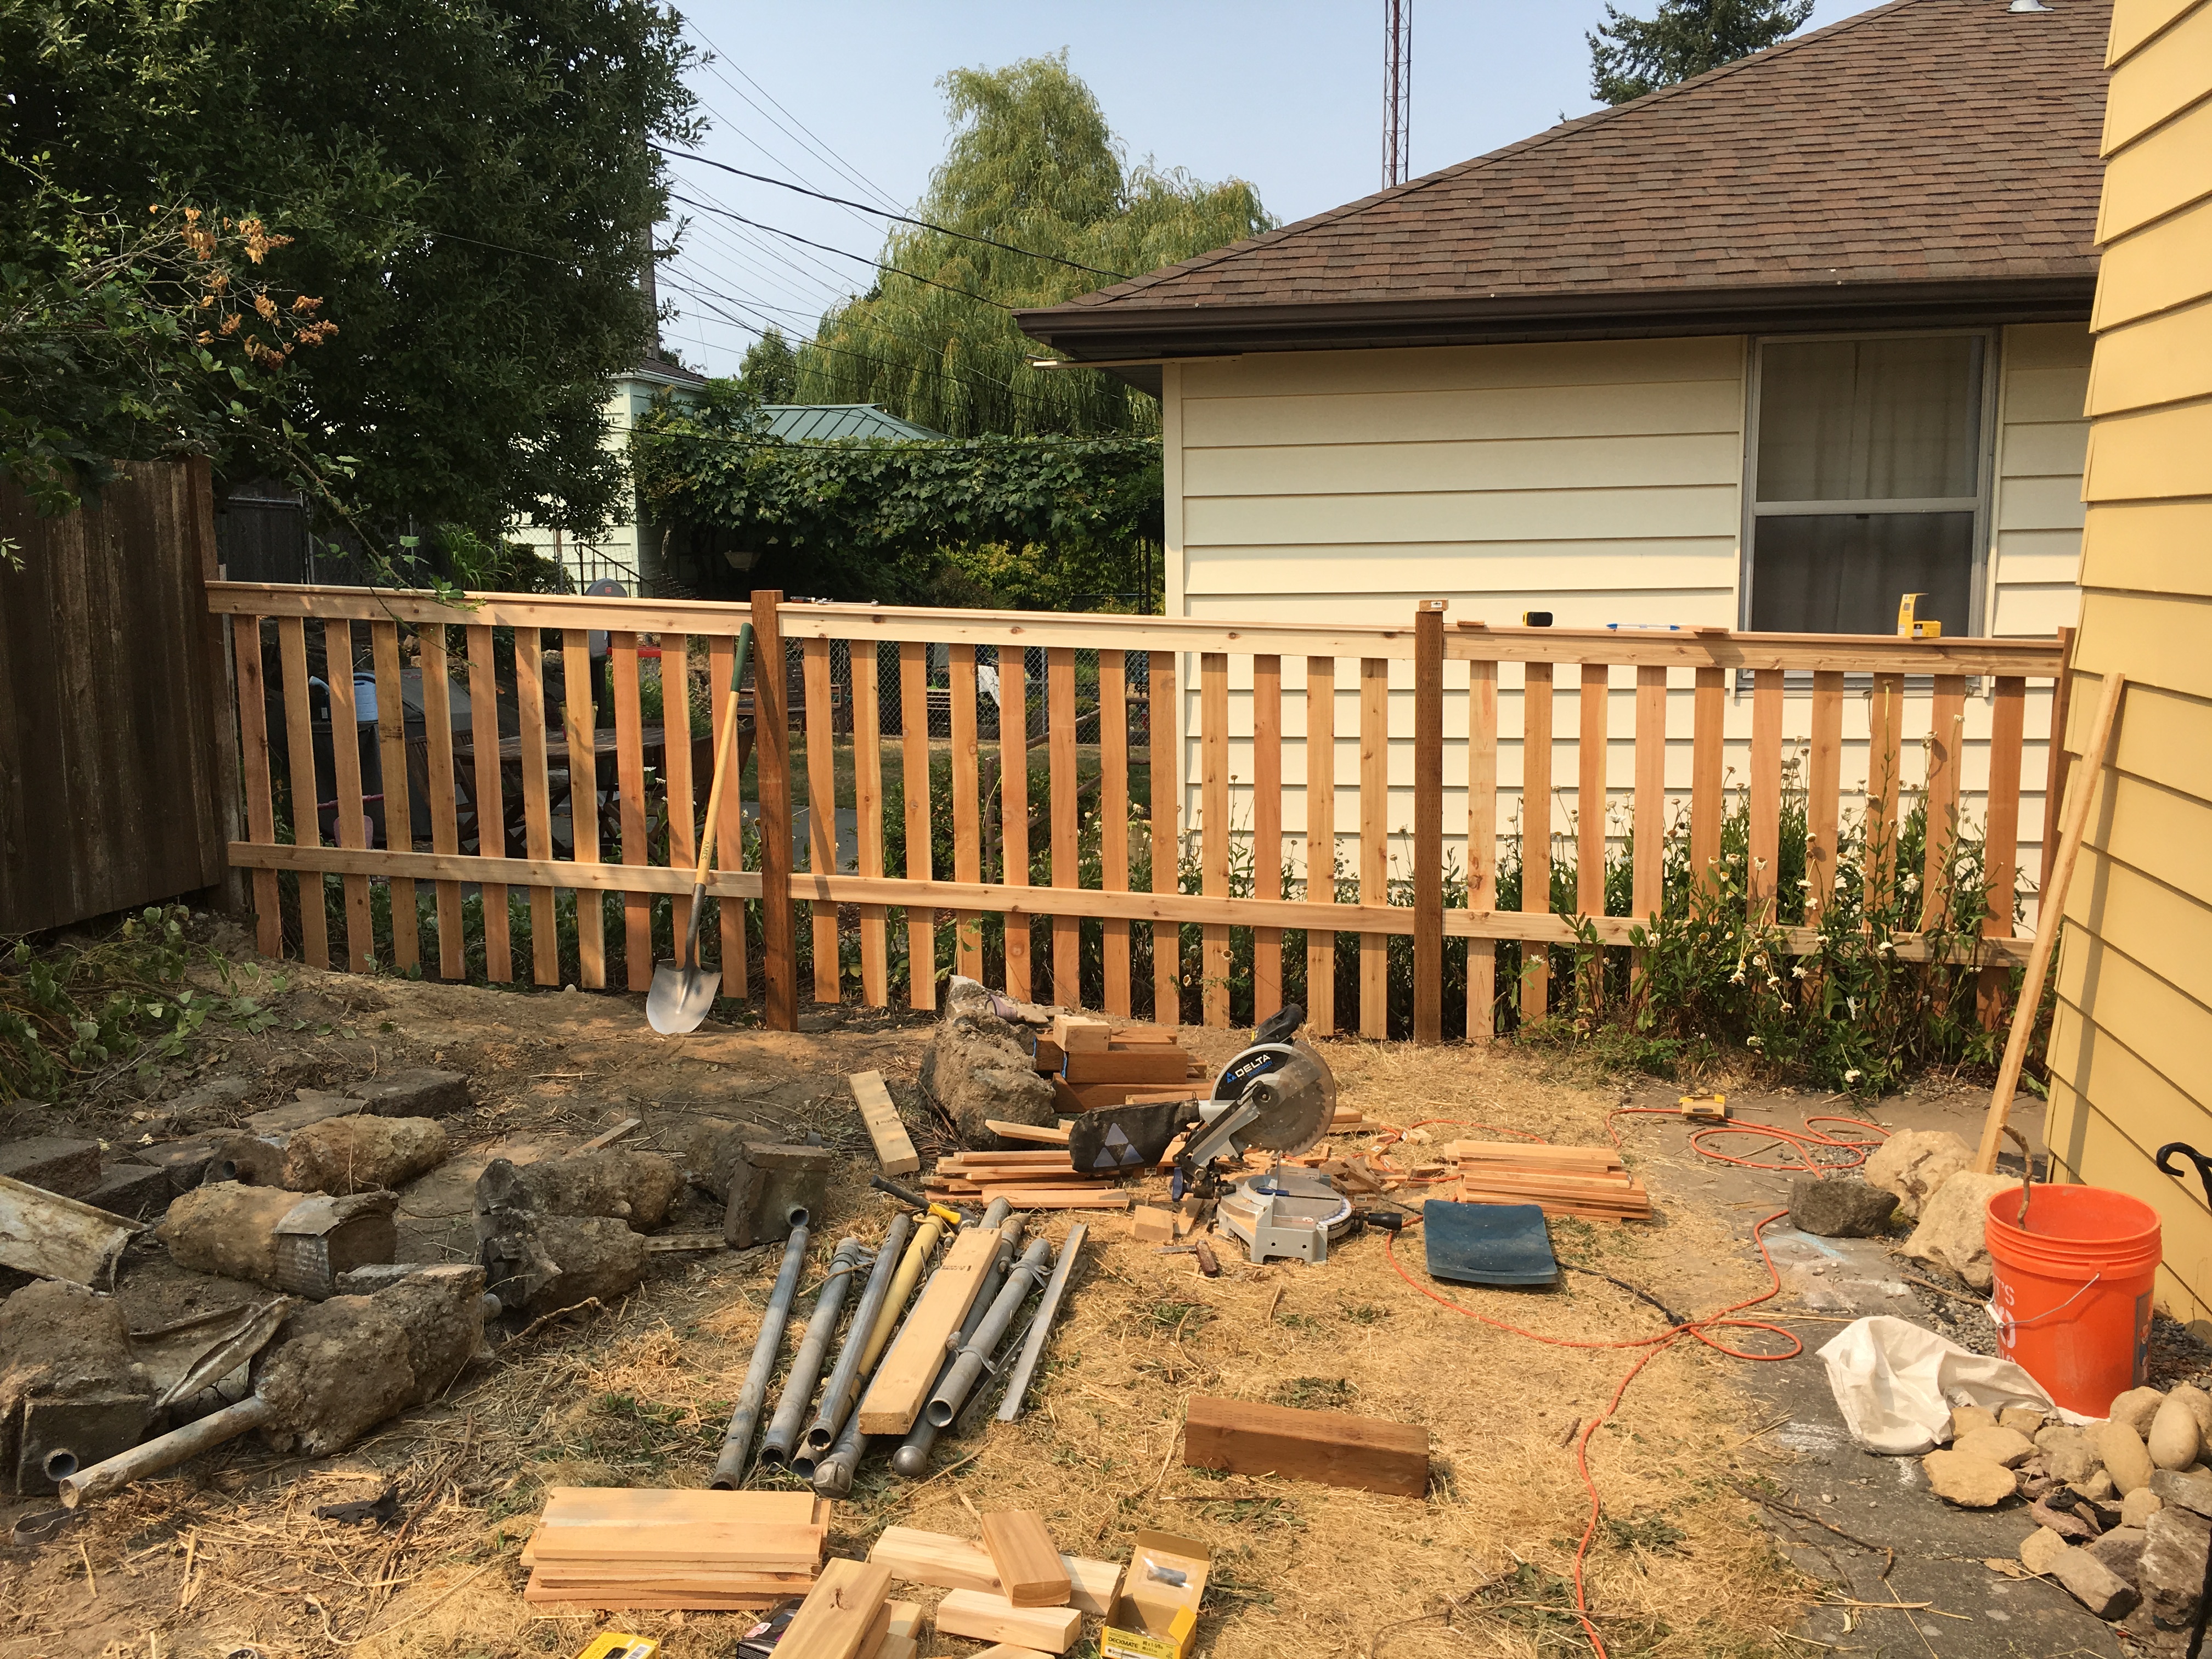
All the material was cedar, except for the posts, which were pressure-treated 4x4’s.
Their kids and my daughter enjoy seeing each other through the existing chain-link fence, being able to say hello, and going over to each others’ house to play. As such, we chose a design that kept that possible. I also figured that the kids would climb on the fence to see each other (spoiler: they do), so I wanted to have a rail on the top of the fence to keep from having to constantly get splinters out of kids’ hands.
Jonathan was visiting while I wanted to break ground, and so he helped me take down the chain link as well as lift out the old poles. To do this, we put down a couple of landscaping blocks near the post, stuck a bolt through the post and used a couple of 2x4s as levers to pull them straight out of the ground. While this approach did work for some of them, a couple others required a more forceful touch. Two came out with just us pulling on them.
One was put in cast at the same time as the sidewalk on my property nearest my neighbors. Fortunately, however, we were able to work a chisel into an existing crack that was forming between the post’s cement block and the sidewalk and it split more or less right at the sidewalk’s edge.
The plan was to put the new posts in the old poles’ spots, thinking that would cut down on the digging. However, the fallout from pulling out these holes meant that they were now way wider than needed, and usually not deep enough. Rather than waste concrete, I bought a 10” cardboard concrete tube form and used it to shape the holes. I placed it where the post was going to go, filled in dirt on all sides, tamping down as I went. I put a threaded rod through both sides of the tube near the top to act as handled for me to then pull it free. It didn’t work perfectly, but it did work extremely well – it left a very nice cylindrical hole so long as I was diligent about tamping down the soil as I filled it in.
I placed two posts first, designating the anchor points for defining the direction of the fence. The third anchor point was an existing fence post. Once the concrete had set, I could run a string between each of the anchors posts to then set the remaining posts.
Once set, I determined the heights I wanted each post, again with the help of a line. After marking the posts, I used a speed square clamped to the post to rest a circular saw on to cut first one side. I then moved the speed square / clamp setup to the opposite side to finish the cut.
To put the beams between the posts, would set a board across two posts to measure the angle between the cross supports and the post. Since the fence is moving uphill, it was a couple degrees off from 90.
I put the top supports in first so that they’d be a consistent height from the top of the posts. To help me do this, I screwed together a few pieces of 2x4 to act as a guide to space them all perfectly relative to the top of the post. These cross supports all got screwed in with 2 3” screws, toe-nailed in from the top and bottom in predrilled and countersunk holes.
With all the top supports in place, I could put the bottom supports in, again using a (new) spacer to make them the same distance down from the top supports. Through this whole process I took care to make sure these supports were cut at proper angle to make sure they looked flat and flush with the posts.
Next up was the top rail, which was just some 1x4 material with rounded edges. I chose to put this in first so that all the pickets would have a surface to reference off of when installing them.
Finally, the pickets. I chose 4” pickets so that I could leave a gap next to the
posts, and have a nice, consistent look across the whole thing – all the
vertical pieces have the same width. To determine how many pickets each section
needed, you take the distance between the posts, divide by the picket width,
subtract 1, and then divide that result by 2. That’s because the pattern goes
(space + picket) n times, and then one final space is left before the post.
Ideally, you end up with an n that is near an integer. If it’s a little over
an integer, you add a little extra space between the pickets. If it’s a little
under an integer, you put the pickets slightly closer together.
With the number of pickets in a section determined, I cut all the pickets to length, again minding the angle of the post relative to the cross-supports (the tops and bottoms of the pickets should be cut at this angle to make a parallelogram). I had a template picket that had the locations for the screws drilled out already so that I could use that to pre-drill the holes in all the other pickets uniformly.
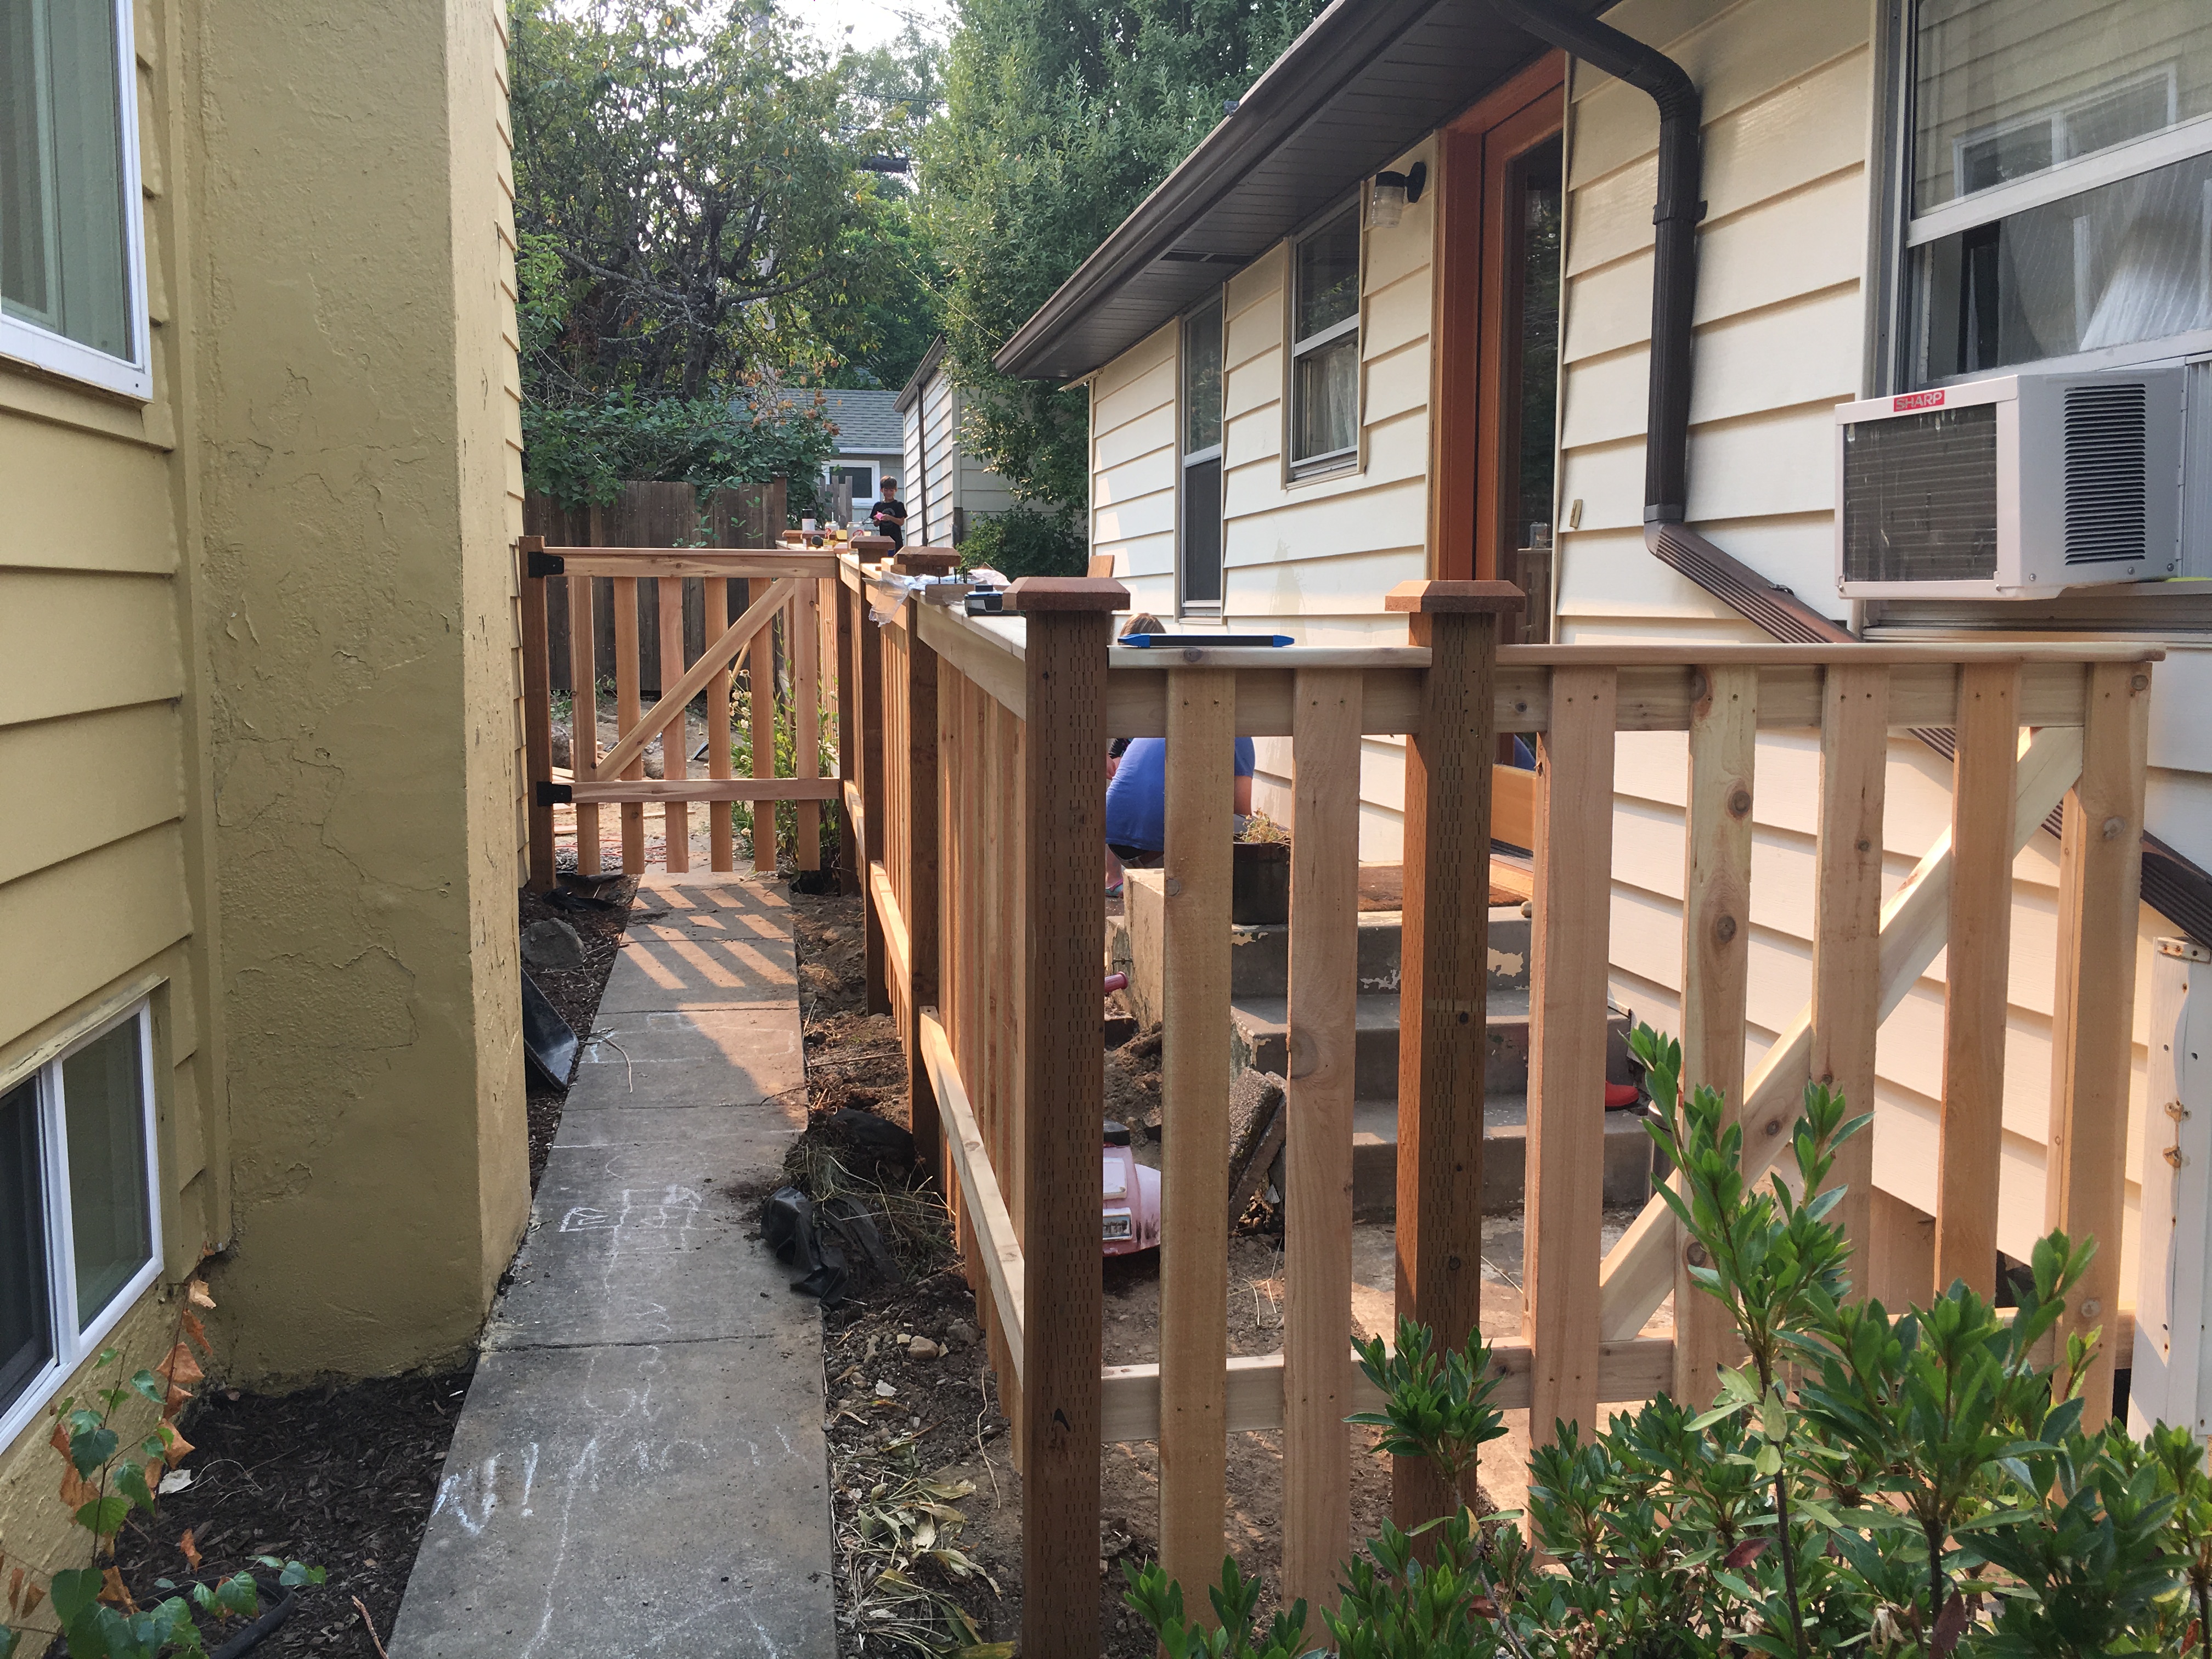
With all the pickets installed, I then focused on the gates. I took extra care when setting these posts to make sure that they were parallel. I measured the top and bottom cross-supports and cut them to length (and because the posts were parallel, they were the same length). I then cut uprights that were the same length as the spacing between the top and bottom supports, and screwed all of these together. The uprights are inset by the width of a picket so as to keep the appearance of always having a space next to a post.
With this quadrilateral screwed together, I then measured two adjacent sides, computed the corner-to-corner distance needed to ensure it was square, and then cut the diagonal support. Take care with this step – the bottom of the diagonal support must go on the hinge side to prevent sagging. With this assembled, I took it to where the gate would be and test fit it.
I wanted all the pickets set back from the plane of the fence, so I had to add a spacer under the hinge where it attached to the gate. This meant that the included screws were too short, so I had to substitute longer screws. I spray-painted them black so as to not draw any unnecessary attention to this minor difference. I put the pickets on the gates with the first pickets on either side covering up the upright supports.
The last thing to go on was the caps on top of each of the posts.
It was a lot more work than I thought it would be, but I definitely learned a lot by doing it. This was the first time I mixed concrete by myself, put up a fence by myself, made gates by myself, but I found it to not really be any different from conventional woodworking. Well, except maybe a little less precise.