Fused Glass
I don’t remember how or where I found about them, but there are these really cool kilns that make it possible to do fused glass projects in the microwave. My daughter loves bracelets and necklaces, and I thought this would be a neat way to get her engaged with making things.
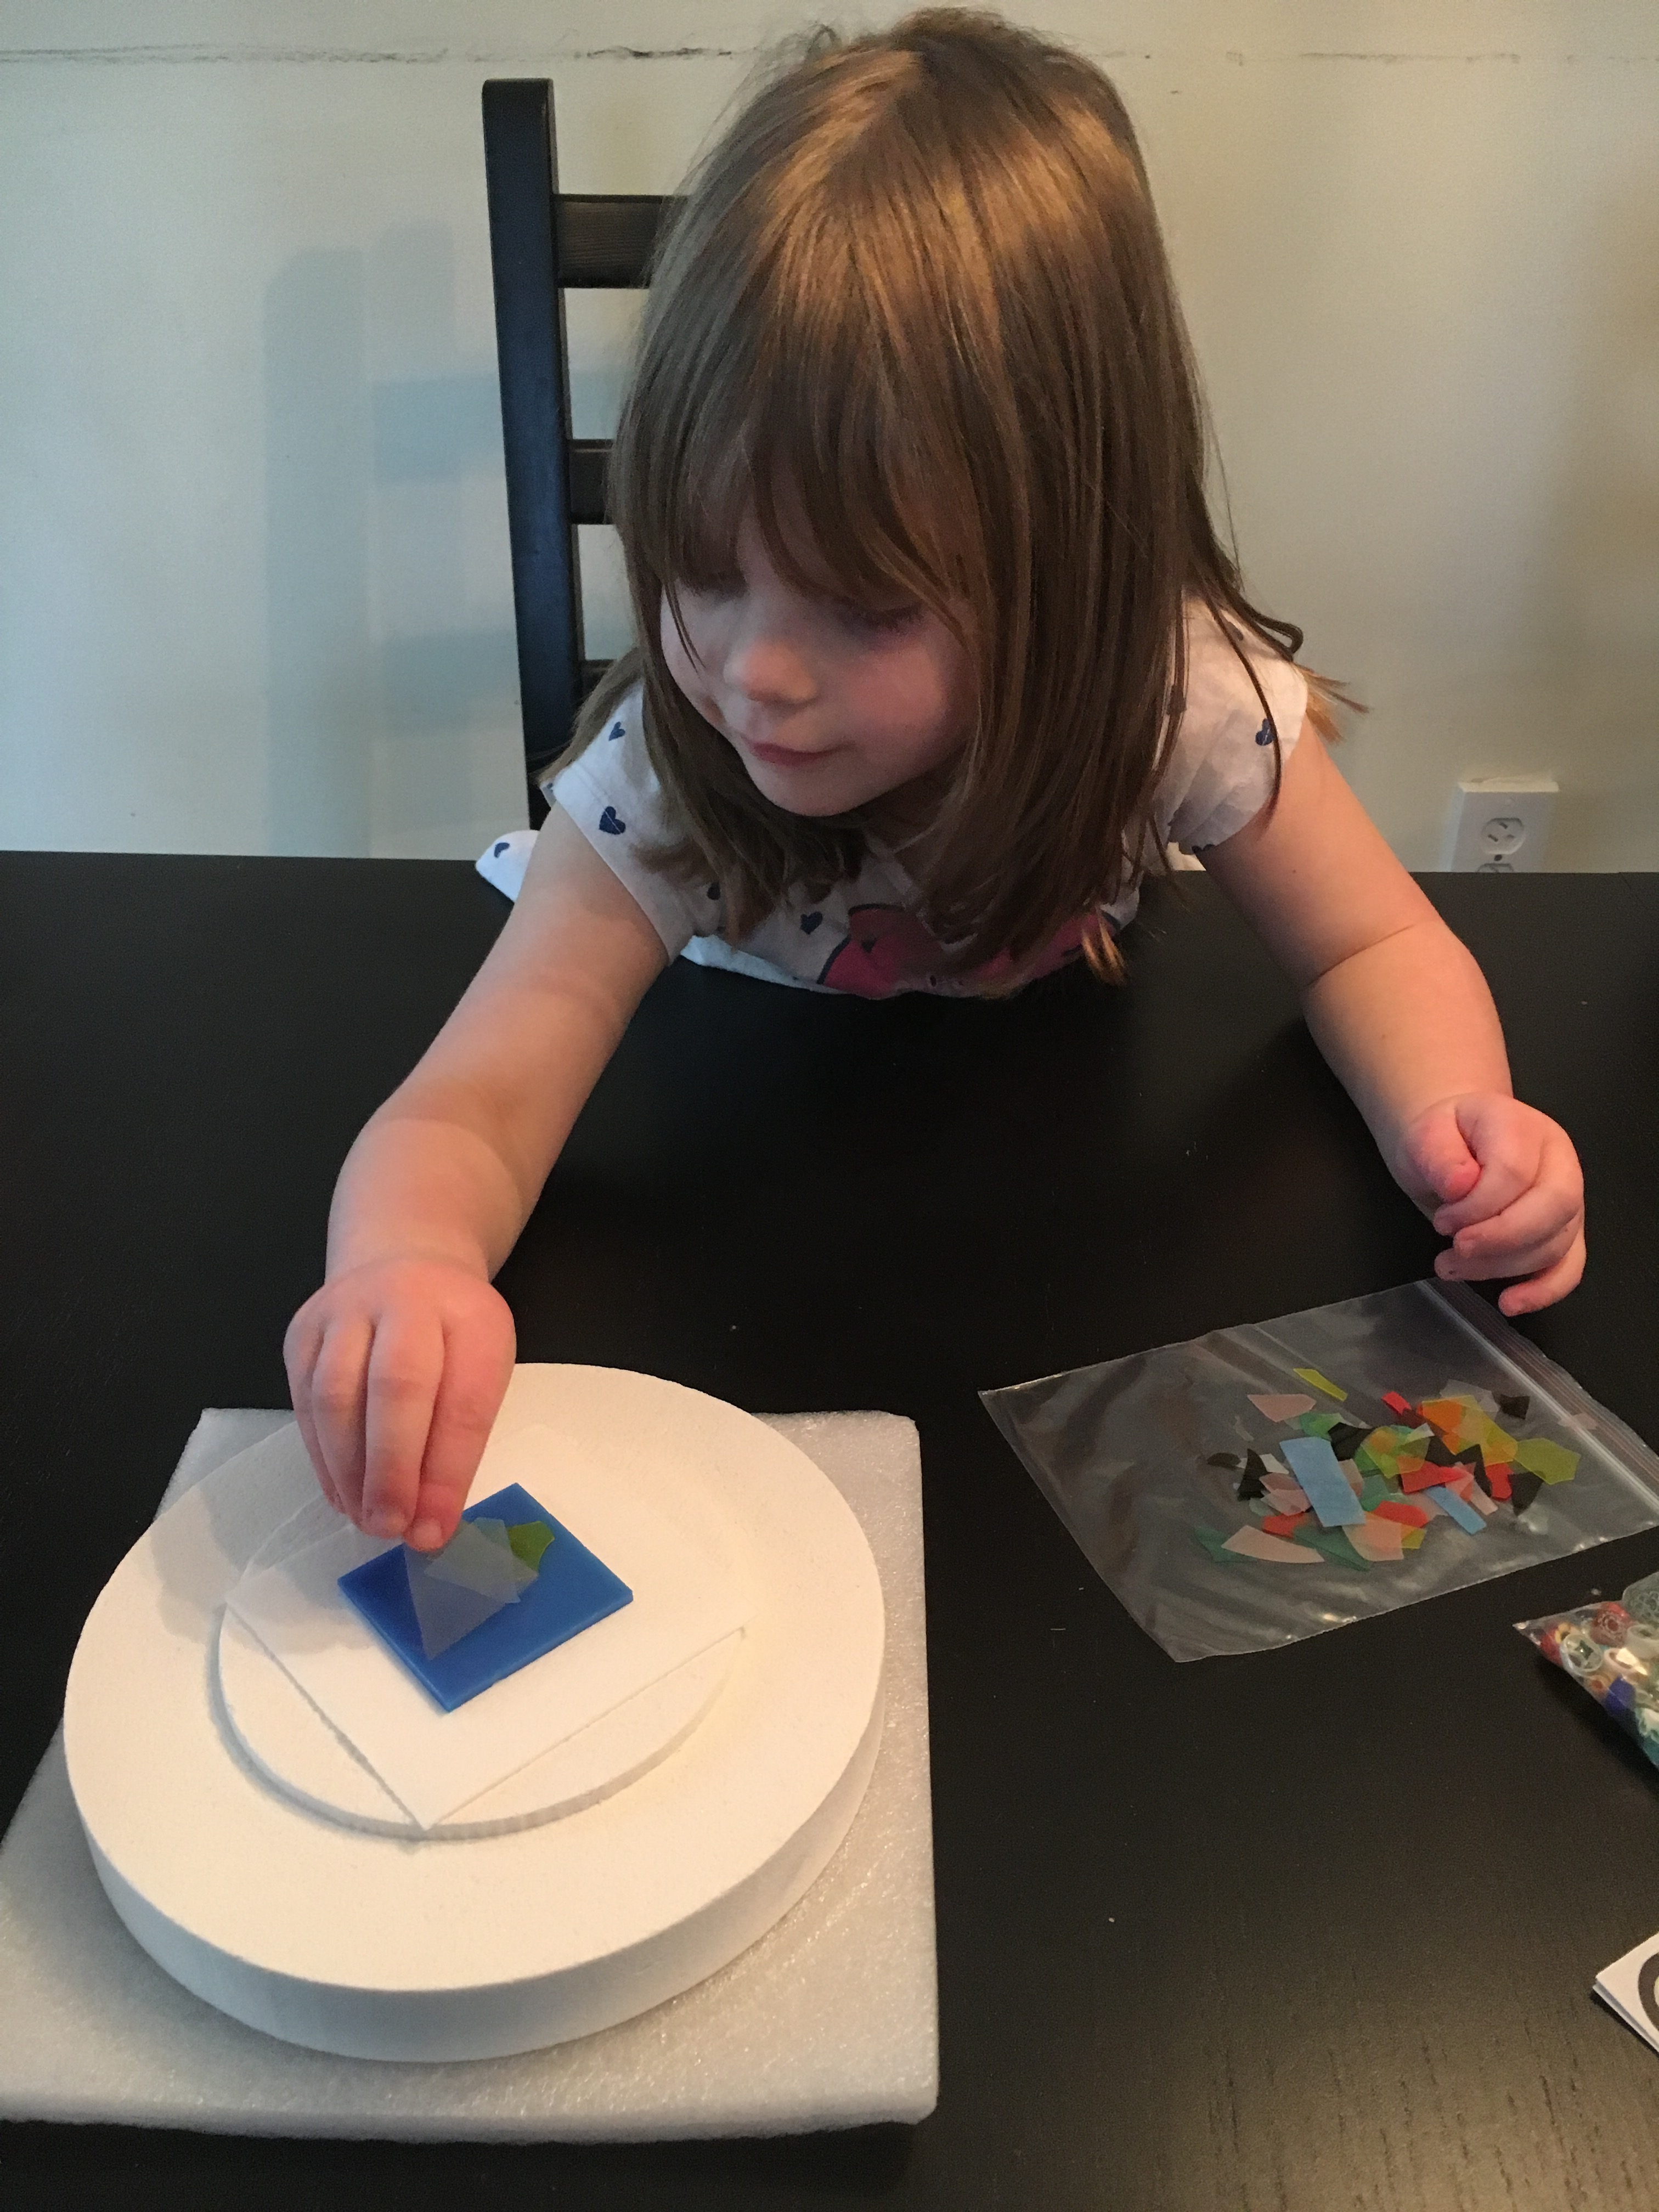
With the kit we got, she was able to help me stack a few pieces of glass to make a design, at which point I can deal with all the dangerous stuff involving the molten glass. In reality, it wasn’t particularly dangerous – using an infrared thermometer, I found that even when the glass was so hot as to incandesce, the outside of the kiln was only about 150 degrees Fahrenheit.
For most fused glass projects, we allow them to cool for a full hour to normalize well and hopefully not have too much stress in the finished product. We’ve not experimented yet with tempering cycles. For our first project, however, we couldn’t resist taking off the lid briefly to get a picture of the glowing-hot glass.
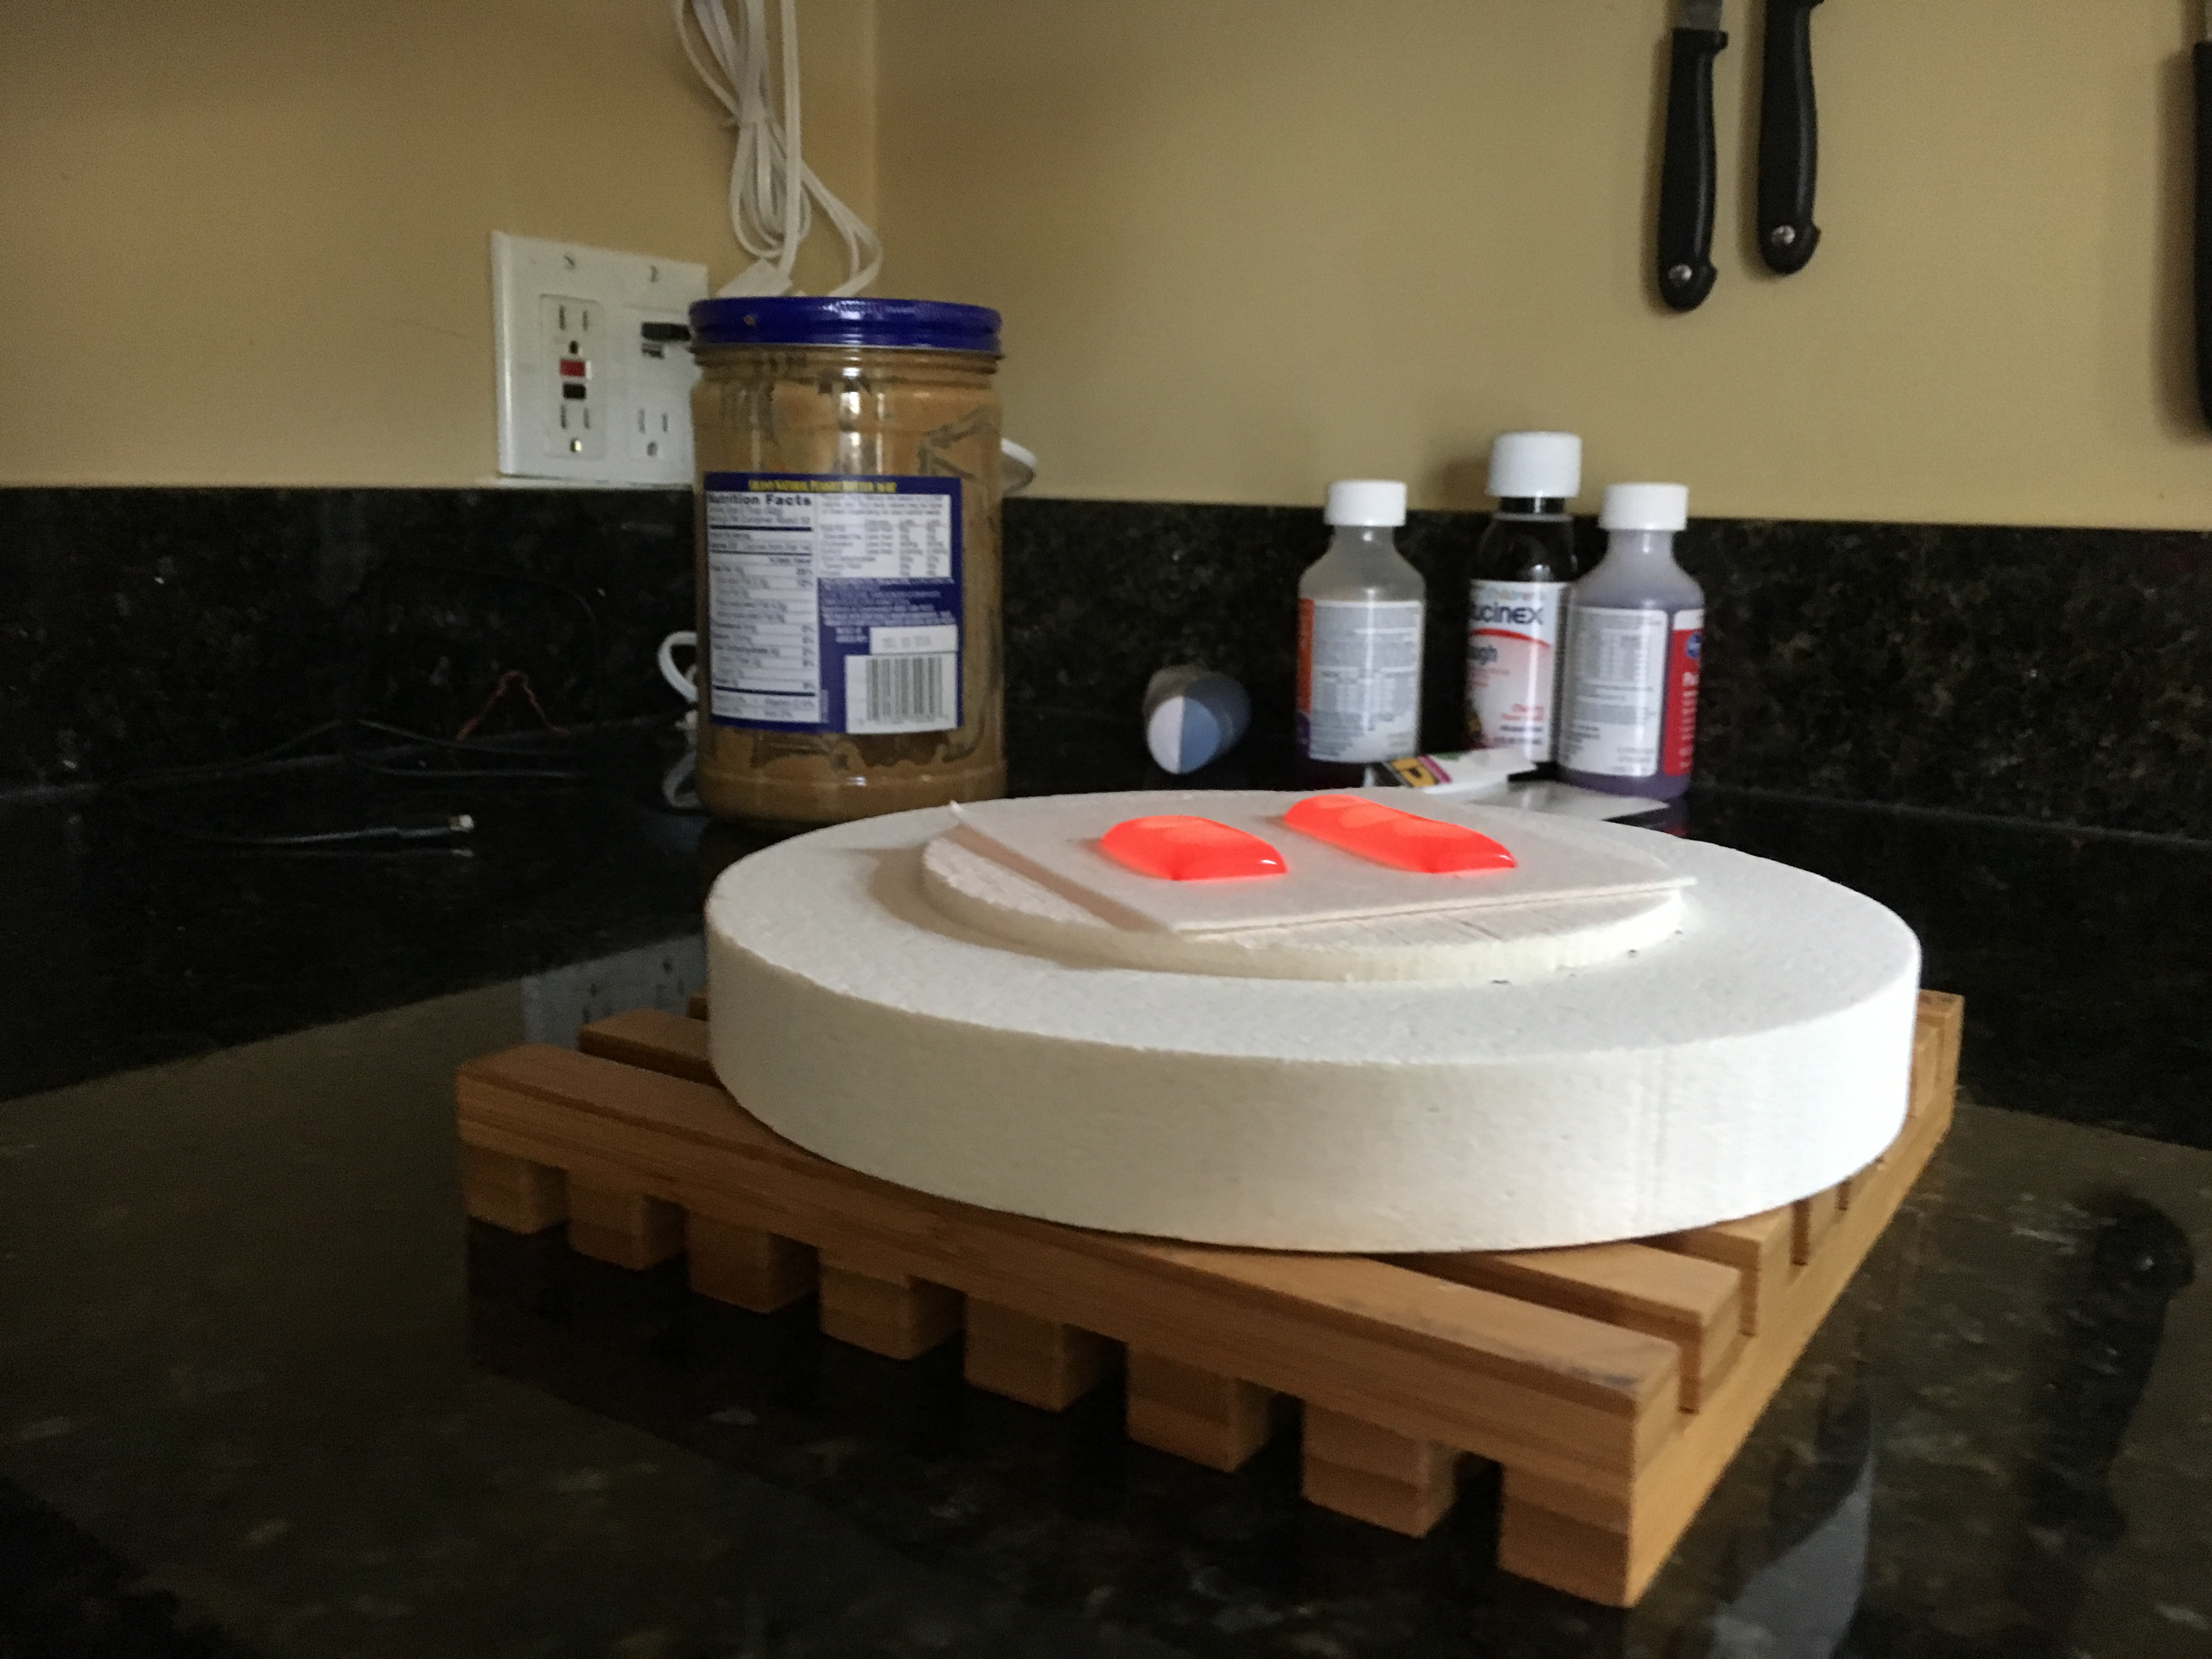
After about an hour, the glass pieces are about 400 degrees Fahrenheit still, but at that point we let them cool in the open air. At this temperature, they’re no longer glowing, and we first get a glimpse of what the project will look like.
The ‘paper’ used in the kiln has a slight texture to it, which is embossed on the glass. We found that the hotter the glass is allowed to get, the worse this effect is (it makes sense – as it gets hotter it should become less viscous and thus seep more). Regardless, we need to use diamond files to smooth out the back as well as give a bevel to the bottom edge. While it’s not the most beautiful fused glass, it’s been very neat to be able to make it at home.