Candlemaking
I’m always on the lookout for projects that will get my young daughter interested and enchanted with making things. It was in service of this goal that I got a candlemaking kit from Peak Candles Supplies. Getting a starter kit was helpful in making a few candles, but I quickly made a few changes and choices:
- molds - I’m not sure why seamed molds are even made – they leave a rather unsightly seam line along the side of the candle. In some situations they’re necessary because of the geometry of the molded shape (you couldn’t have a seamless sphere mold, for example), for pillars there are usually seamless alternatives.
- dyes - the kit came with dye chips, which appear to have more a limited selection of colors, are more difficult to control the dosage of, and much less cost-effective. The liquid dyes are much better on every front.
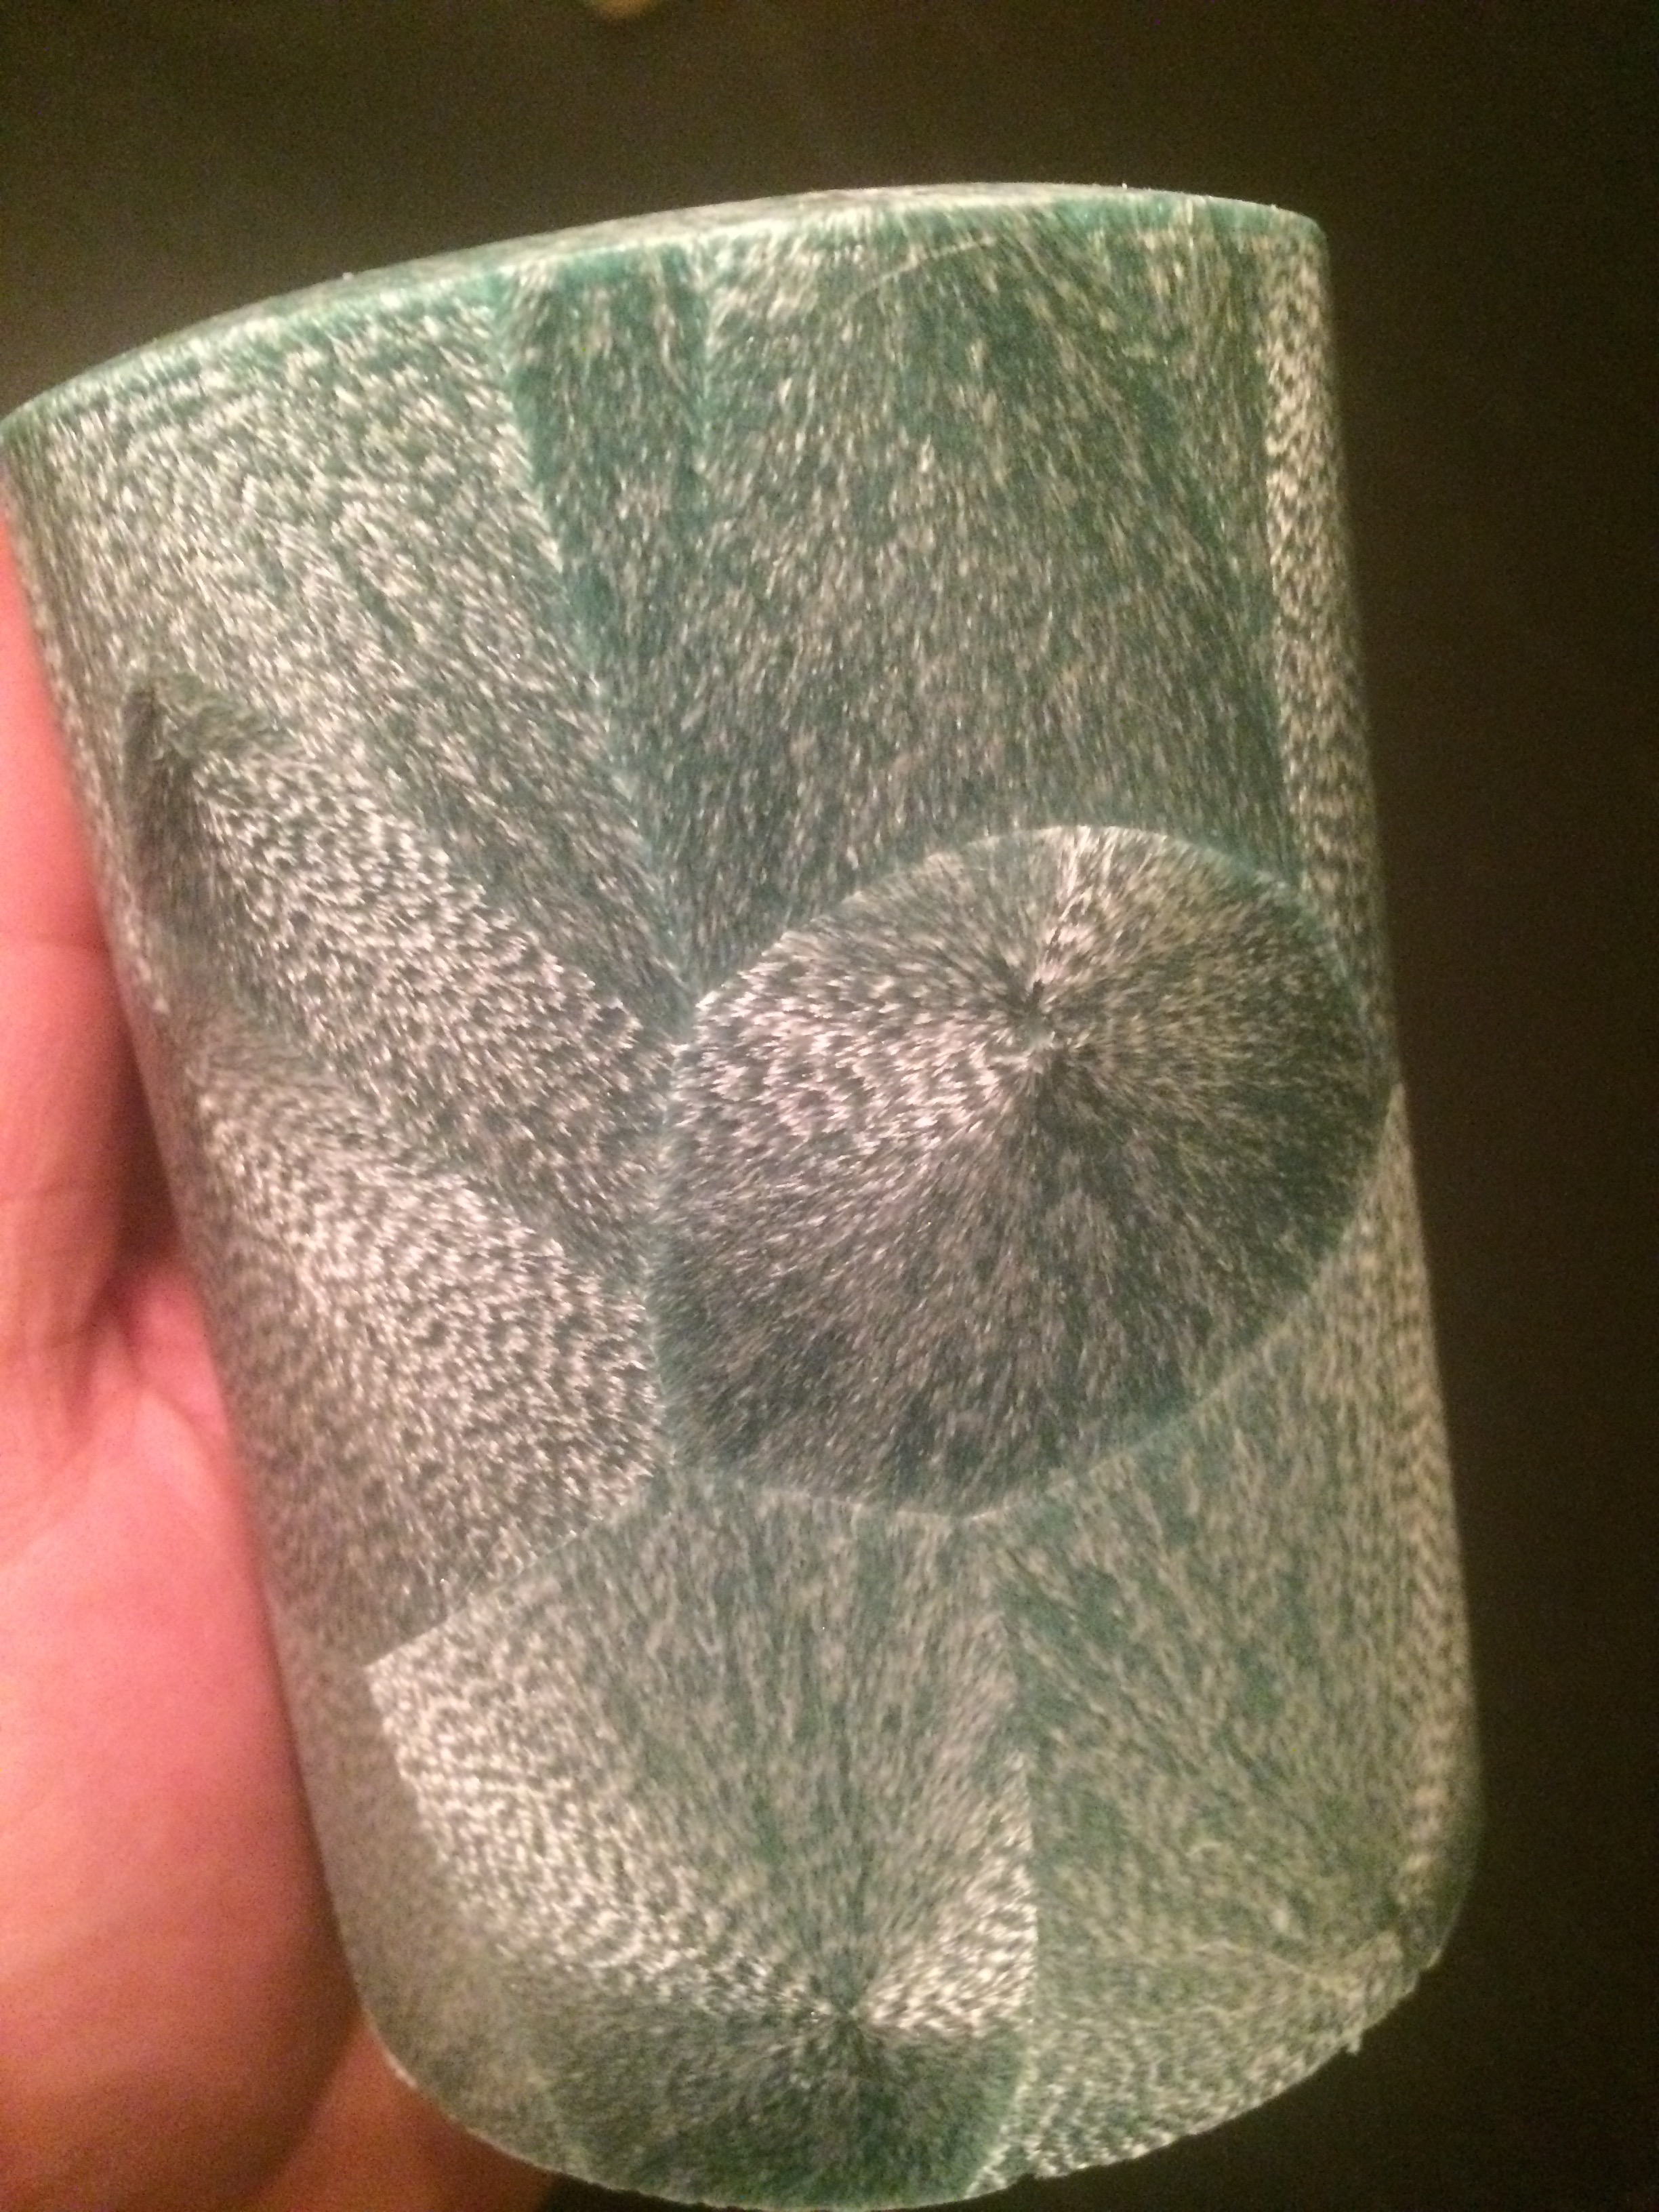
- wax - while paraffin is a fine wax, palm wax is much more interesting and beautiful for simple pillars. As palm wax candles cool, they form interesting shapes and textures on the surface.
- double-boiler - rather than an improvised double-boiler, if you’re going to make candles with any frequency, a presto pot for a double-boiler makes life far easier.
- flattening - the conventional wisdom for flattening candles it to place it briefly on a hot surface. I’ve never been able to get good results with this method. While there’s every possibility that I’m doing it poorly, for me it either comes out not lop-sided and/or with a lip of wax from squeeze-out. The technique I use that is the only way I’ve ever been able to get good results is more tedious, but looks much better. I clamp the cooled candle in the mold with just a little bit of the bottom extending. Then I use a box-cutter and the edge of the mold as a guide to cut it flat. The center should be very slightly cupped out so it sits flat.
- wick pins - Rather than pour the wax with the wick tied to the bottom and through a centering mechanism, I much prefer a wick pin. It won’t deflect as the wax cools, and will give a nice, clean wick. When the wax is poured with the wick in place, the colored wax will seep up the wick.
- centering - For each new mold that I get, I make a board out of plywood the fits snugly around the rim of the mold with a hole to accept the wick pin that has been perfectly centered.
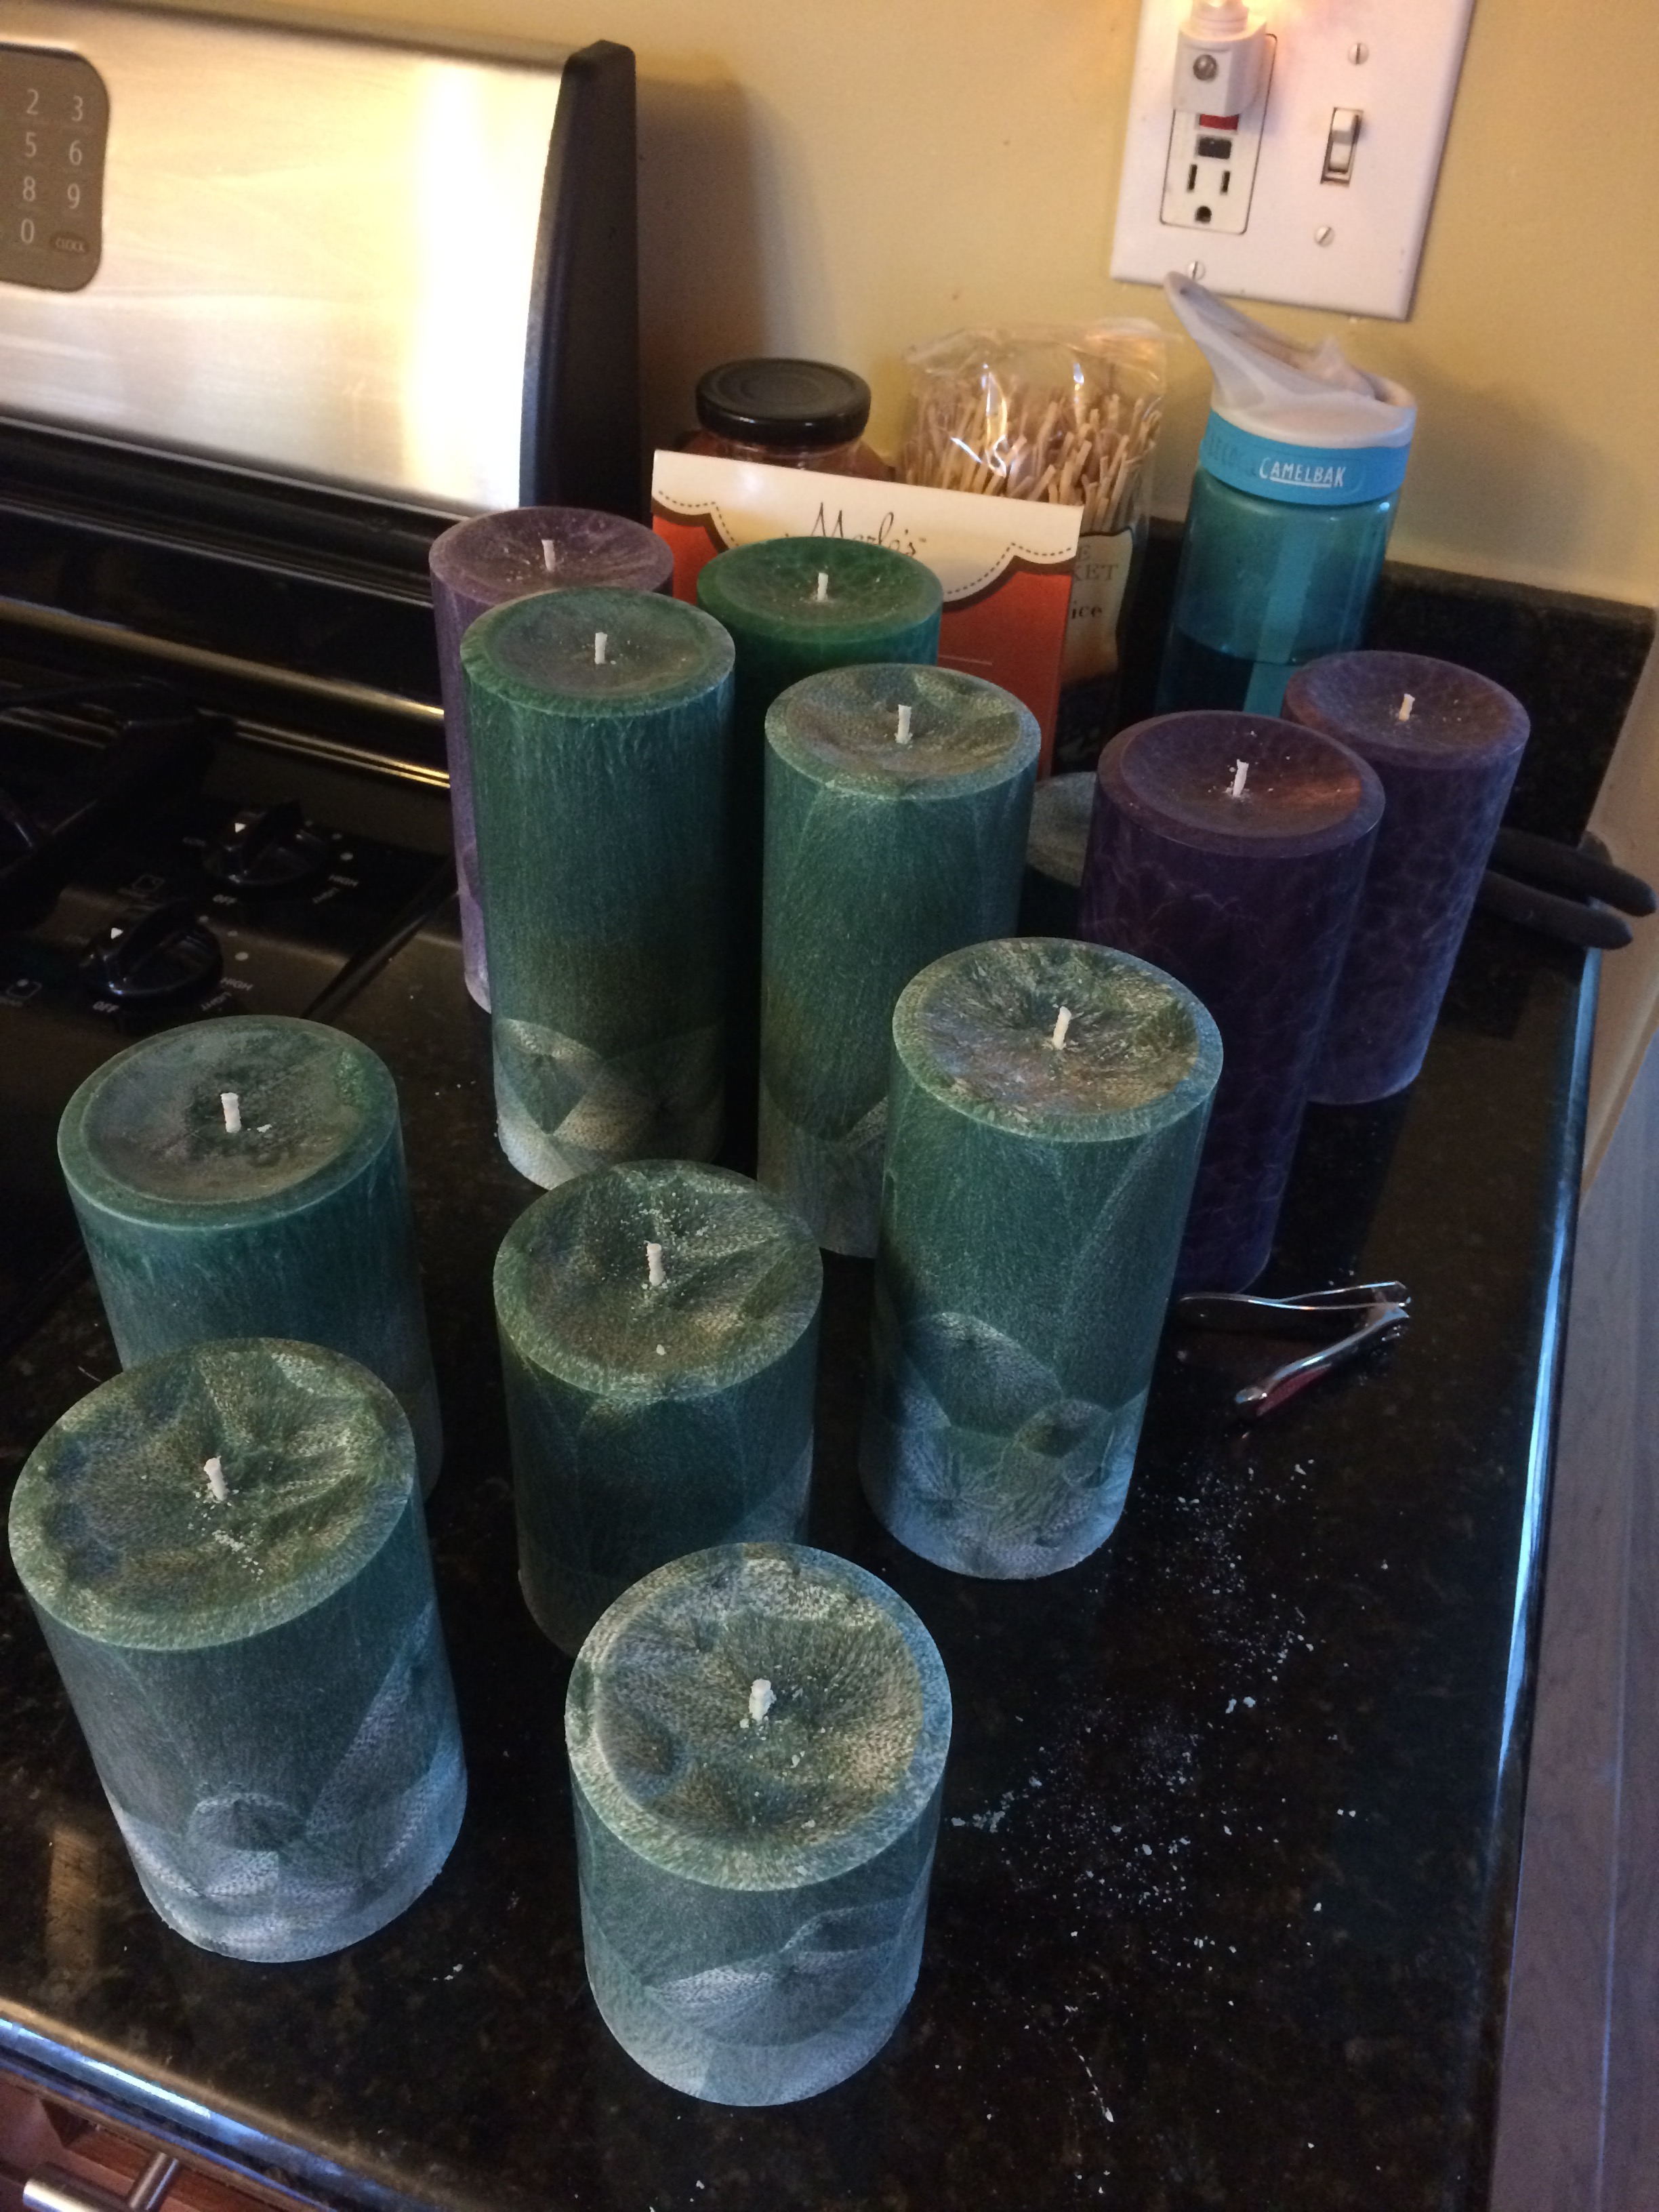
Here are some candles I recently made for gifts.
And here is a closeup of the texture of so-called “feather” palm wax: