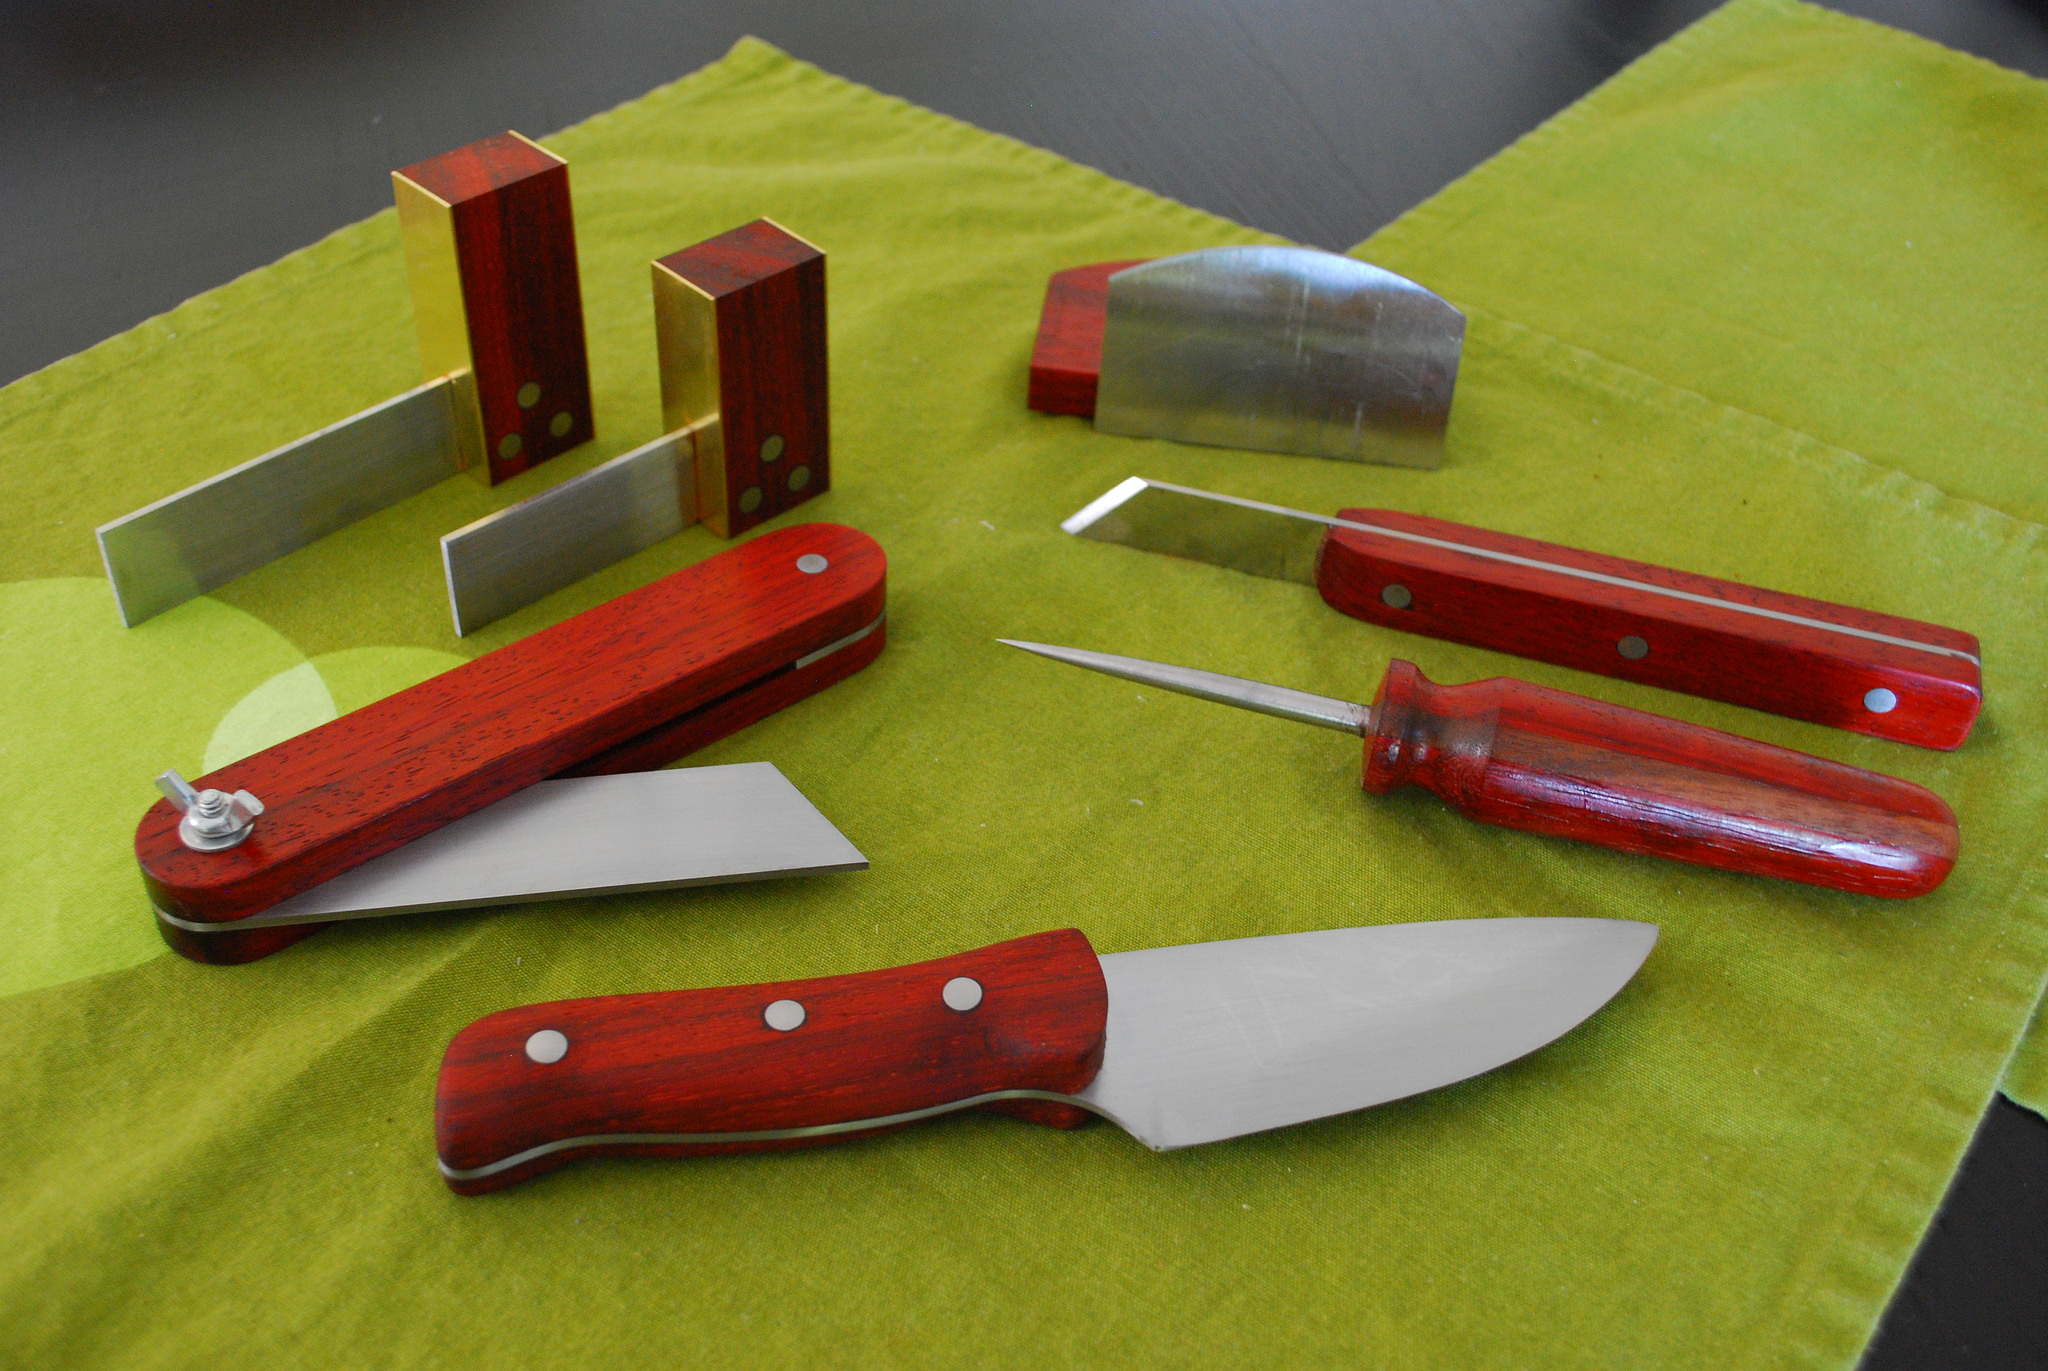
Table Saw Blade Tools
The tablesaw that’s in my shop belonged first to my dad. In fact, I remember it very vividly from my childhood. When I first got it, it hadn’t been used in about 10 years and the blade that was in it was very much worse for the wear. I thought it a good occasion to make a few tools from the blade.
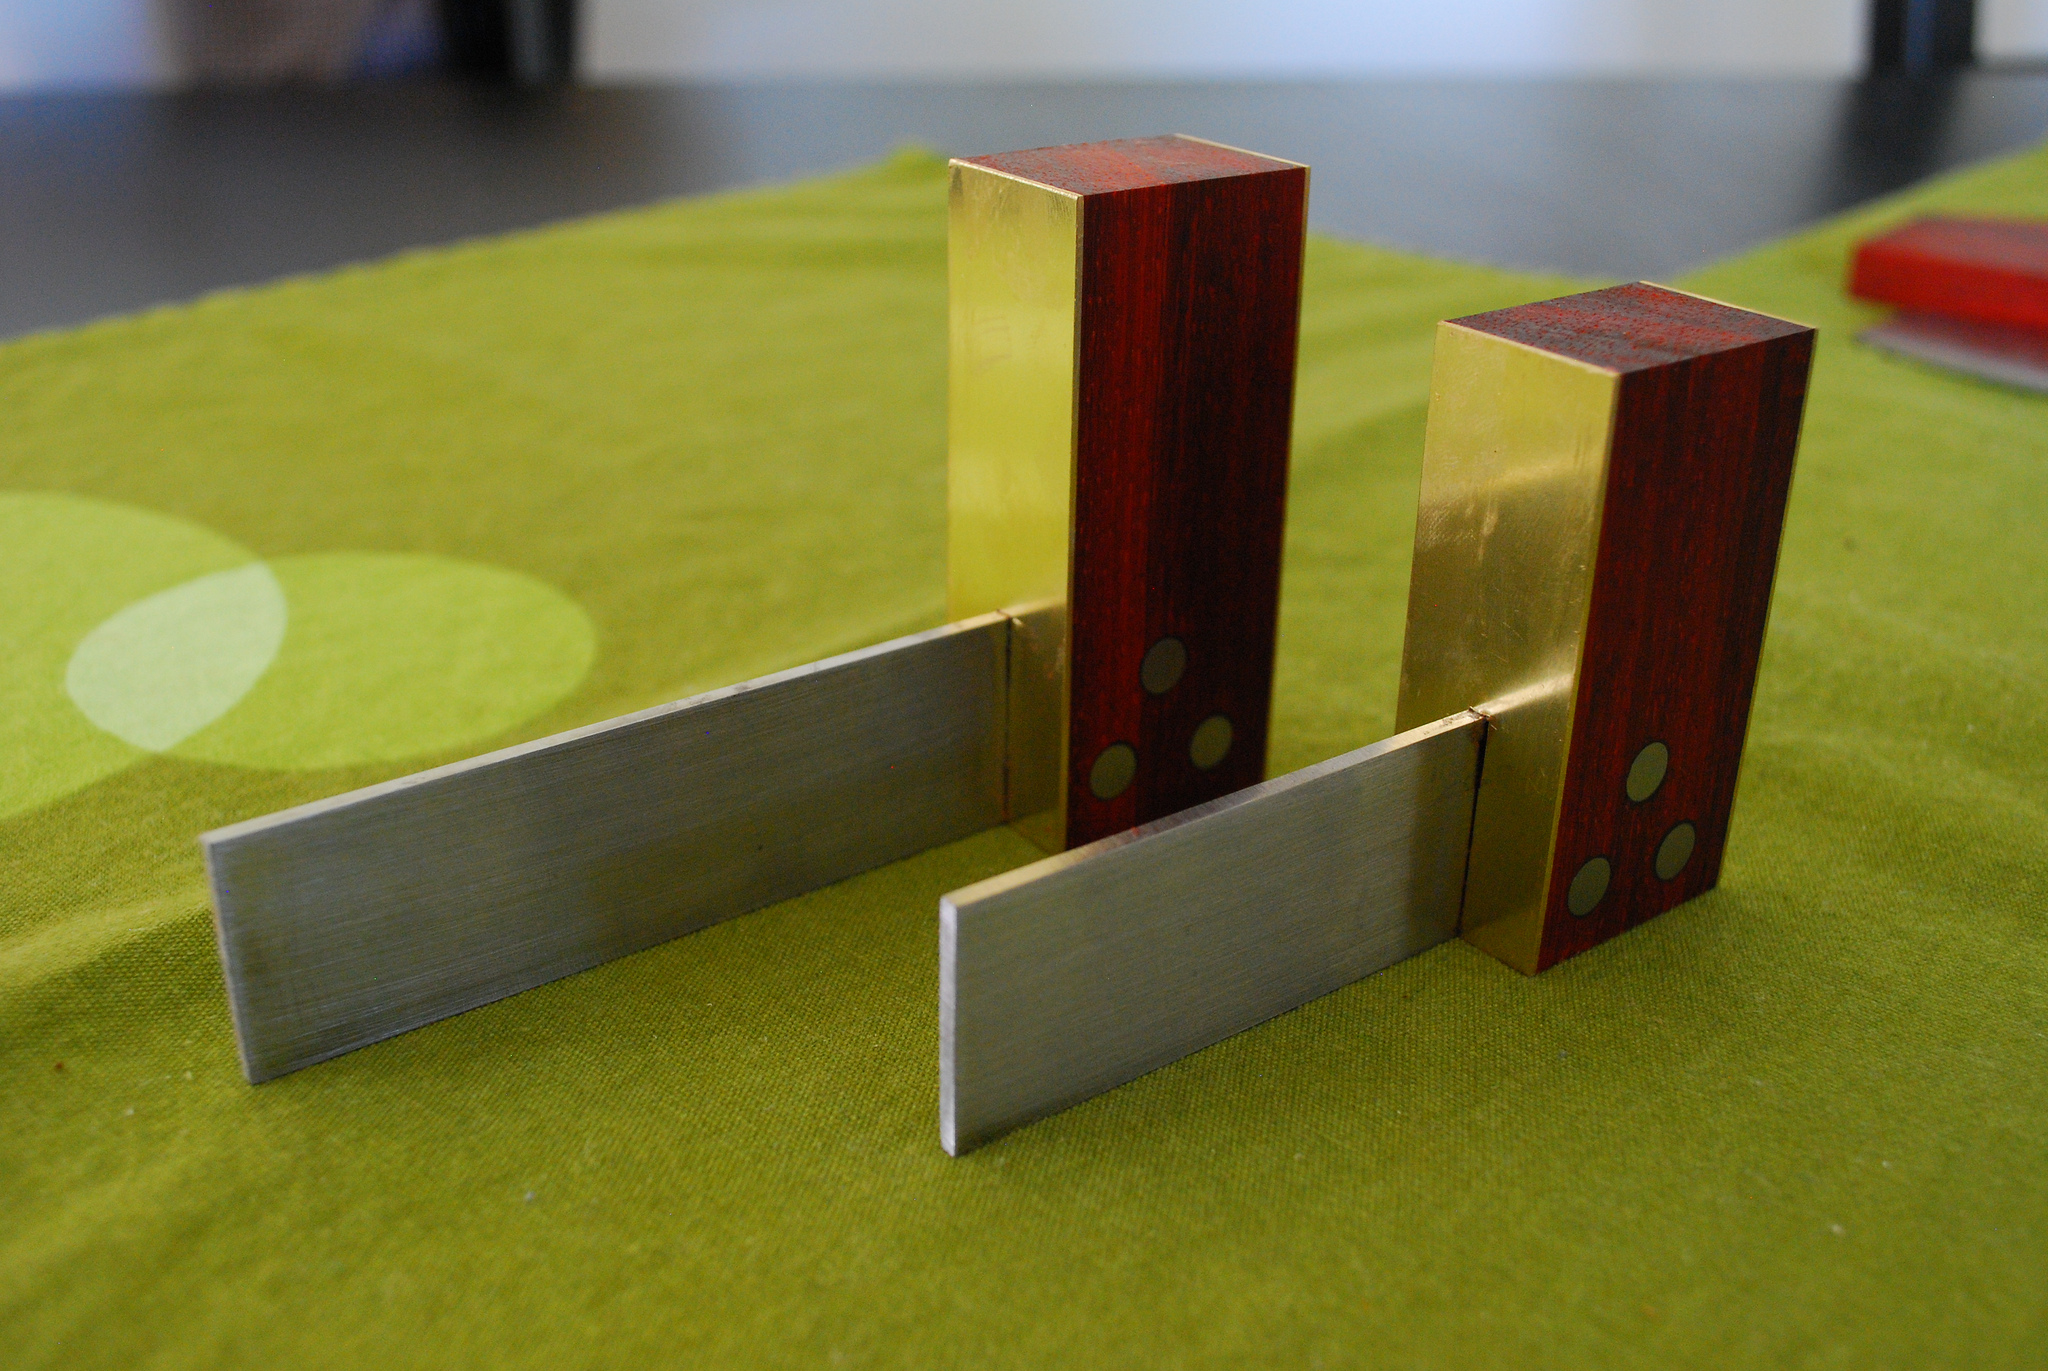
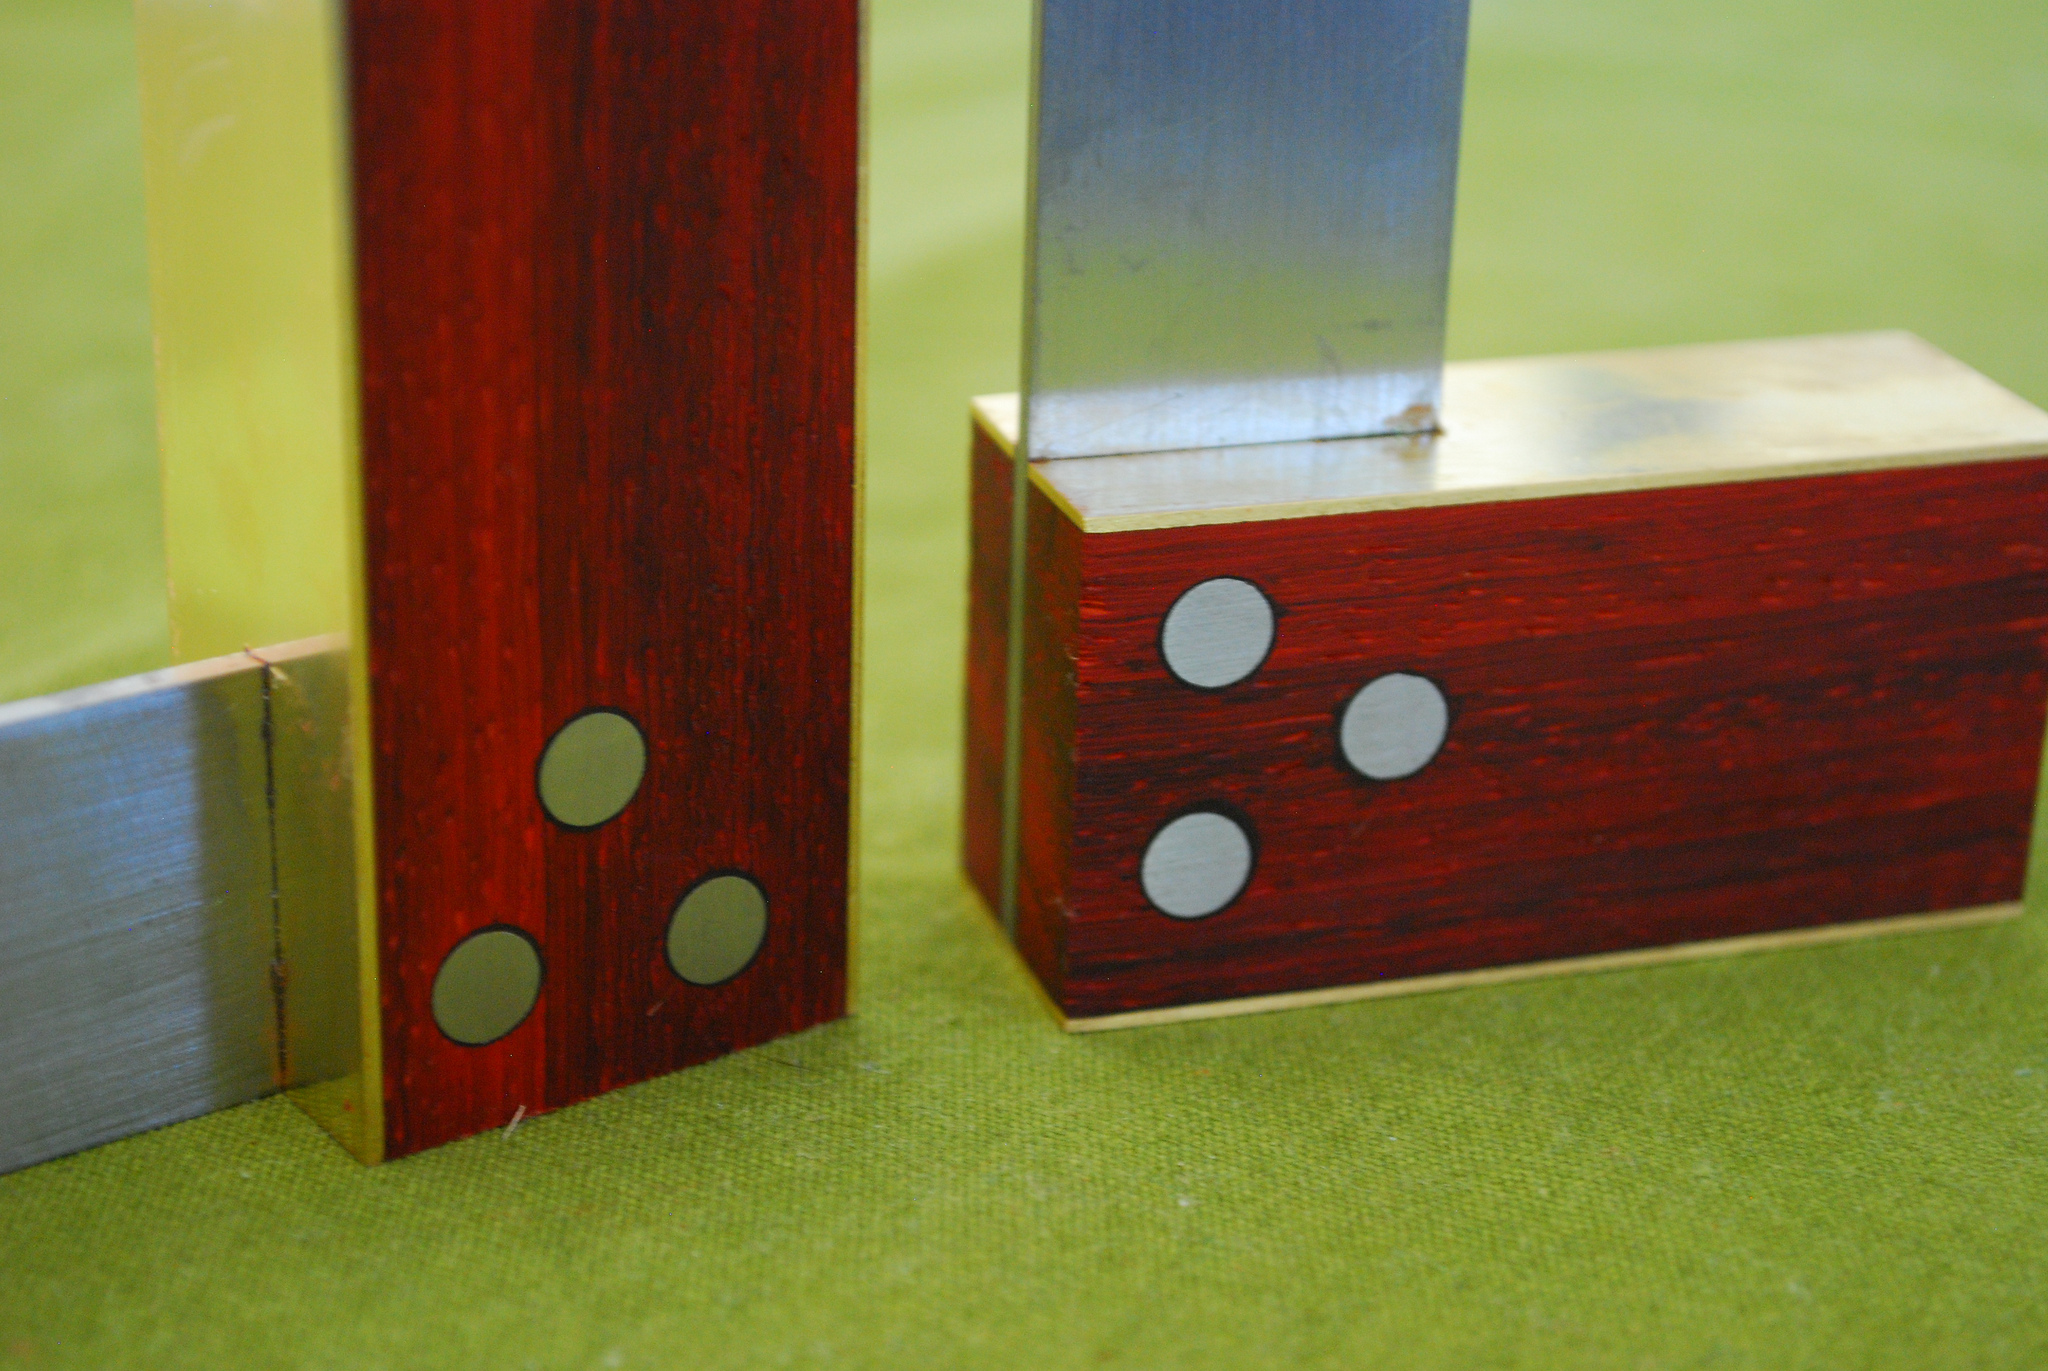
Squares
Many of us have seen and drooled at those fancy squares for sale at the specialty woodworking stores. Lovely, to be sure, so why not make your own? I roughly cut the saw blade to provide as long a bar as possible, approximately 1” wide. I then cut it into two pieces, one shorter than the other to make two different squares.
Each of these bars could then be independently flattened at the disk sander. Once perfectly square and straight and of a consistent width, I could then make the wooden part. I cut a piece of padauk, then glued on a brass front. I wanted one side of the brass glued on first so that when I cut the slot for the blade, it would be lined up perfectly with the one cut in the wood. After that cut was made, I could glue on the opposing brass piece.
I then epoxied the blade in place, taking extreme care to ensure that it was perfectly square. Once cured, I could slowly drill the holes for pins through the whole piece. Or so I thought.
The heat from the drilling process affected the epoxy and the blade came out. Fortunately, at least there was enough of an impression from the drill bit that I could drill the blade all the way through, as well as on the wood. I repeated the procedure for the two other holes dry, but with the pin placed in the first hole.
With enough time, oil, and patience, I was able to get through the extremely tough saw blade and glued the pins in. When sanding the steel pins flush, I had a similar problem as when trying to drill out for the pins – heat is epoxy’s enemy. The solution here was to just not let the workpiece get too hot and take my time sanding.
Despite all the frustration, I did end up with two beautiful (and perfectly square) tools.
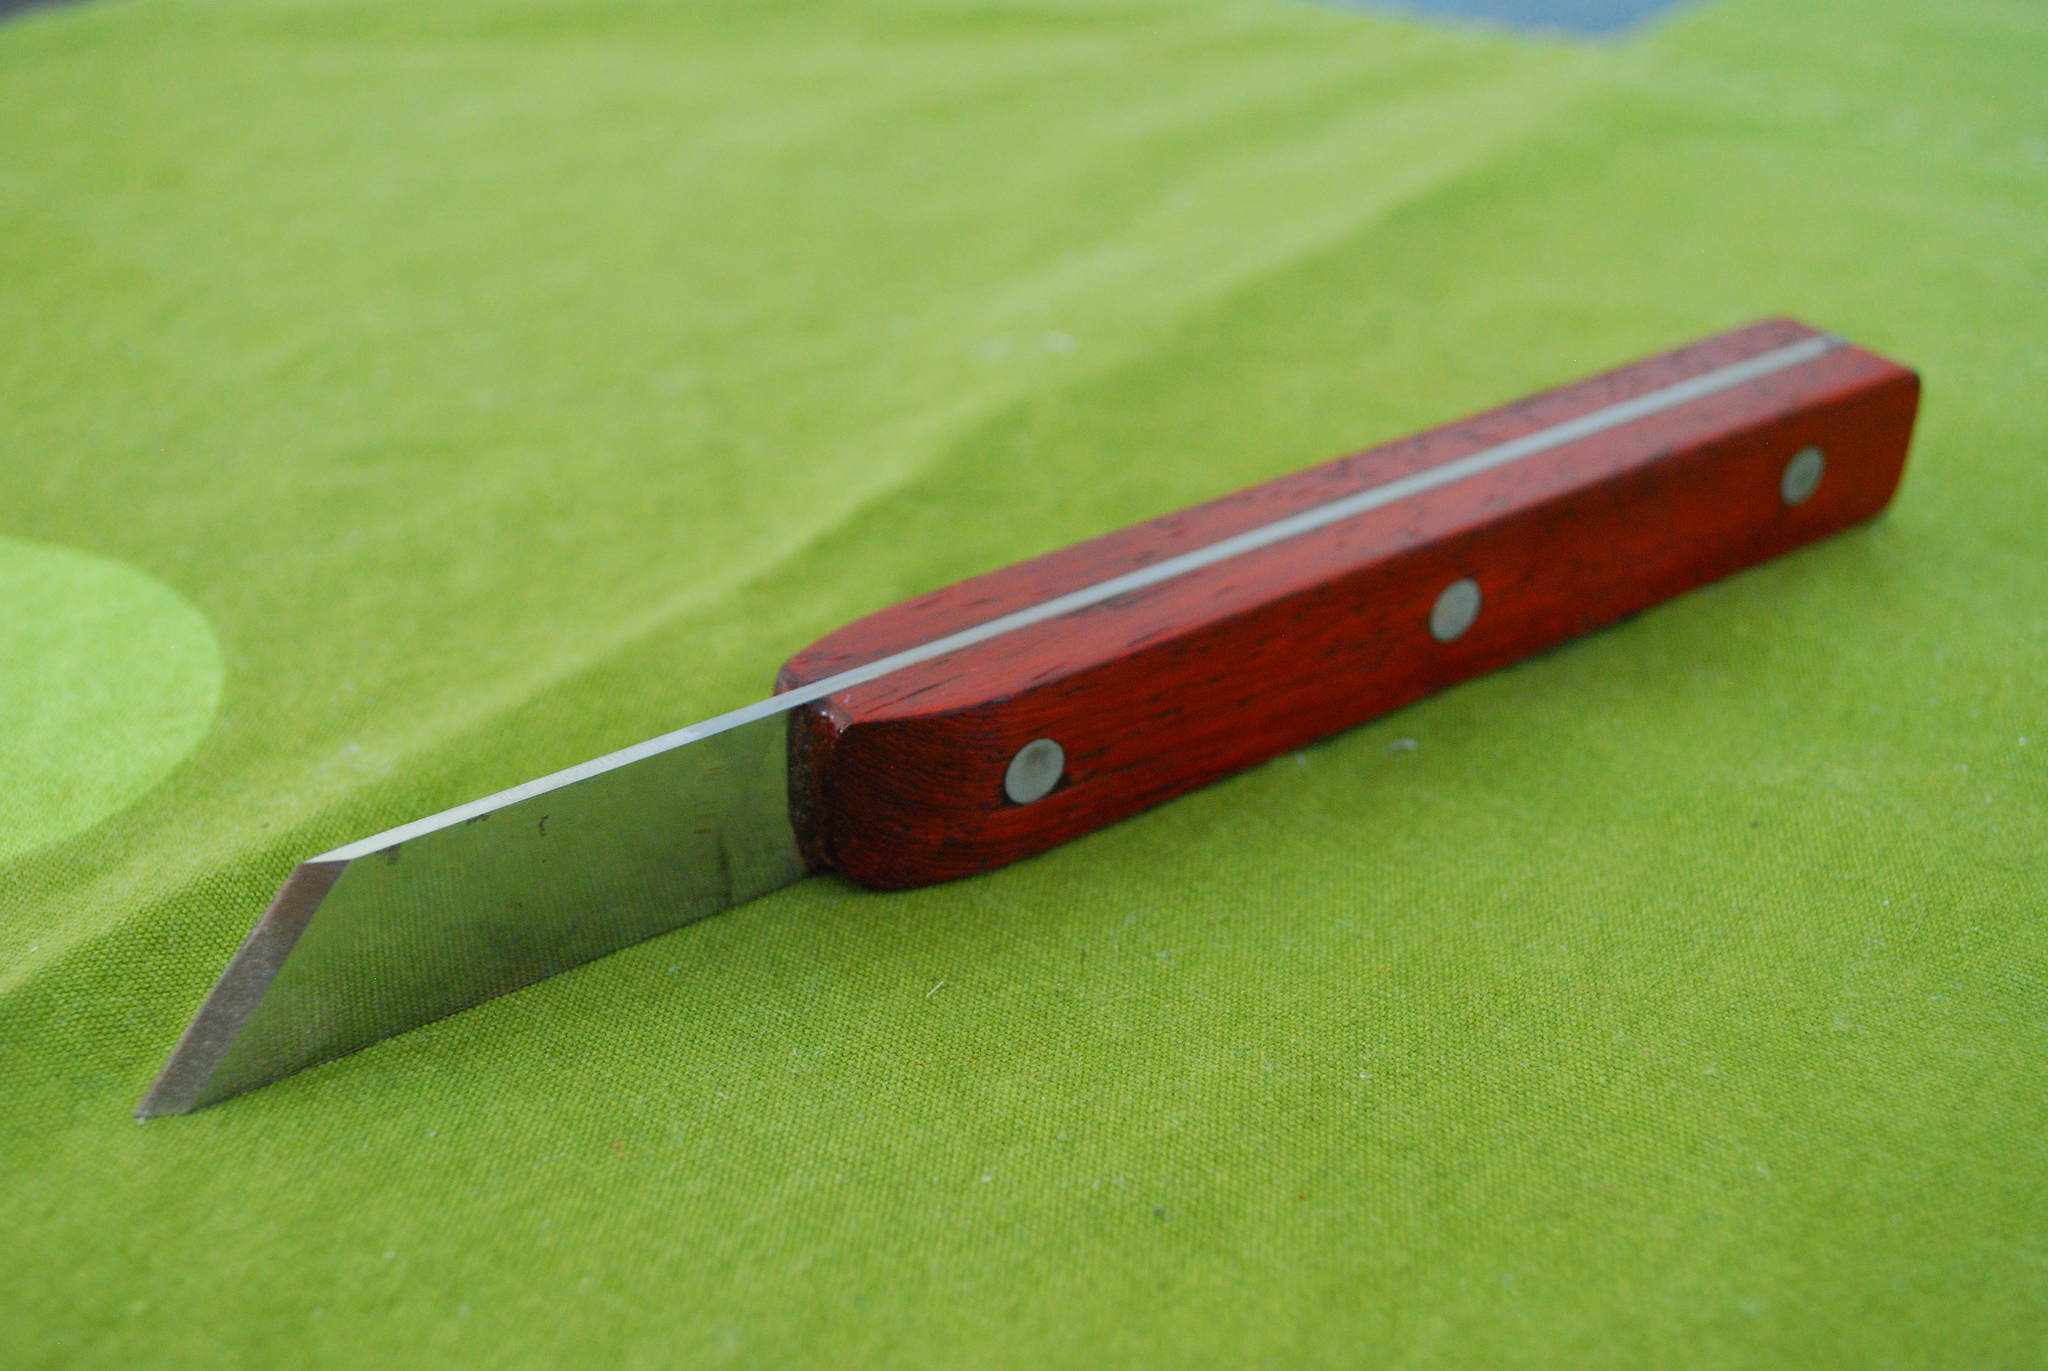
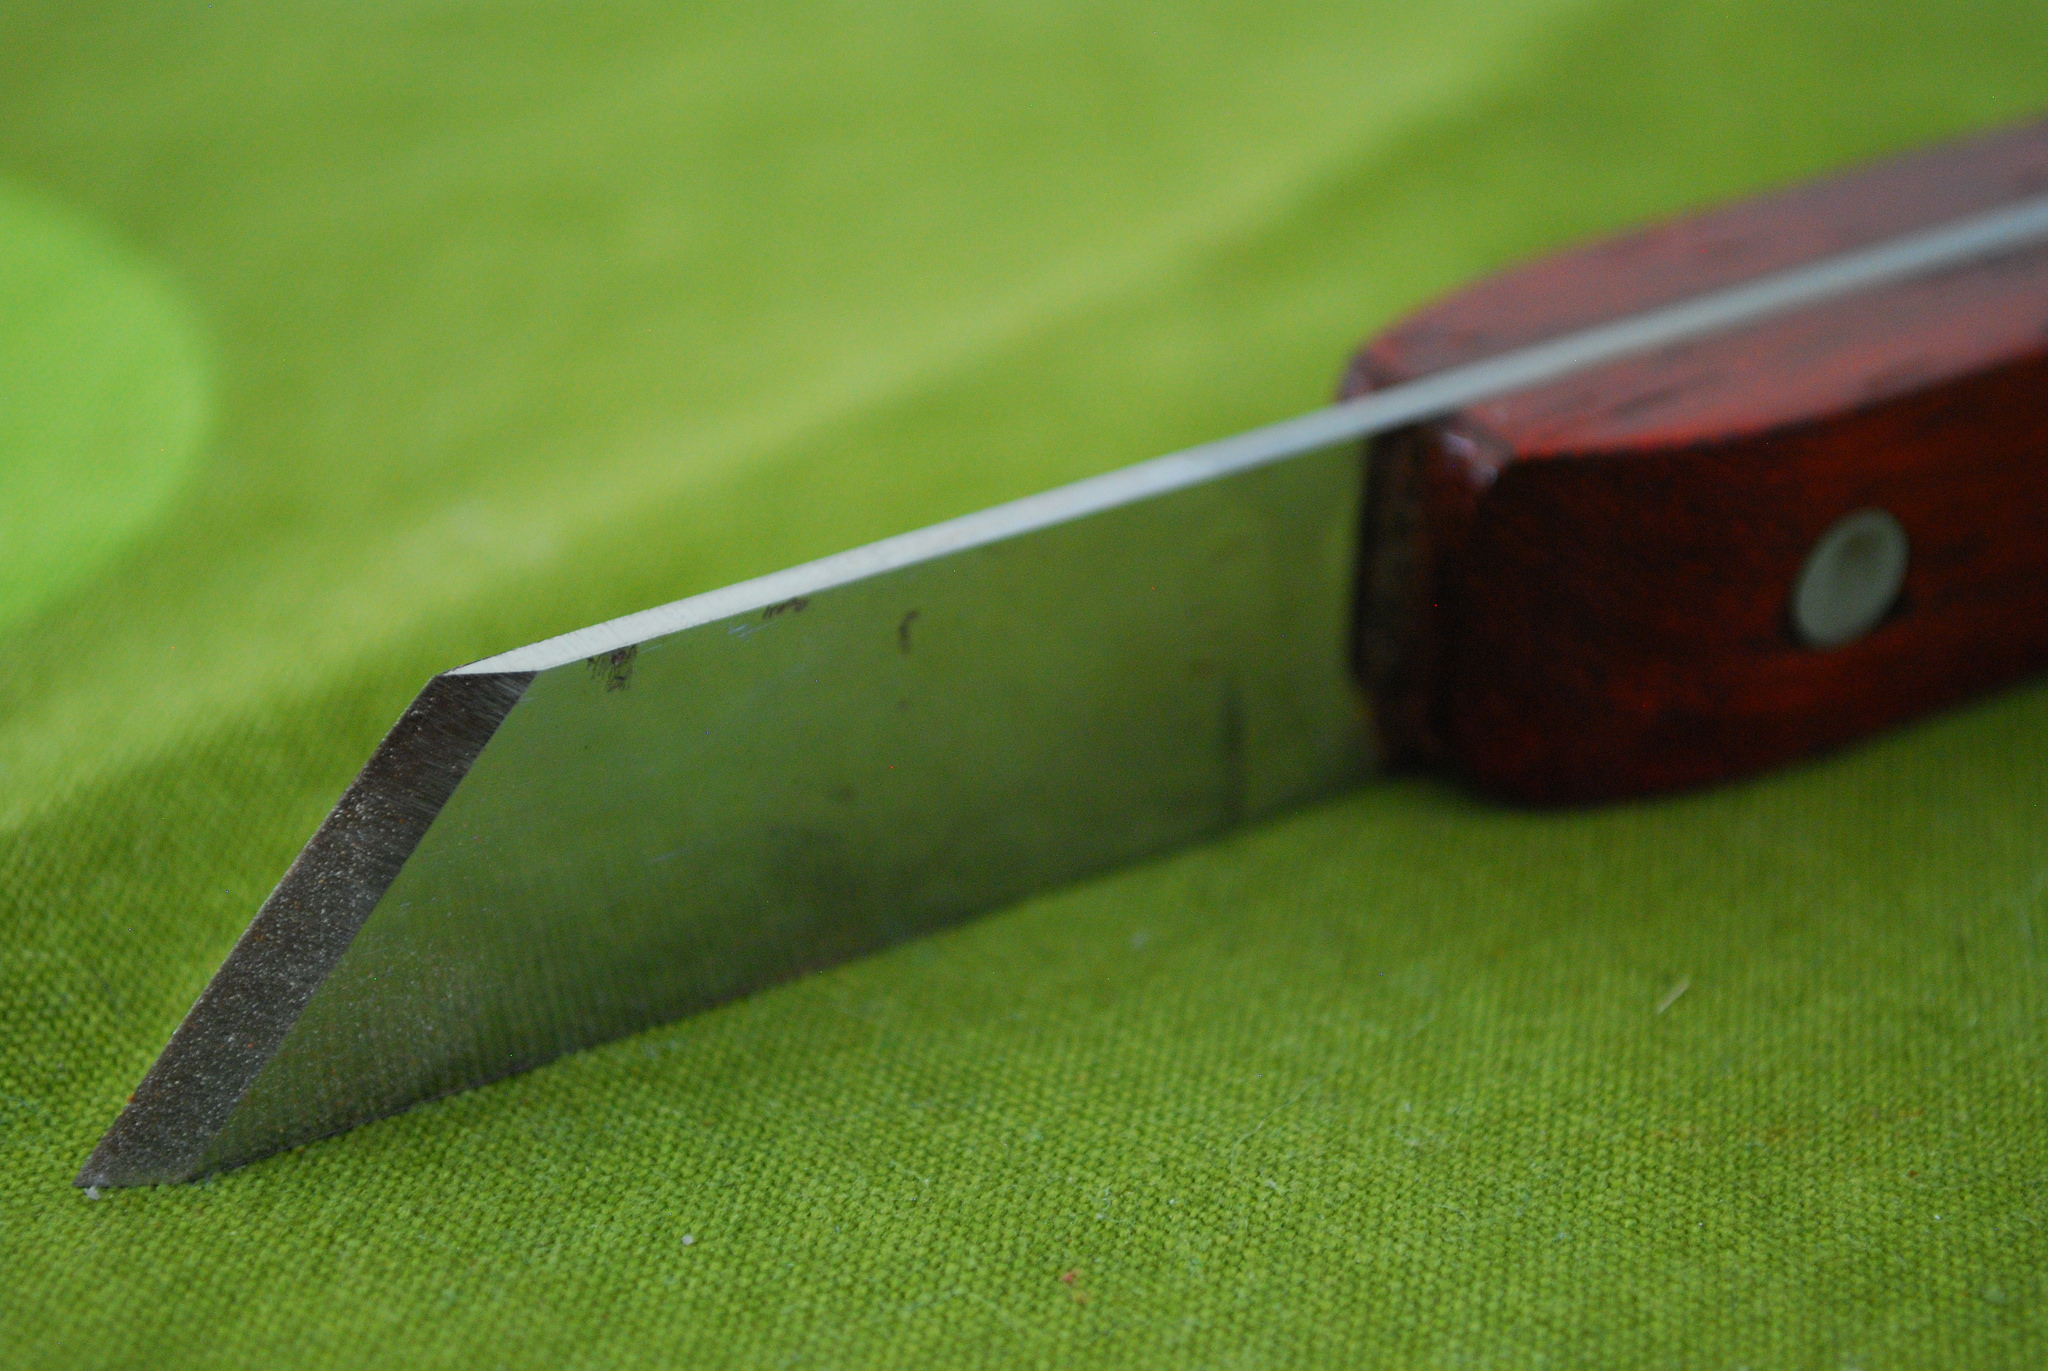
Marking Knife
Following a procedure similar to that of the squares for getting a flat bar, I cut out the blank for this knife. One straight and perfect, I ground in an angle I found pleasing on the disk sander, followed by a bevel.
Drilling the holes for the pins went a little more smoothly given the lessons learned from the squares, but was still time-consuming. Some slightly shaped scales, pins, epoxy and sanding, and I had a nice new marking gauge.
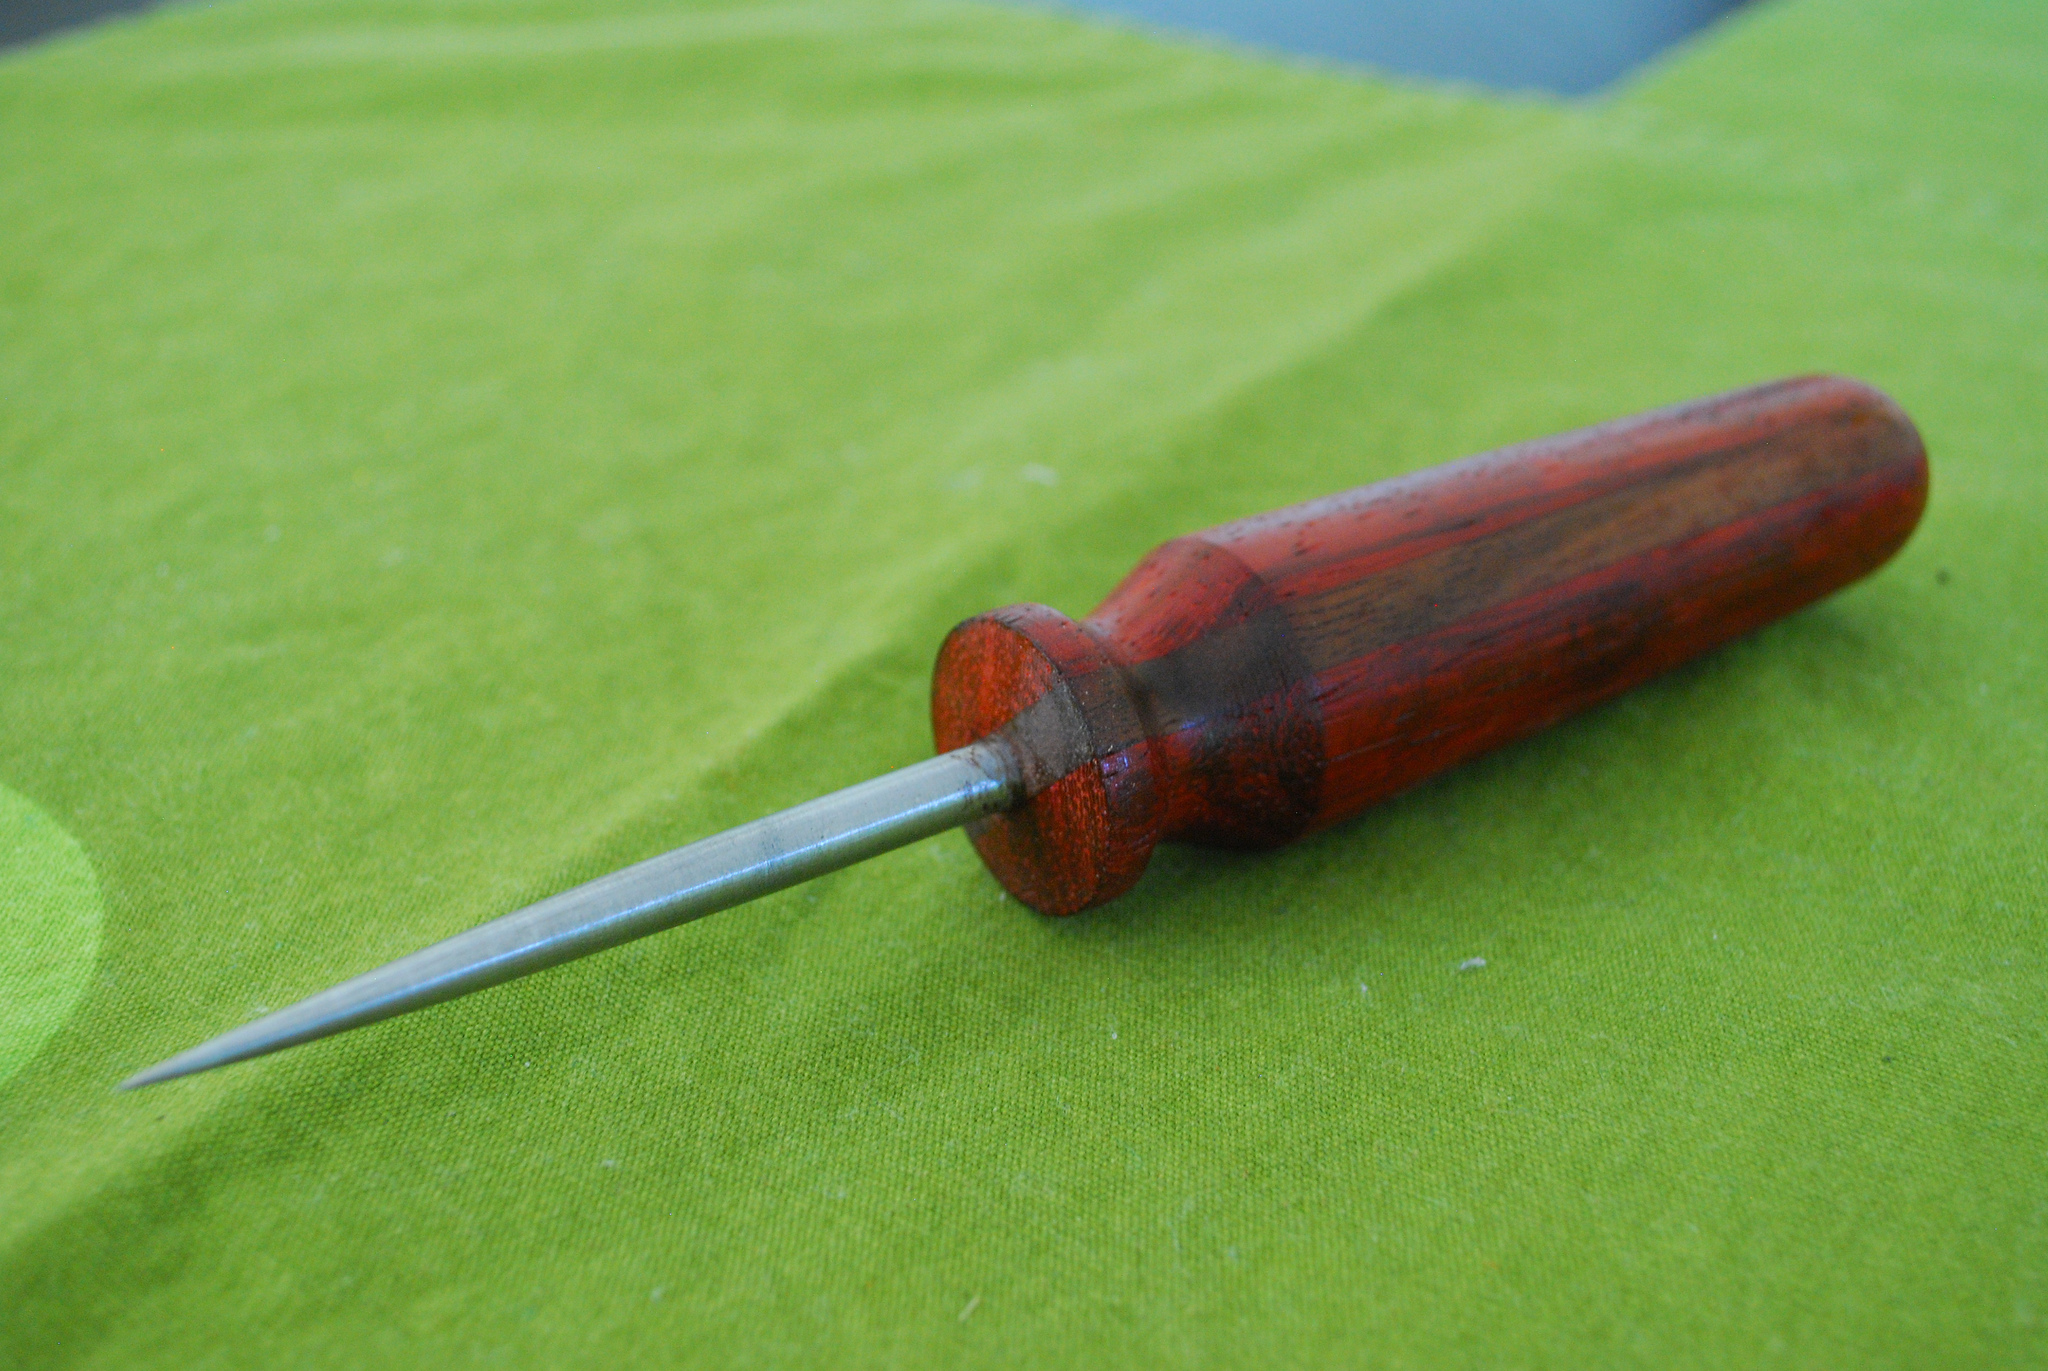
Awl
While not actually made from the table saw blade, this piece was of the same vintage. It began with an old screwdriver mounted into the lathe by mounting a piece of wood in the chuck and drilling a hole slightly undersized for the screwdriver and forcing it in. With the lathe turning at its slowest speed, an angle grinder made quick work of bringing it to a point. Be careful here to allow the workpiece to cool as you do.
The handle itself was simple enough. After turning the side nearest the blade, I mounted it on a jam chuck to finish the end of the handle.
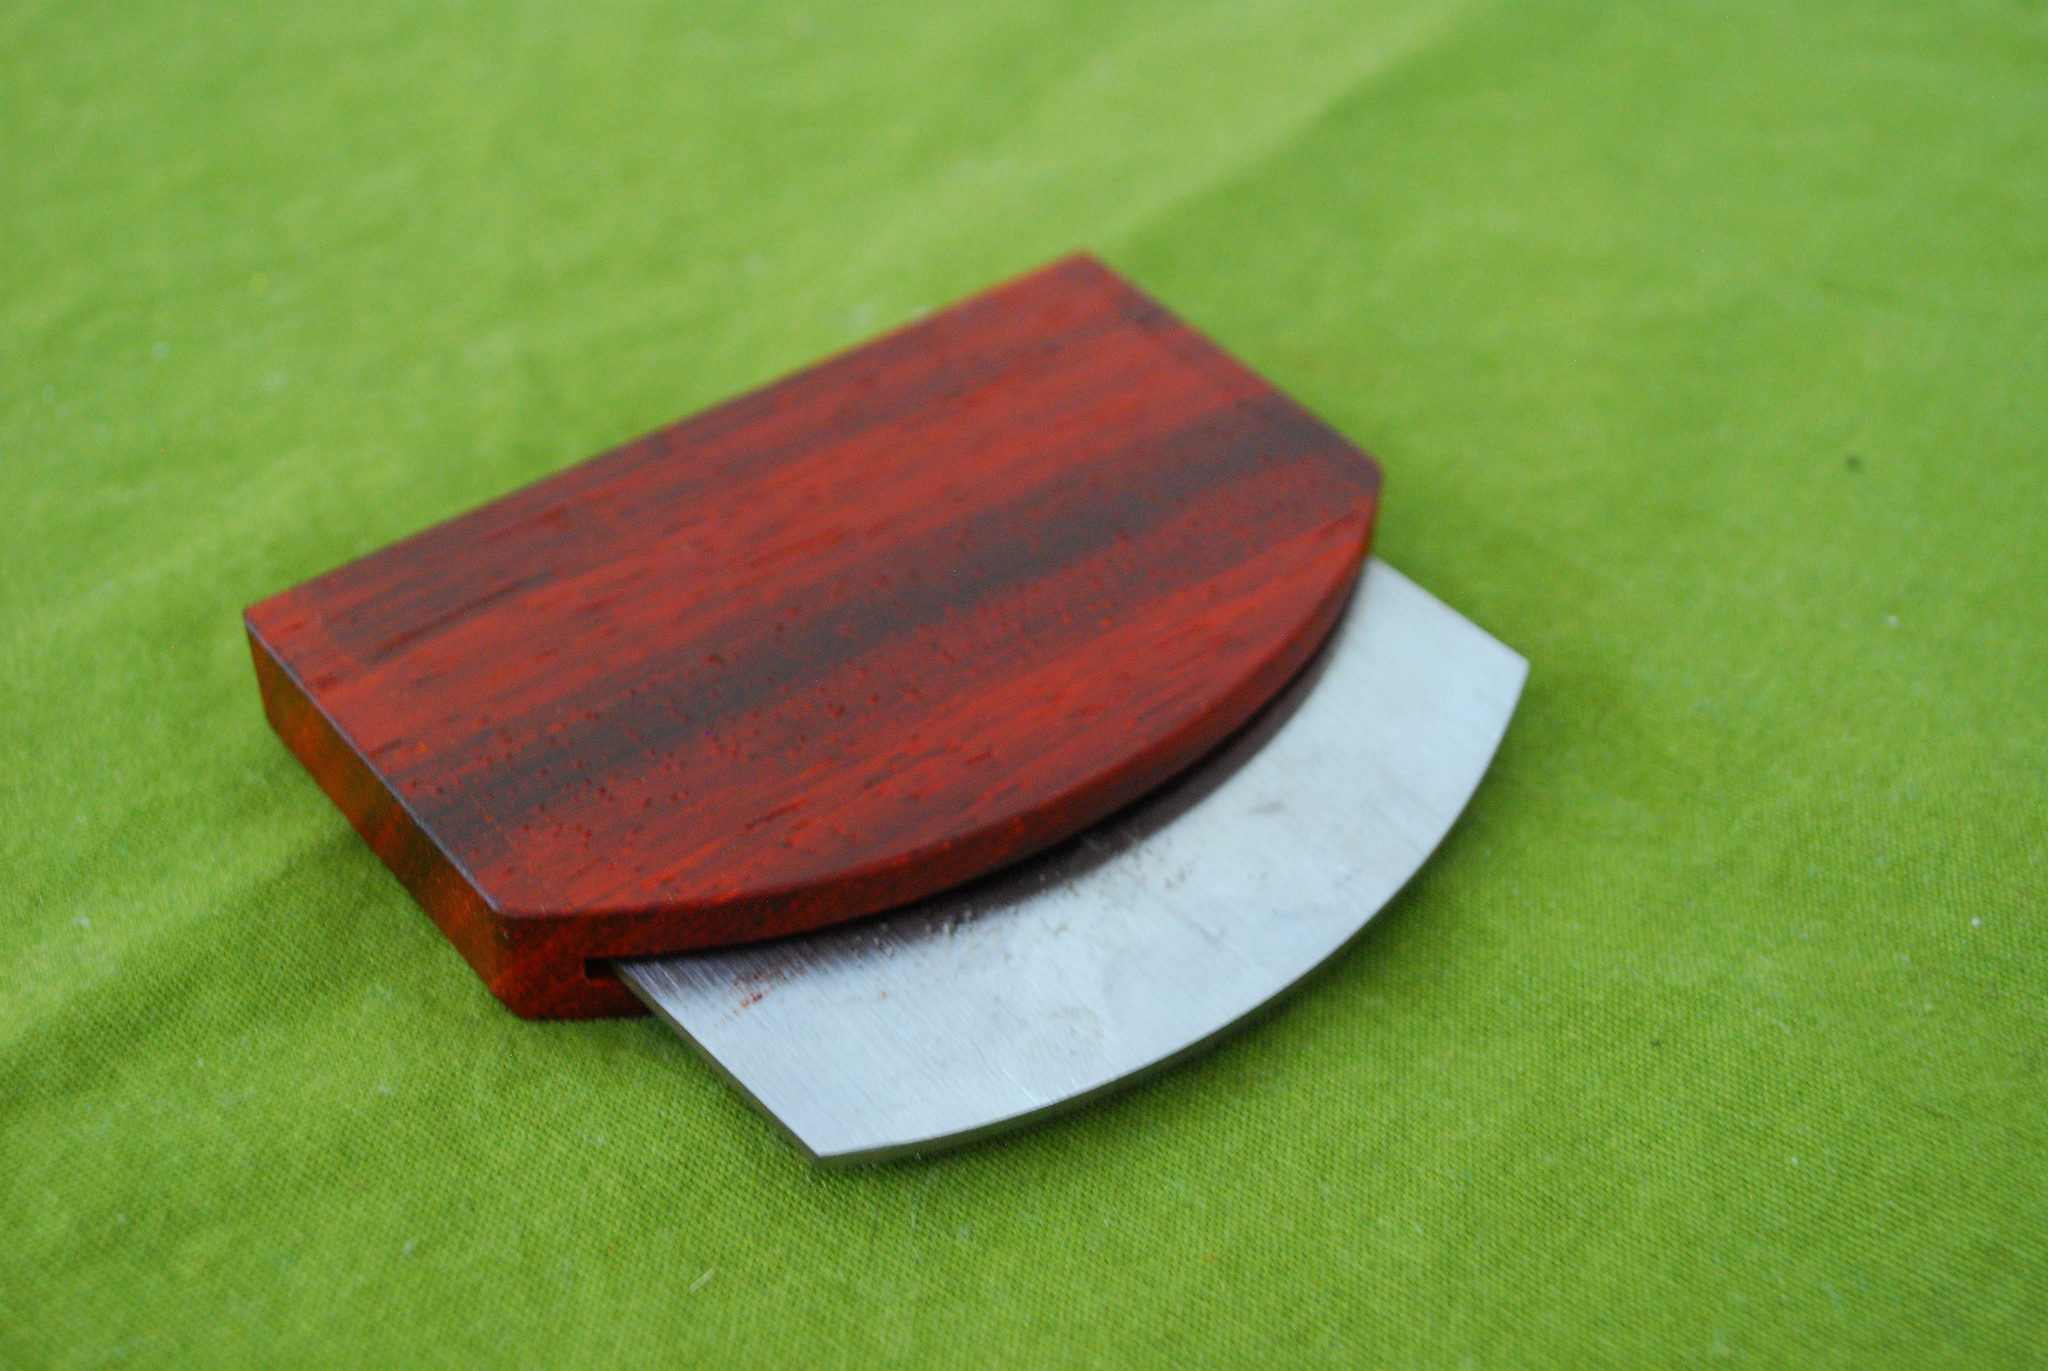
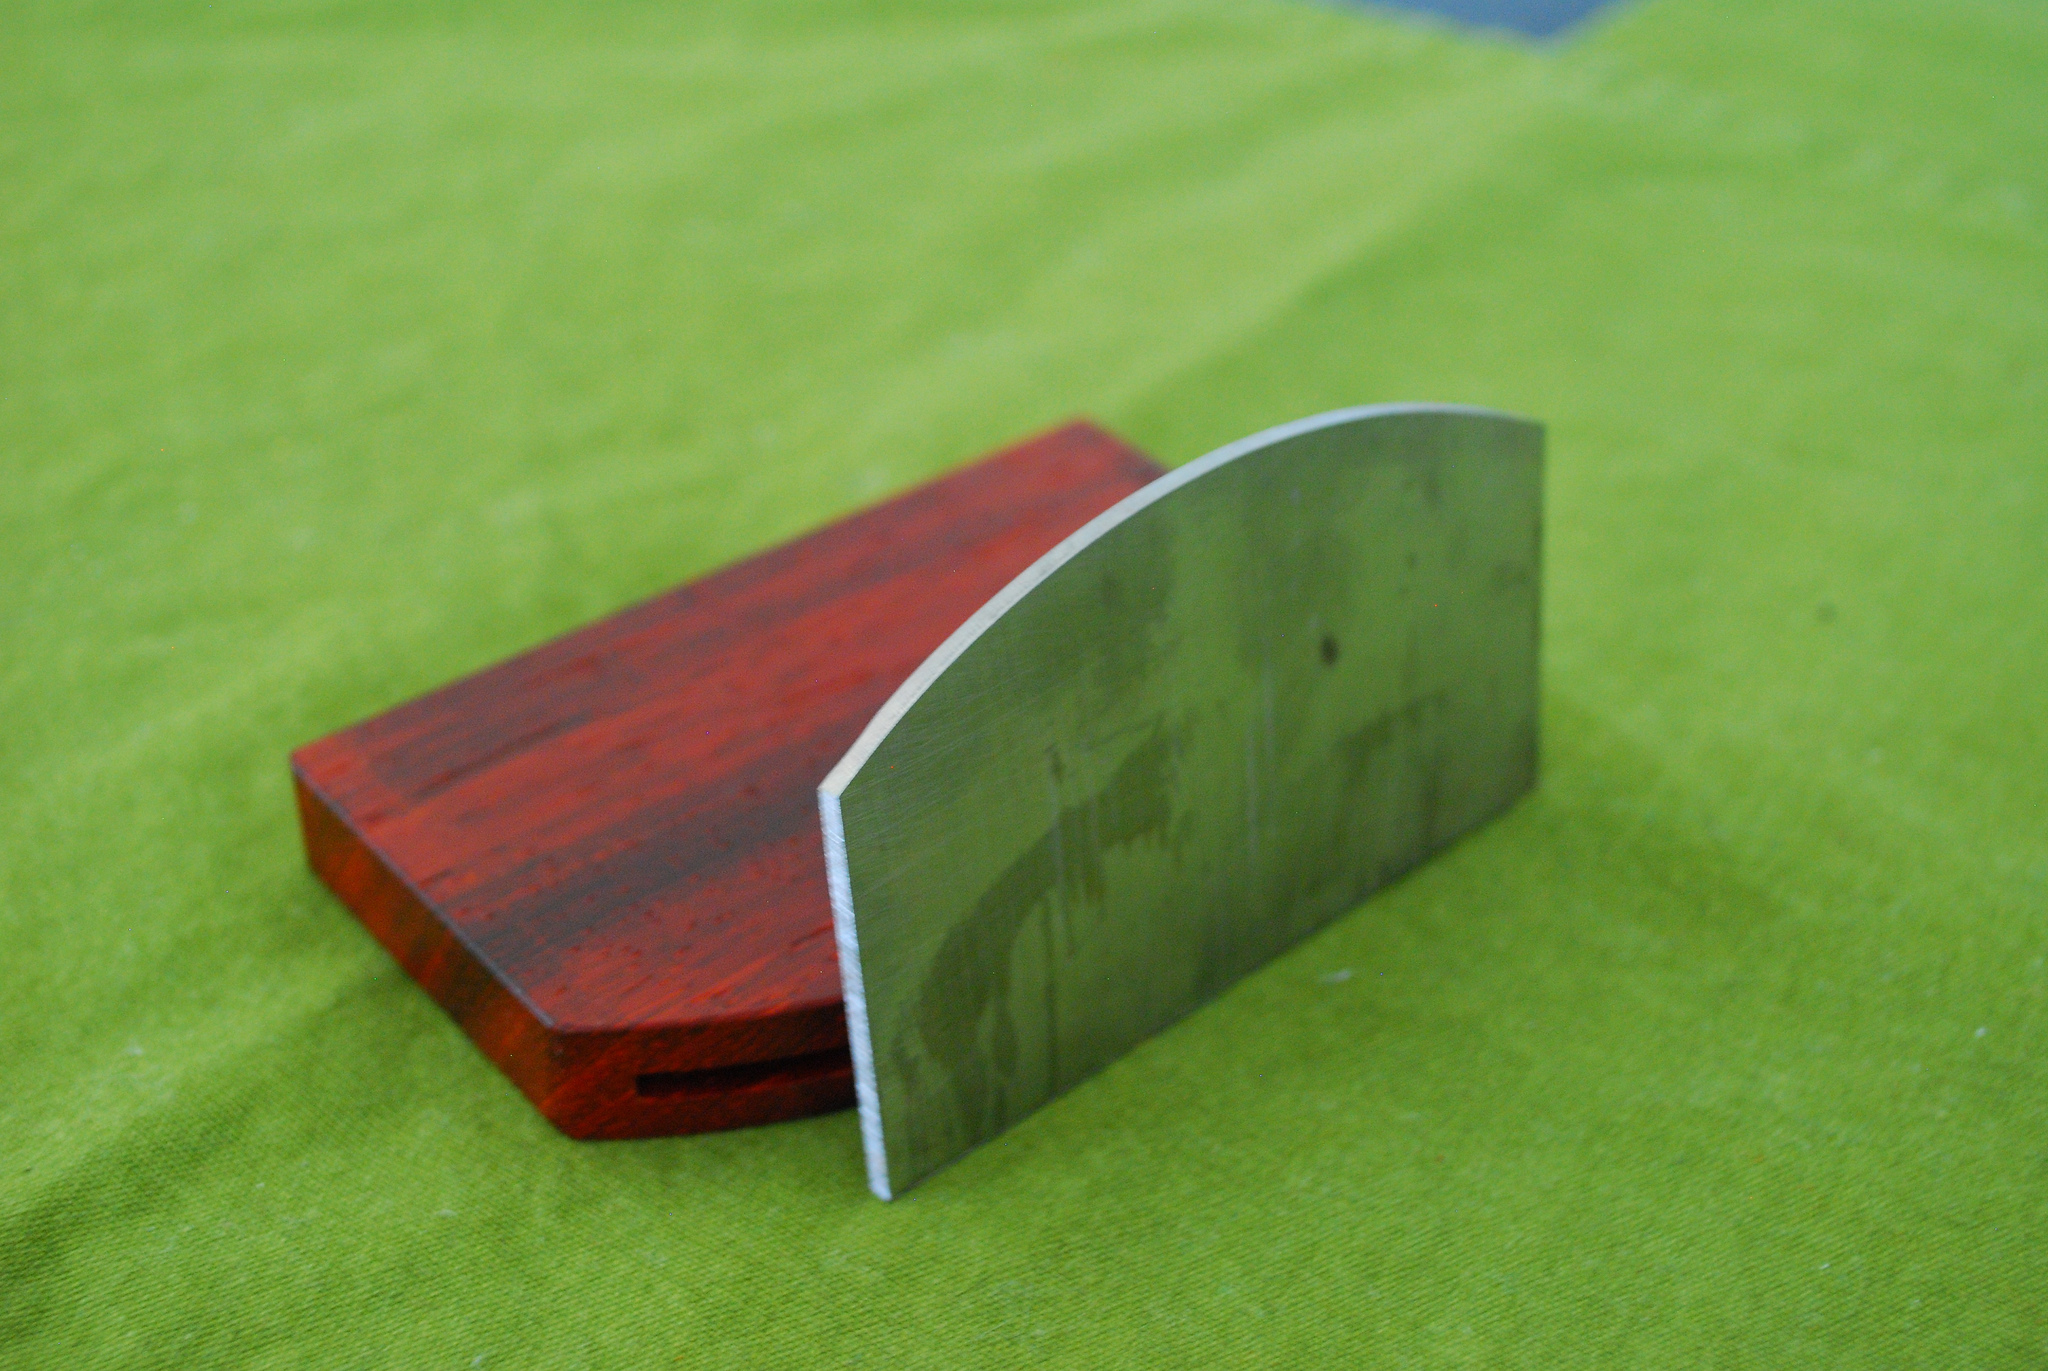
Card Scraper
I figured that the tablesaw blade would be a suitable material for a card scraper. It was really mostly a matter of flattening three of the sides and putting a nice contour on the last one. In practice, however, it is of course quite stiff and not really practical. I did make pretty holder for it, so I suppose it can enjoy its obsolescence in style.
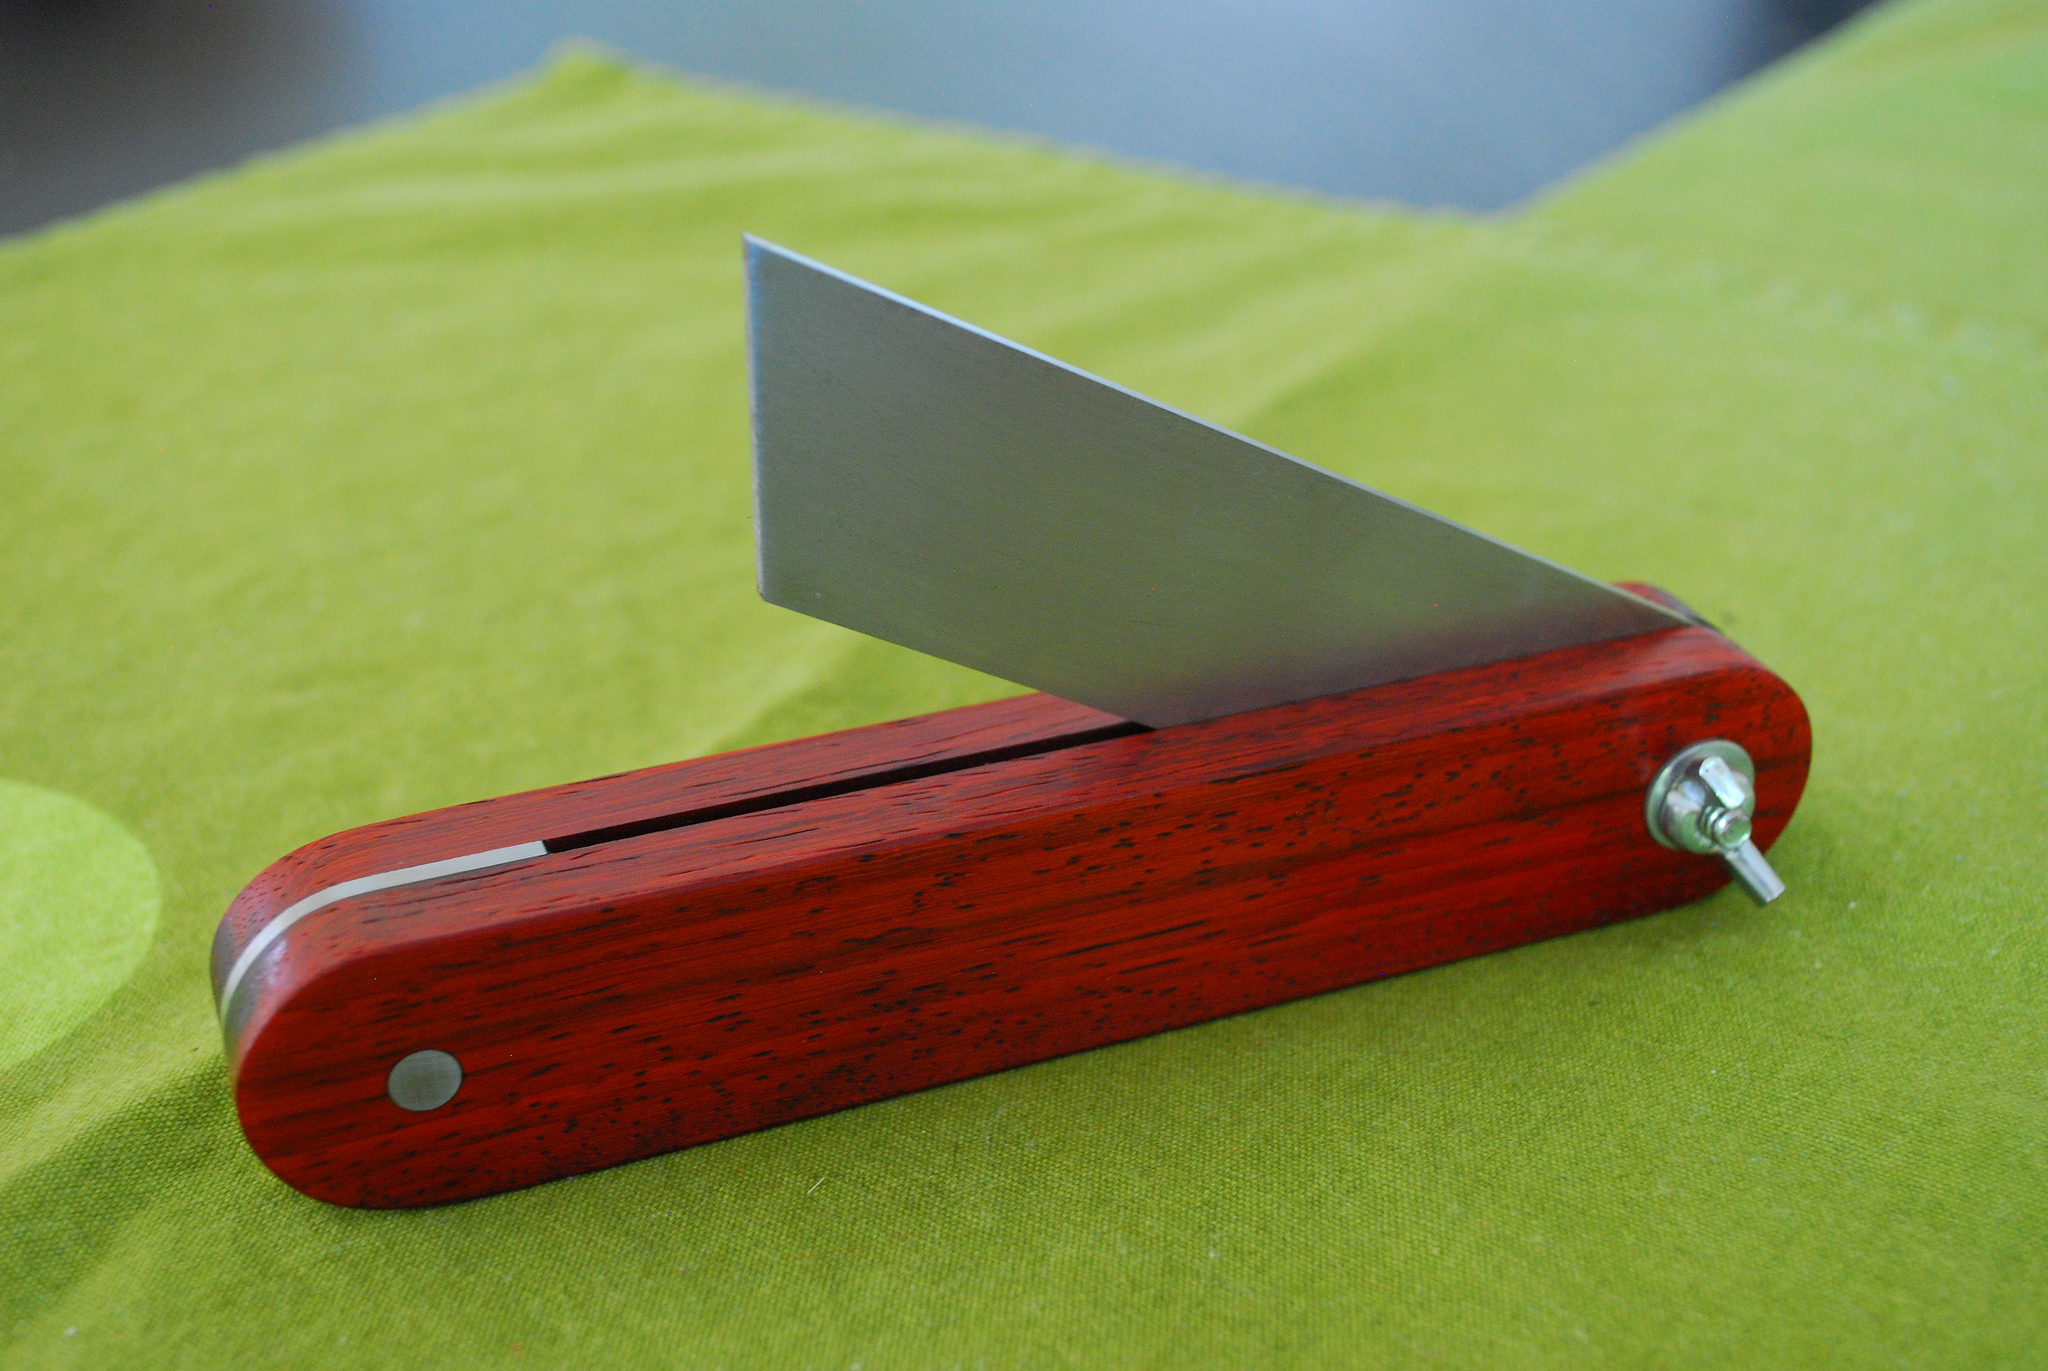
Bevel Gauge
After cutting a straight even bar from the blade, I cut the bar at an angle and flattened each of the sides at the disk sander until they mated perfectly. The shorter side was eventually glued in between two pieces of wood, meant to act as a stop for the swinging blade. The longer side had a hole drilled in it to accept a bolt topped by a wing-nut to secure it. For security, the short side also got a pin.
Both sides were sanded round, centered around the bold and the pin respectively.
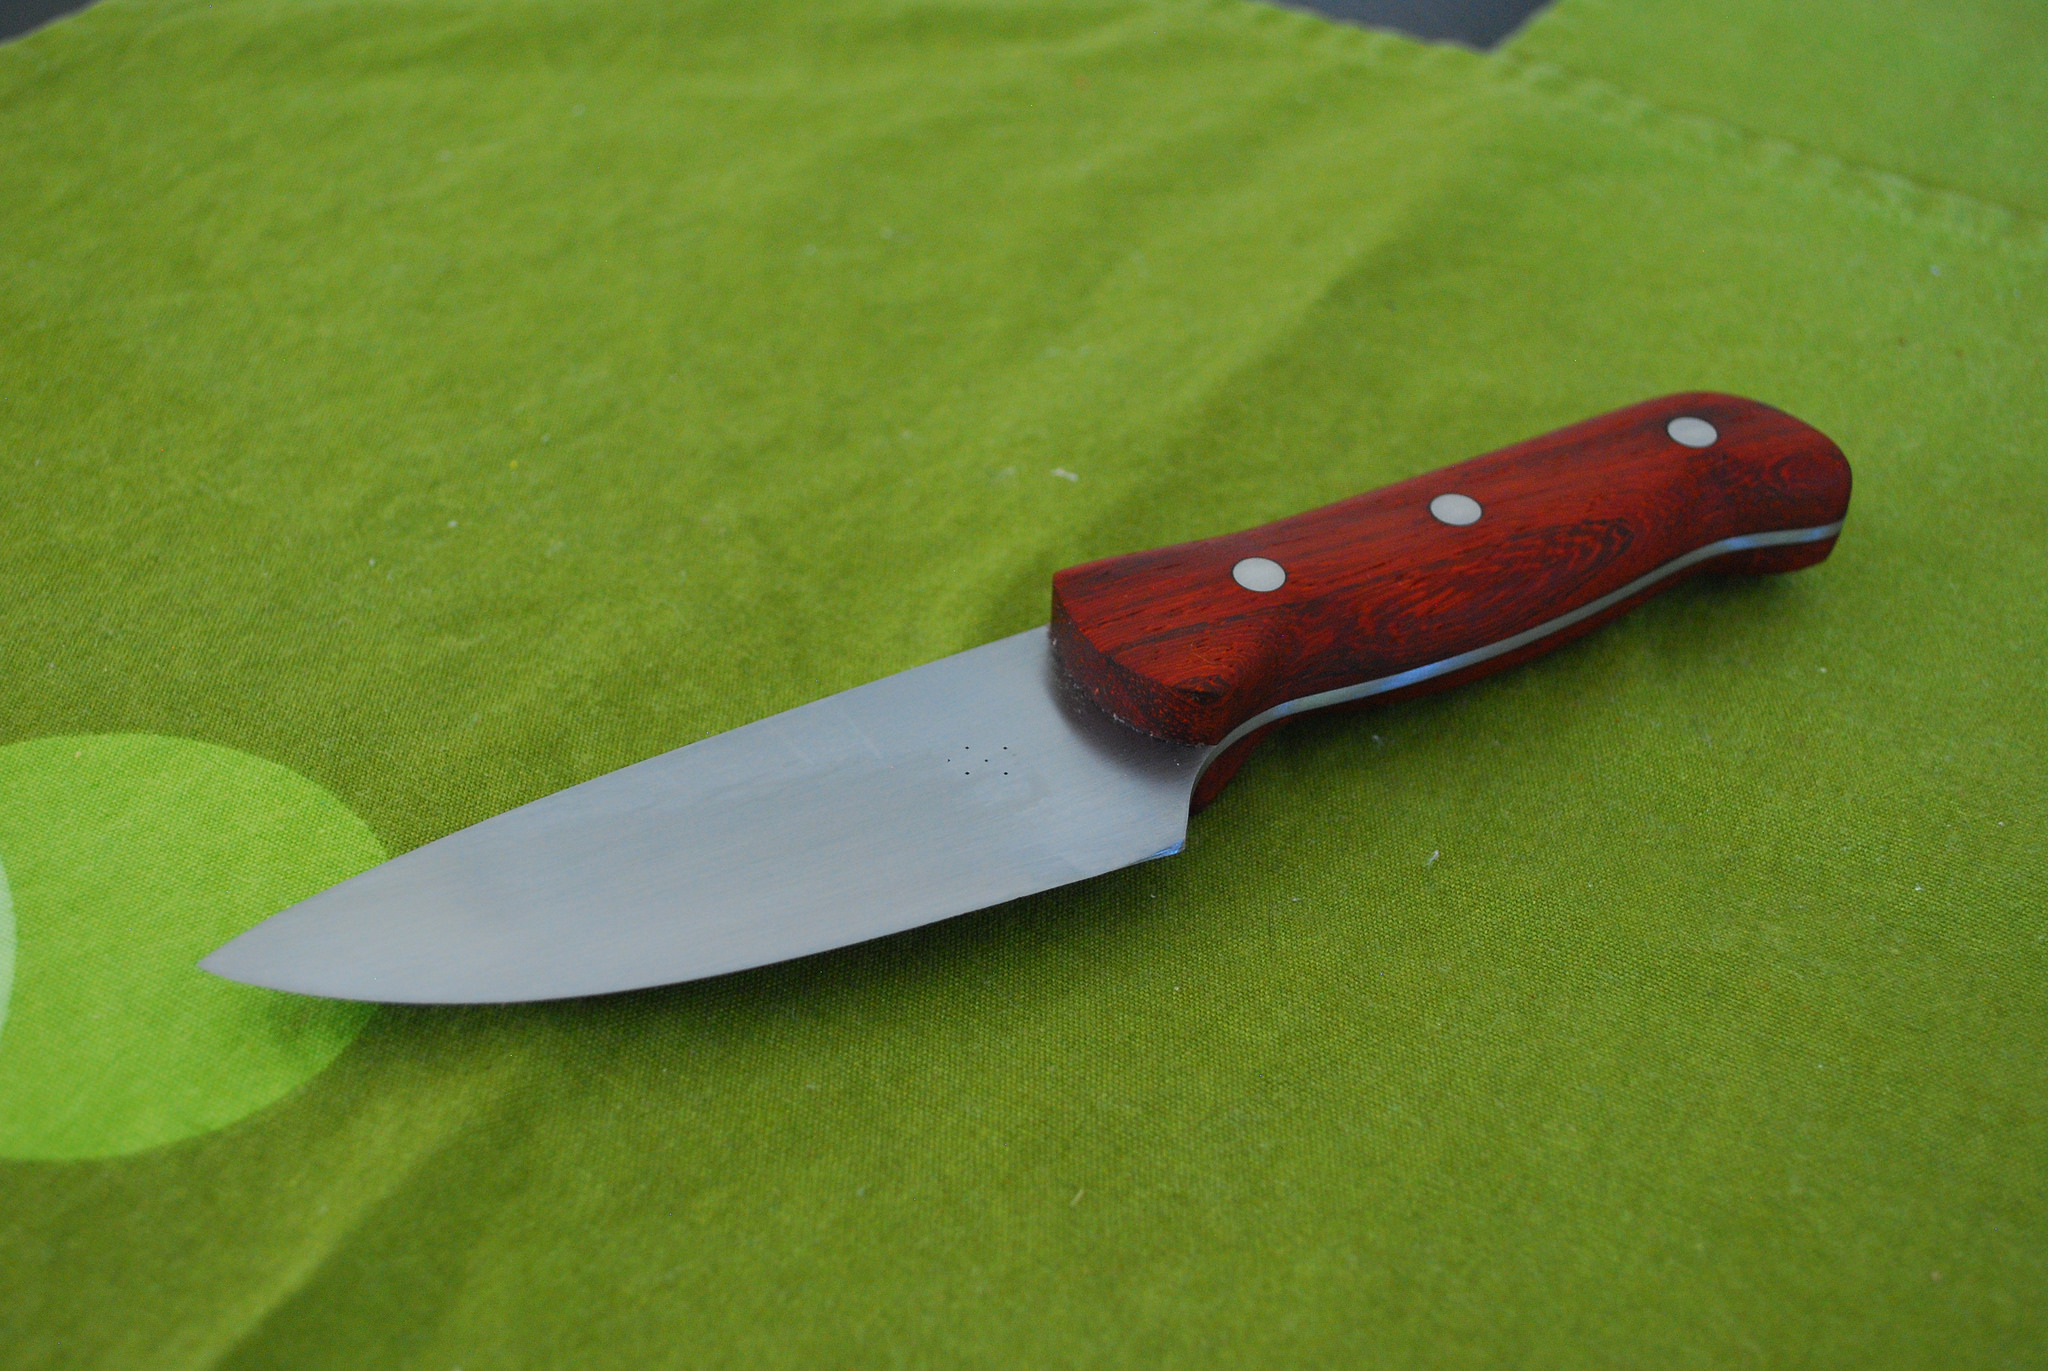
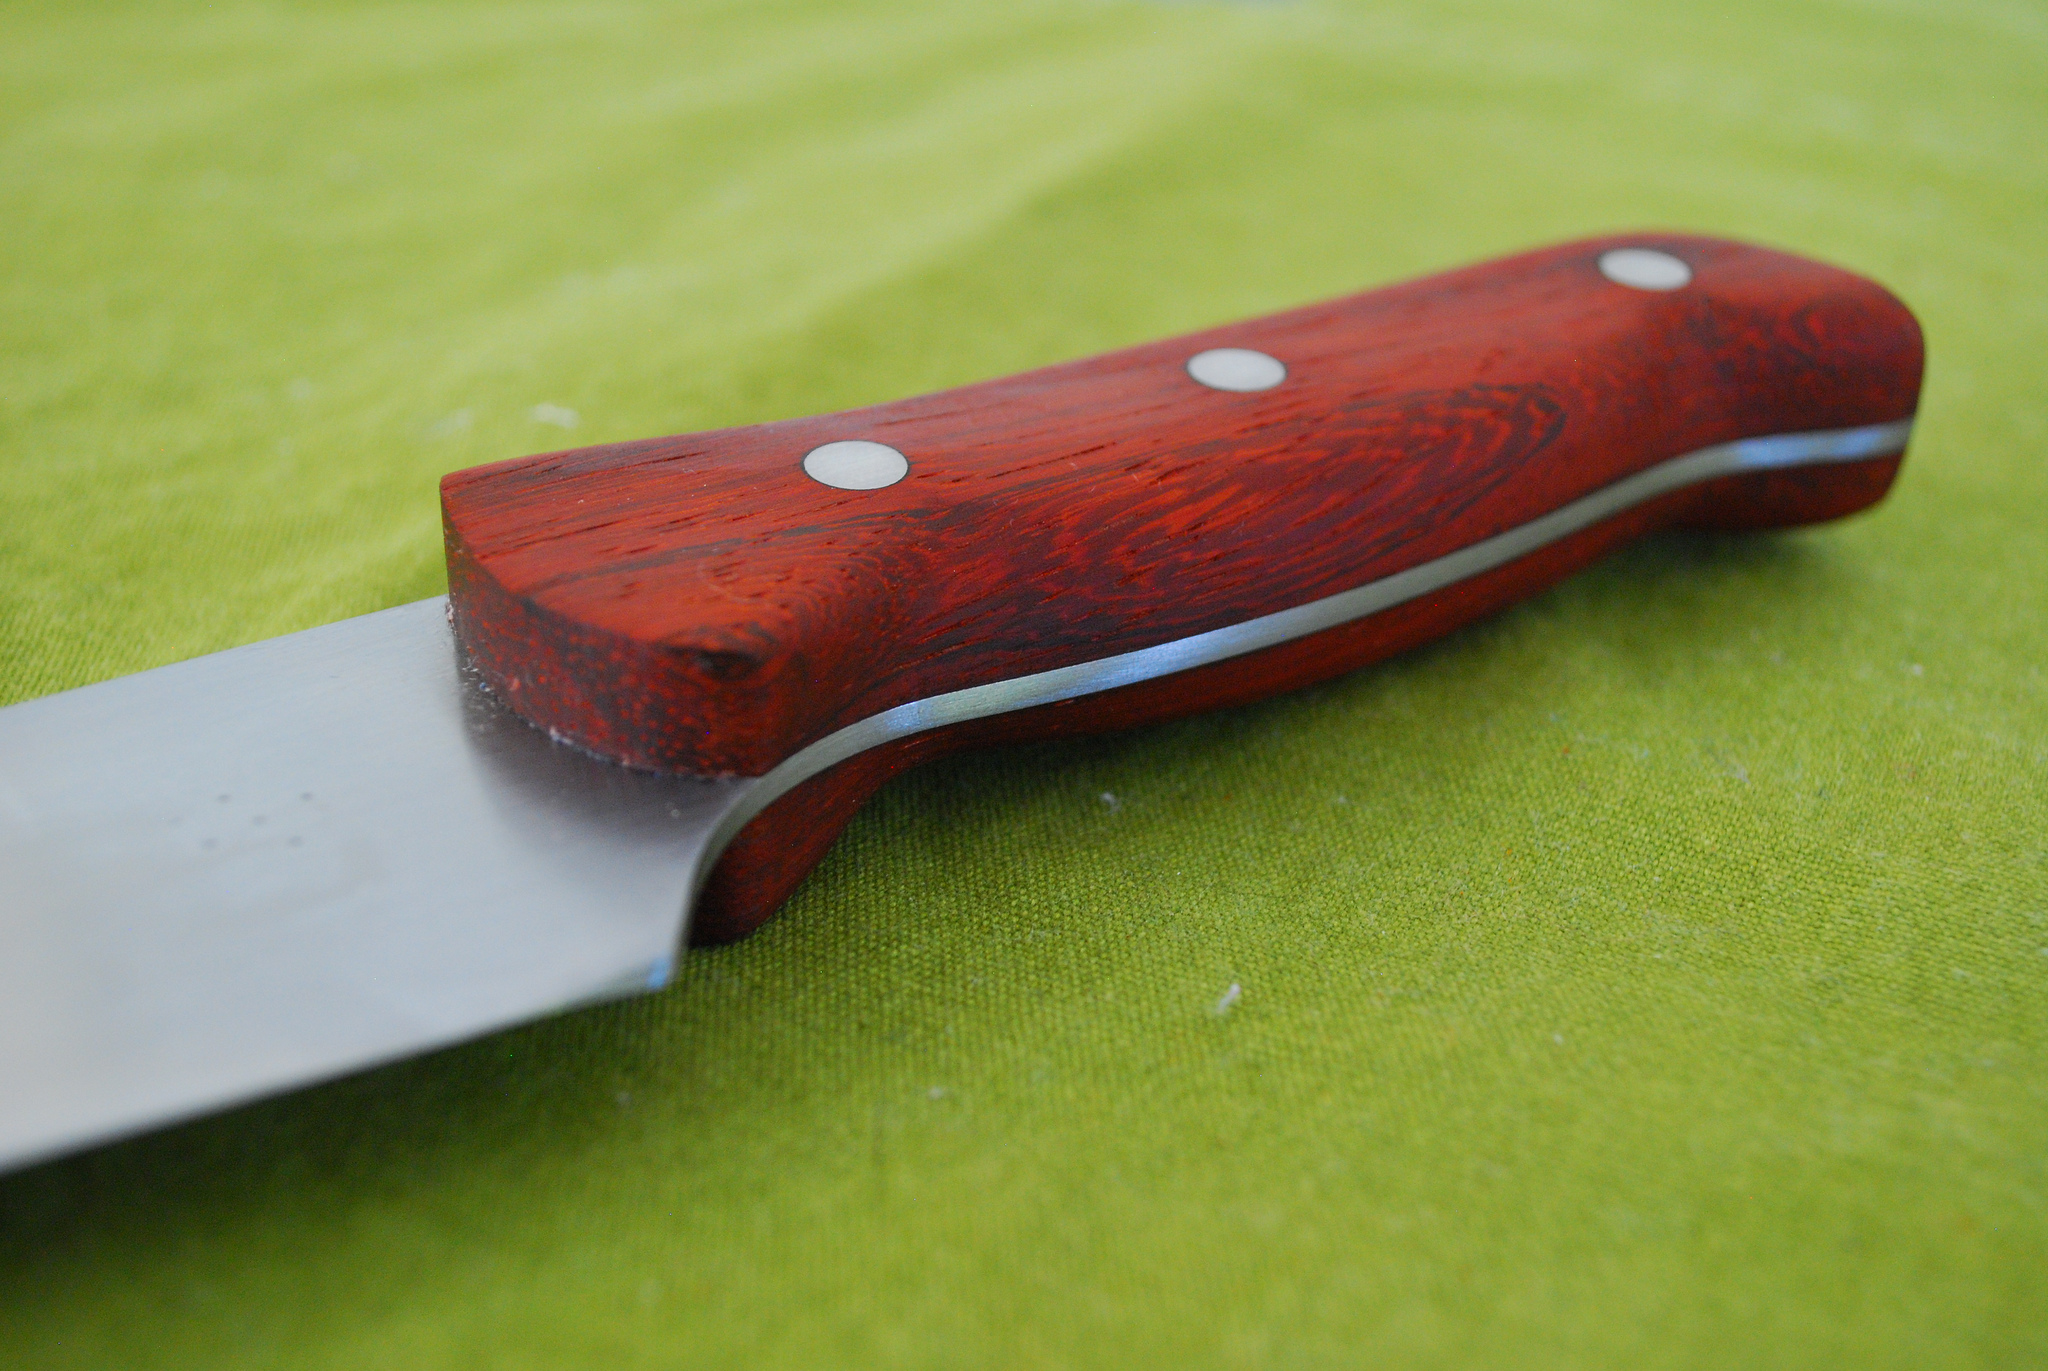
Knife
Saving the best for last, I made a knife for my parents. I began by shaping the blank with files for interior curves and the disk sander where possible. To put a bevel on the blade, I clamped it to a piece of wood and to the bench sticking straight out towards me. Instinctually, it doesn’t seem to be the wisest thing, but the idea is that the piece of wood extends as far as the blade so there’s no risk of impaling oneself.
A small board wrapped in sandpaper and copious amounts of elbow grease and oil eventually get a bevel formed. Then I proceeded to work my way through the grits to get to a nice sheen.
For the scales, I drilled holes through the blade, used those to mark for the pins on two pieces of wood. Once drilled, I could put the pins through temporarily so I could trace the outline of the tang to roughly cut away the excess. I then removed the tang and held the two scaled together with pins to shape their tops at the same time on the disk sander since they would be inaccessible once glued up.
I epoxied the scaled on, and the pins in place and let it set up overnight. After curing, I could sand and file, file and sand until the scales met evenly with the tang, and could give a nice grippy profile to the handle.
It was a lot of work, especially to get all the scratch marks removed everywhere, but the result is better than I had originally thought I was capable of. So few projects turn out that way.