Craft Desk
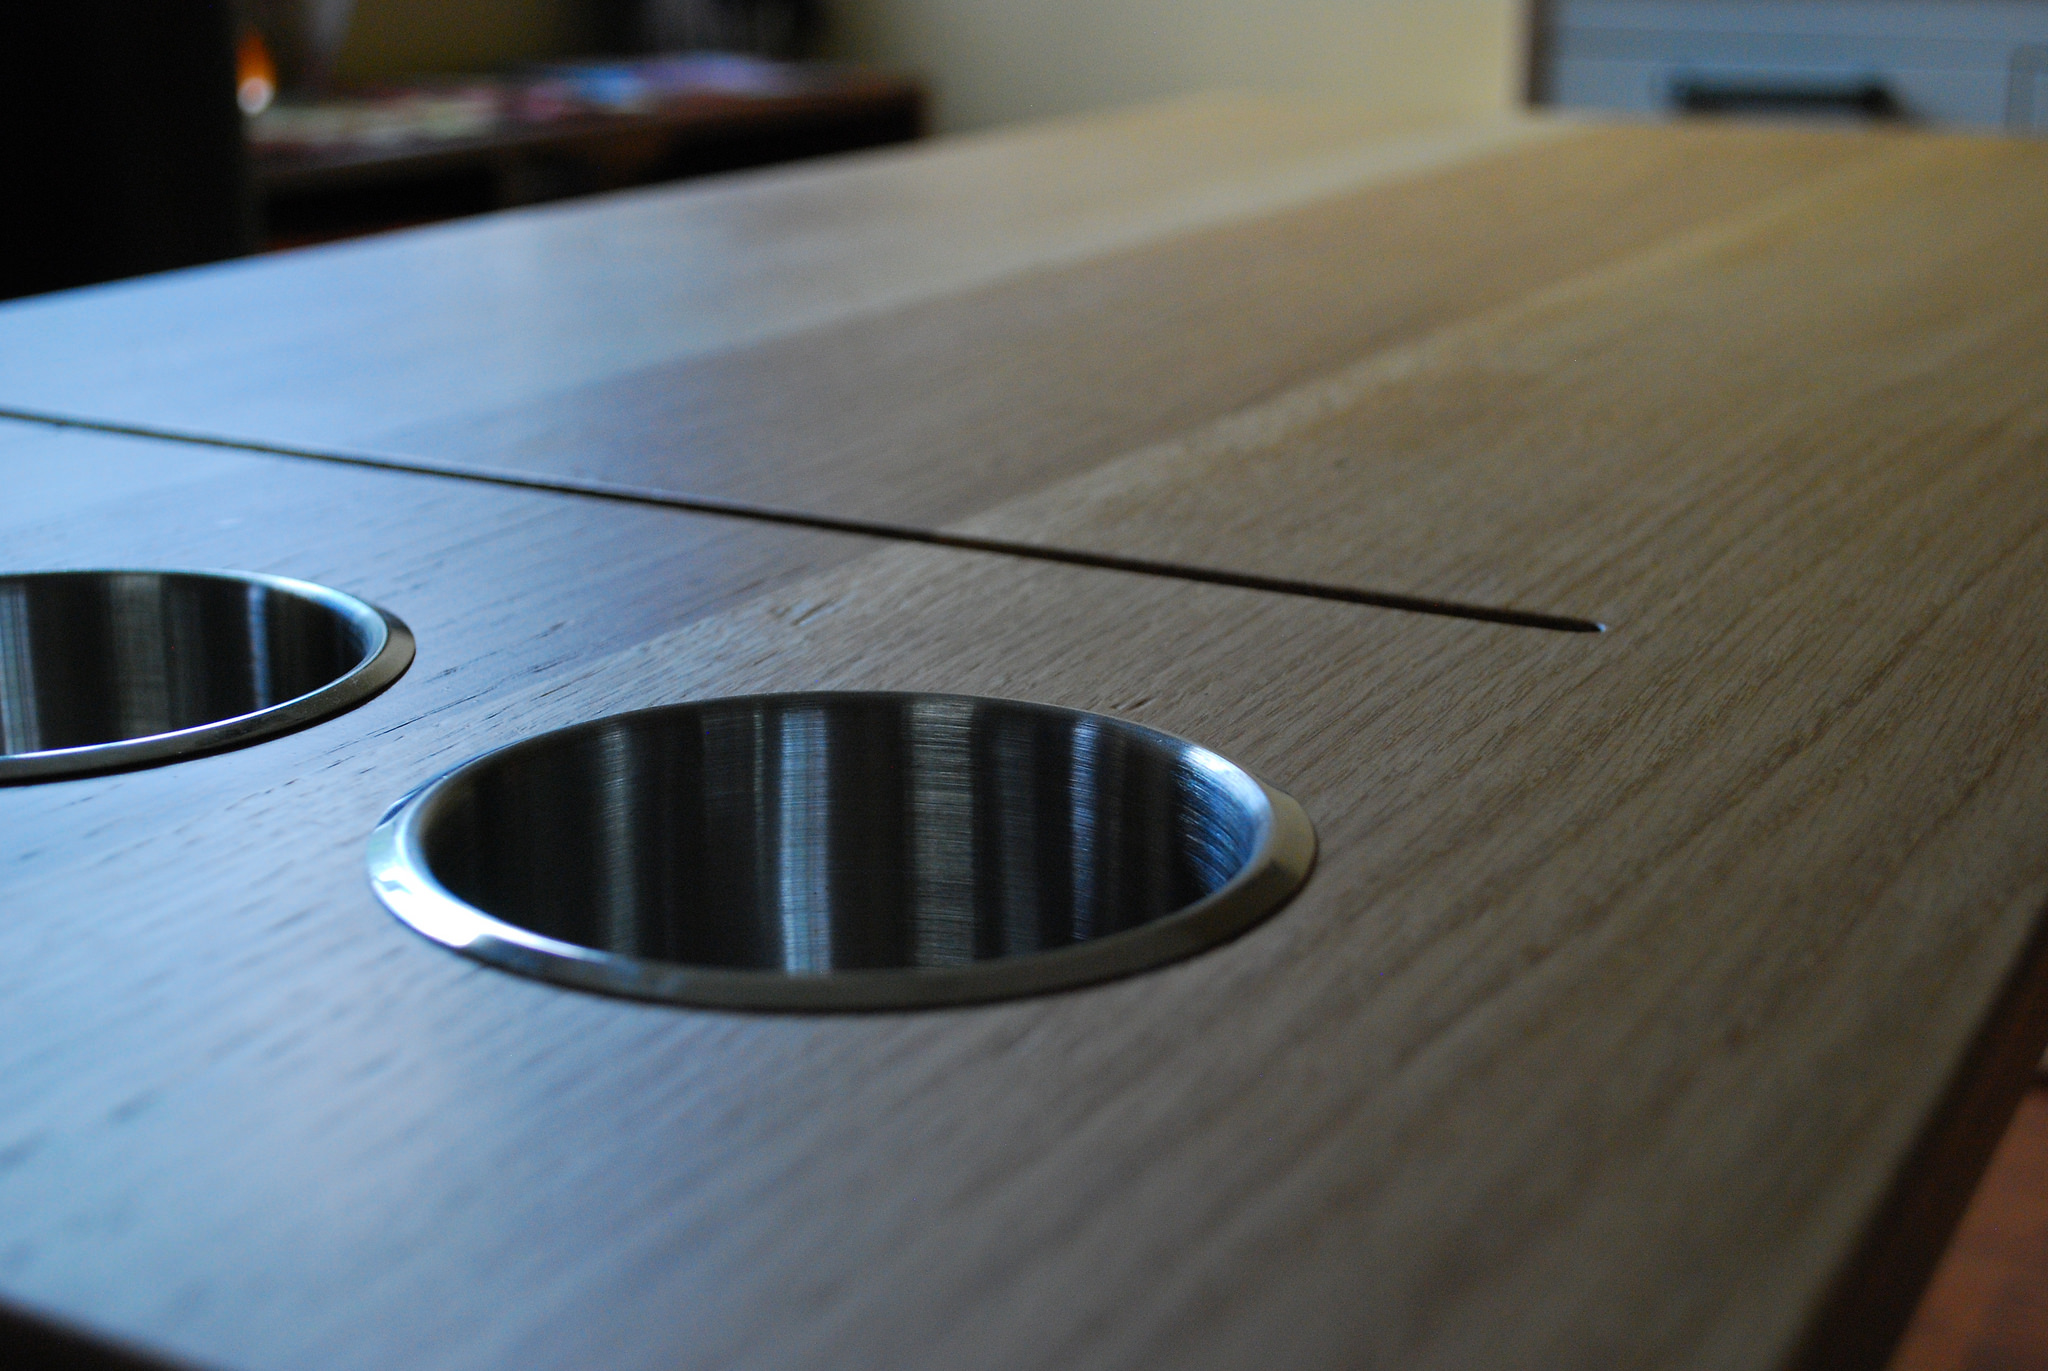
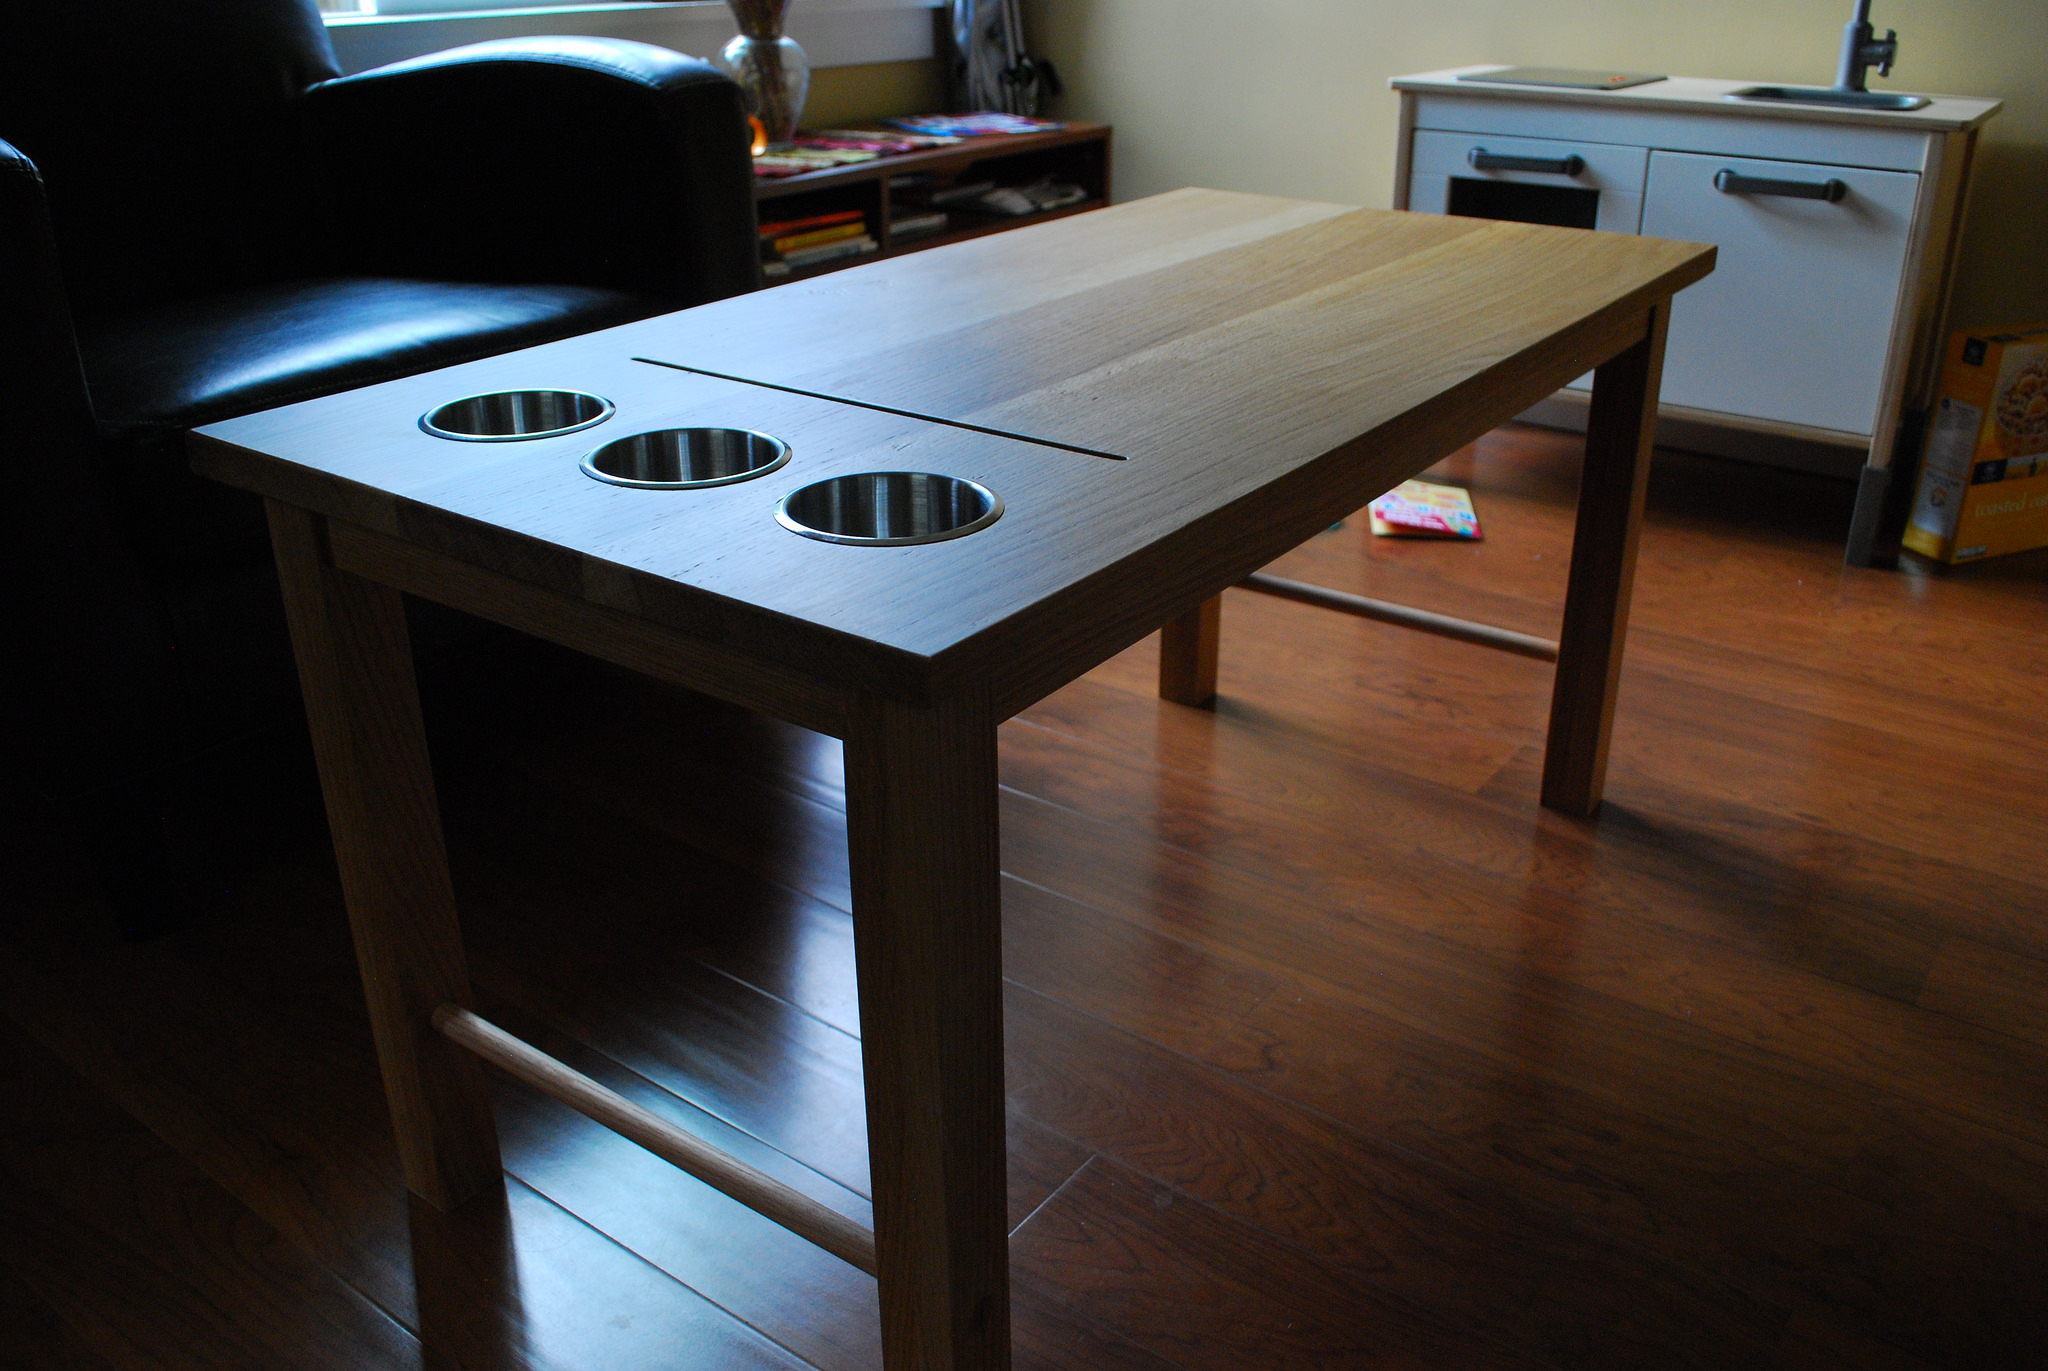
As Madeline was getting older and more interested in drawing all the time, I wanted to make her a desk. The big idea I had for it was to mount a roll of butcher paper in such a way that she could pull up new, fresh paper to draw on at any time. It would also have holes to accept steel cups to be used to hold pencils, crayons, etc., but could also accept custom-made holders for other crafts as she got older. I figured I could make a marker module, or a paint module that she could just drop in one of the holes as needed.
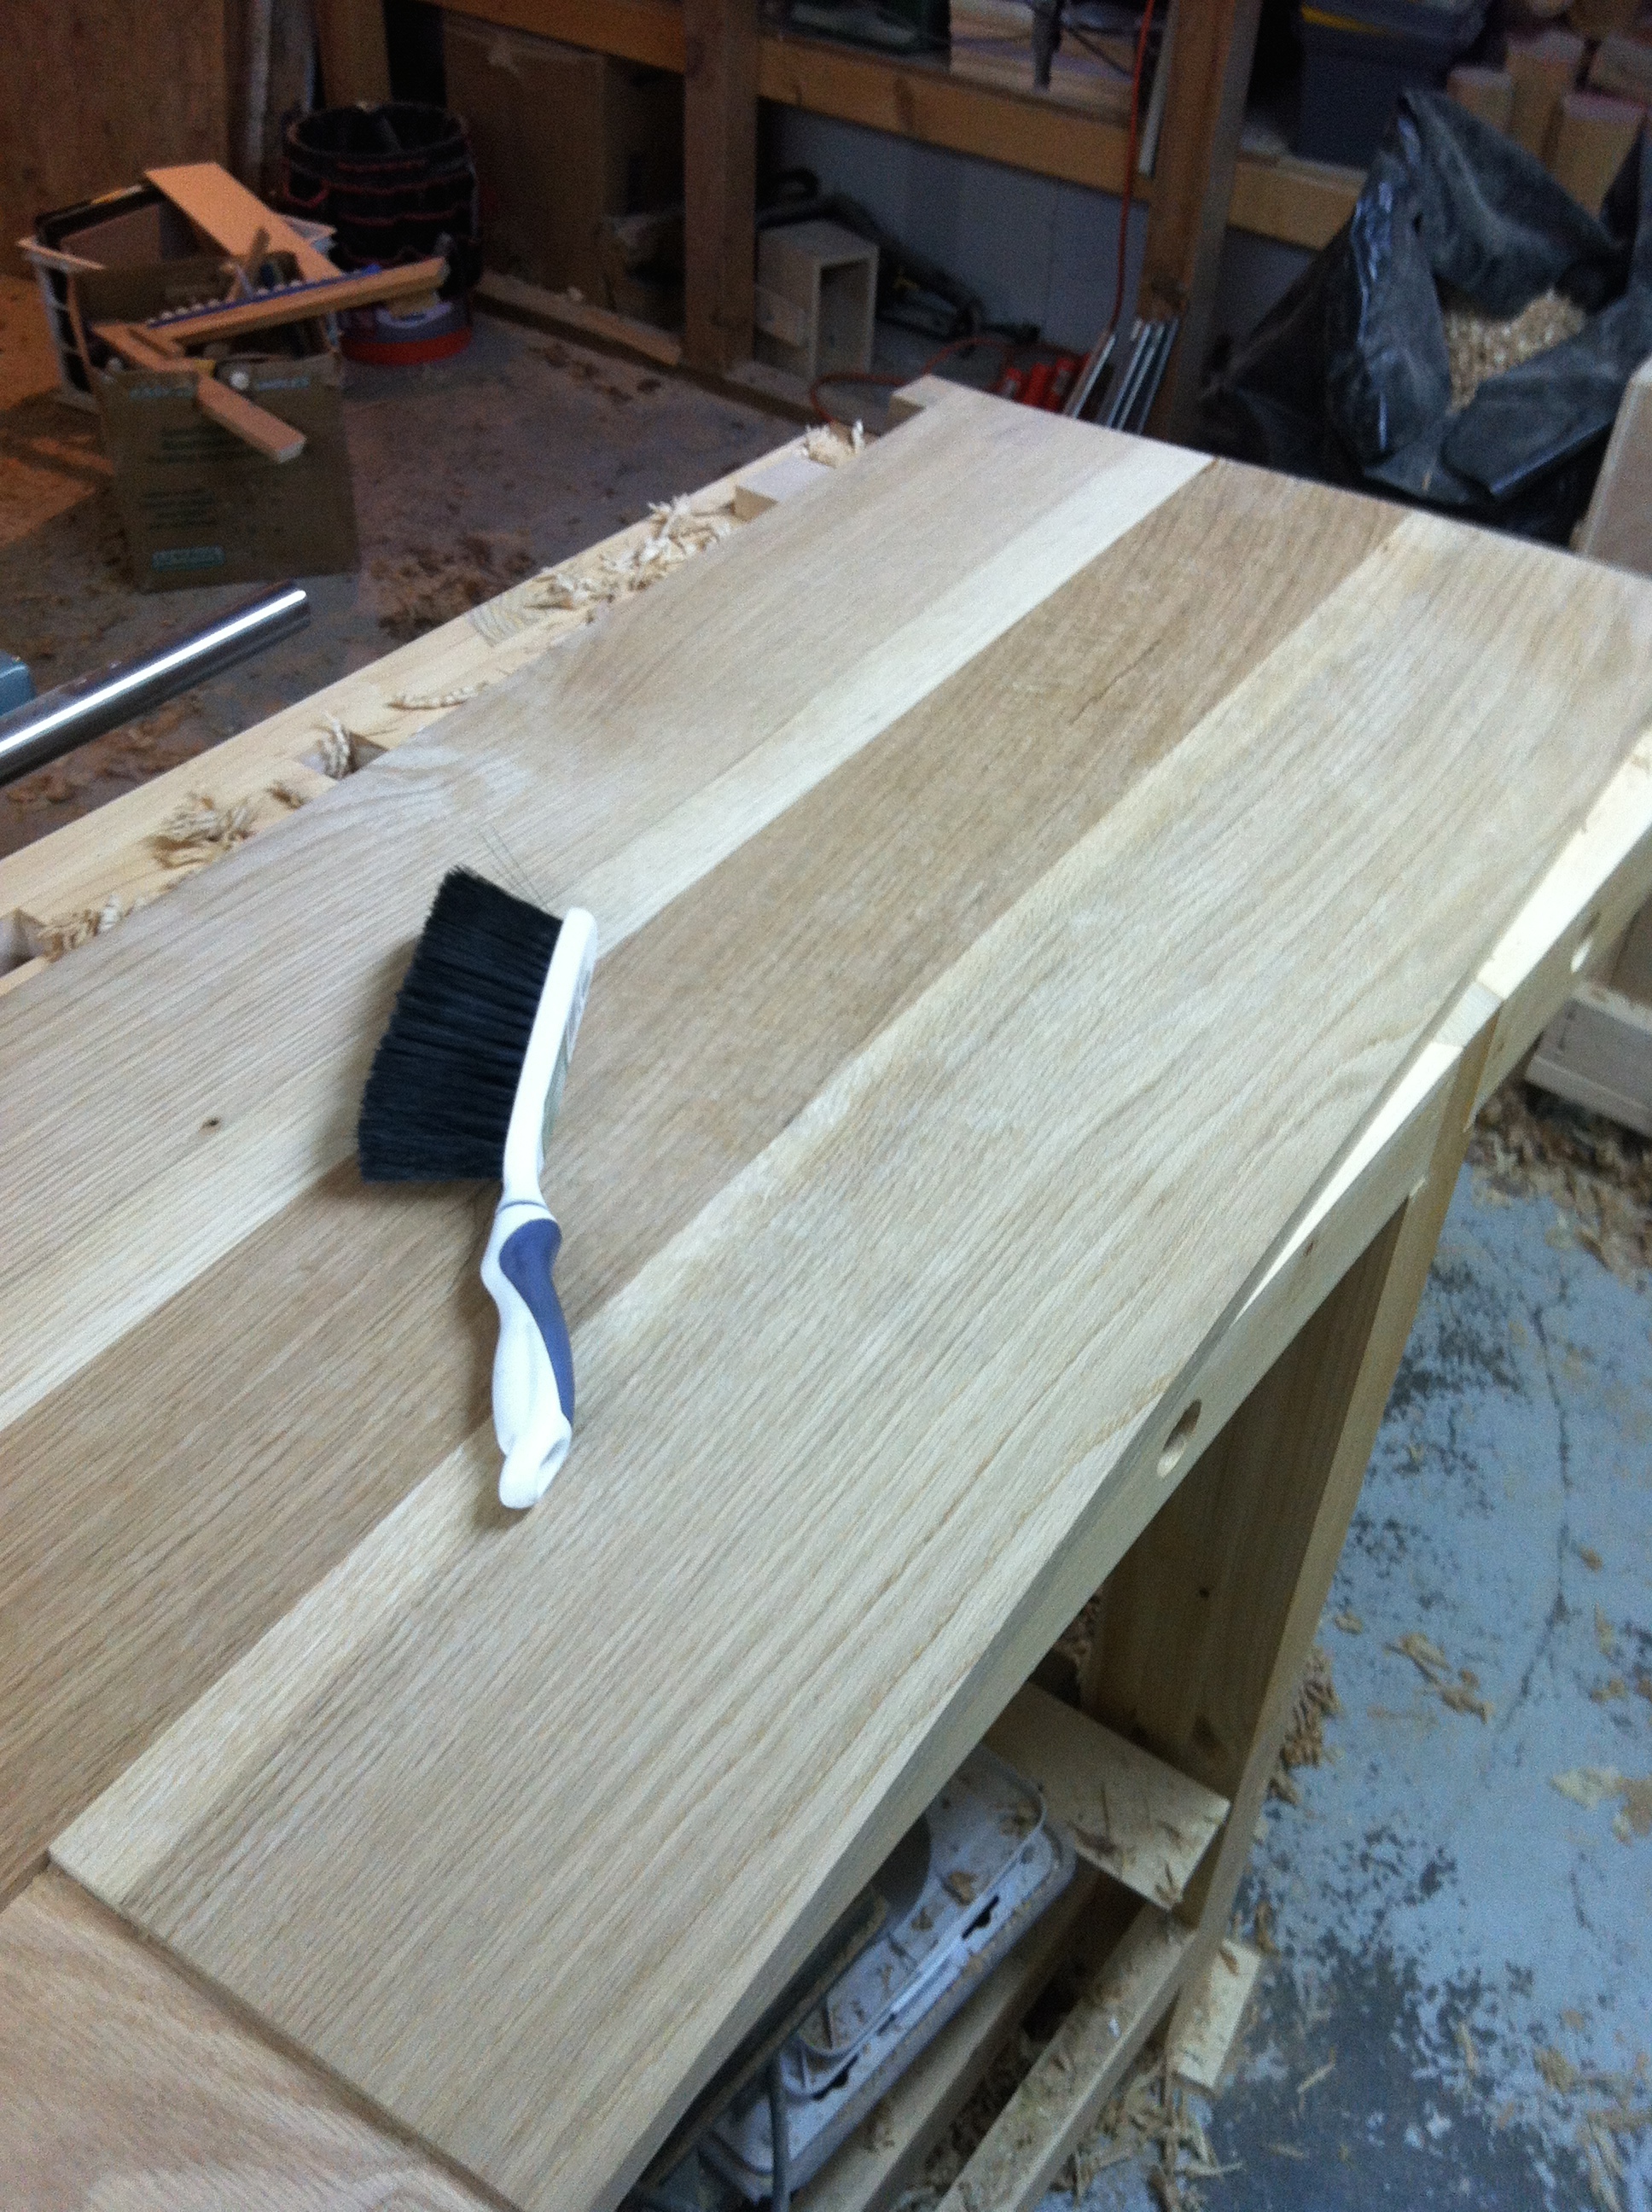
As this was before I had a jointer or planer, the top had to be flattened by hand. Fortunately, I’d gotten better at sharpening my plane irons, but it still took quite a bit of time. The wood was oak from a huge scrap pile that I’d gotten for free on Craigslist, and it looked like some pieces they’d tried and failed to plane – the variance in thickness of a board could be as much as 3/16”!
Once the top was flattened, I turned my attention to the legs and apron. The apron is mortise-and-tenoned into the legs, which are doubled-up boards made square. I drilled holes evenly spaced through the apron to go into the top. I knew that I was supposed to give room for the top to expand and contract but I hoped with such a small desk that it wouldn’t be a problem.
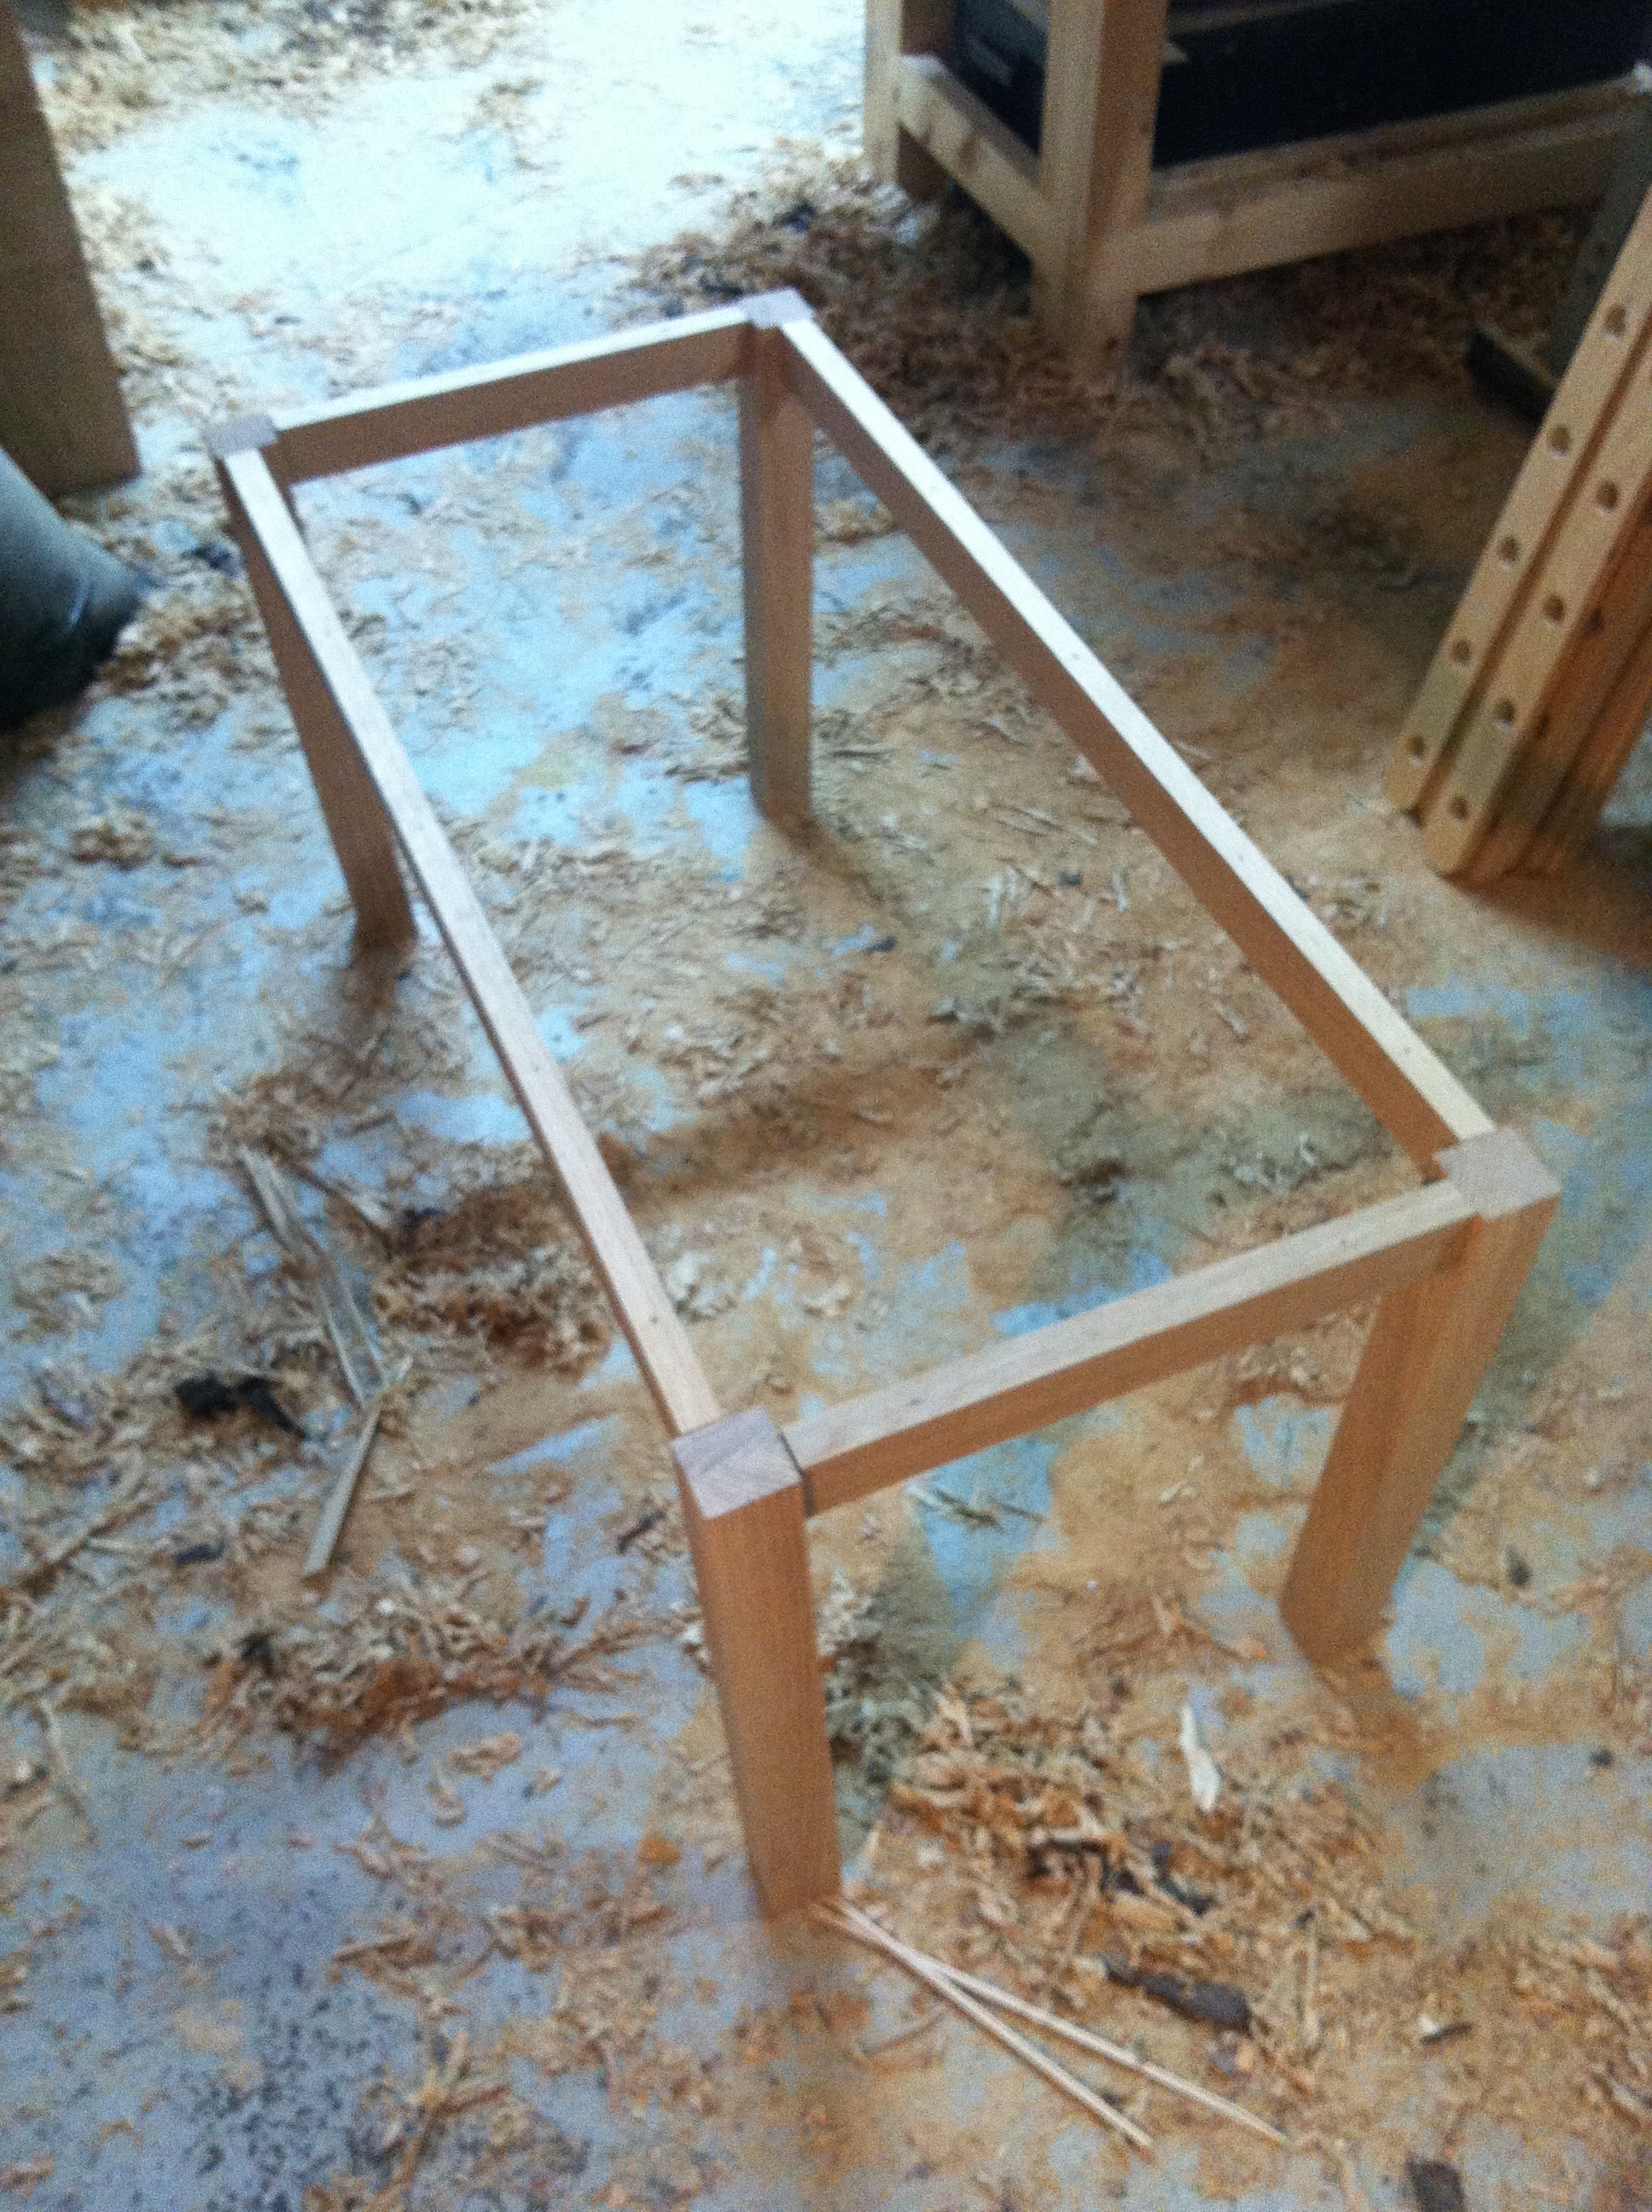
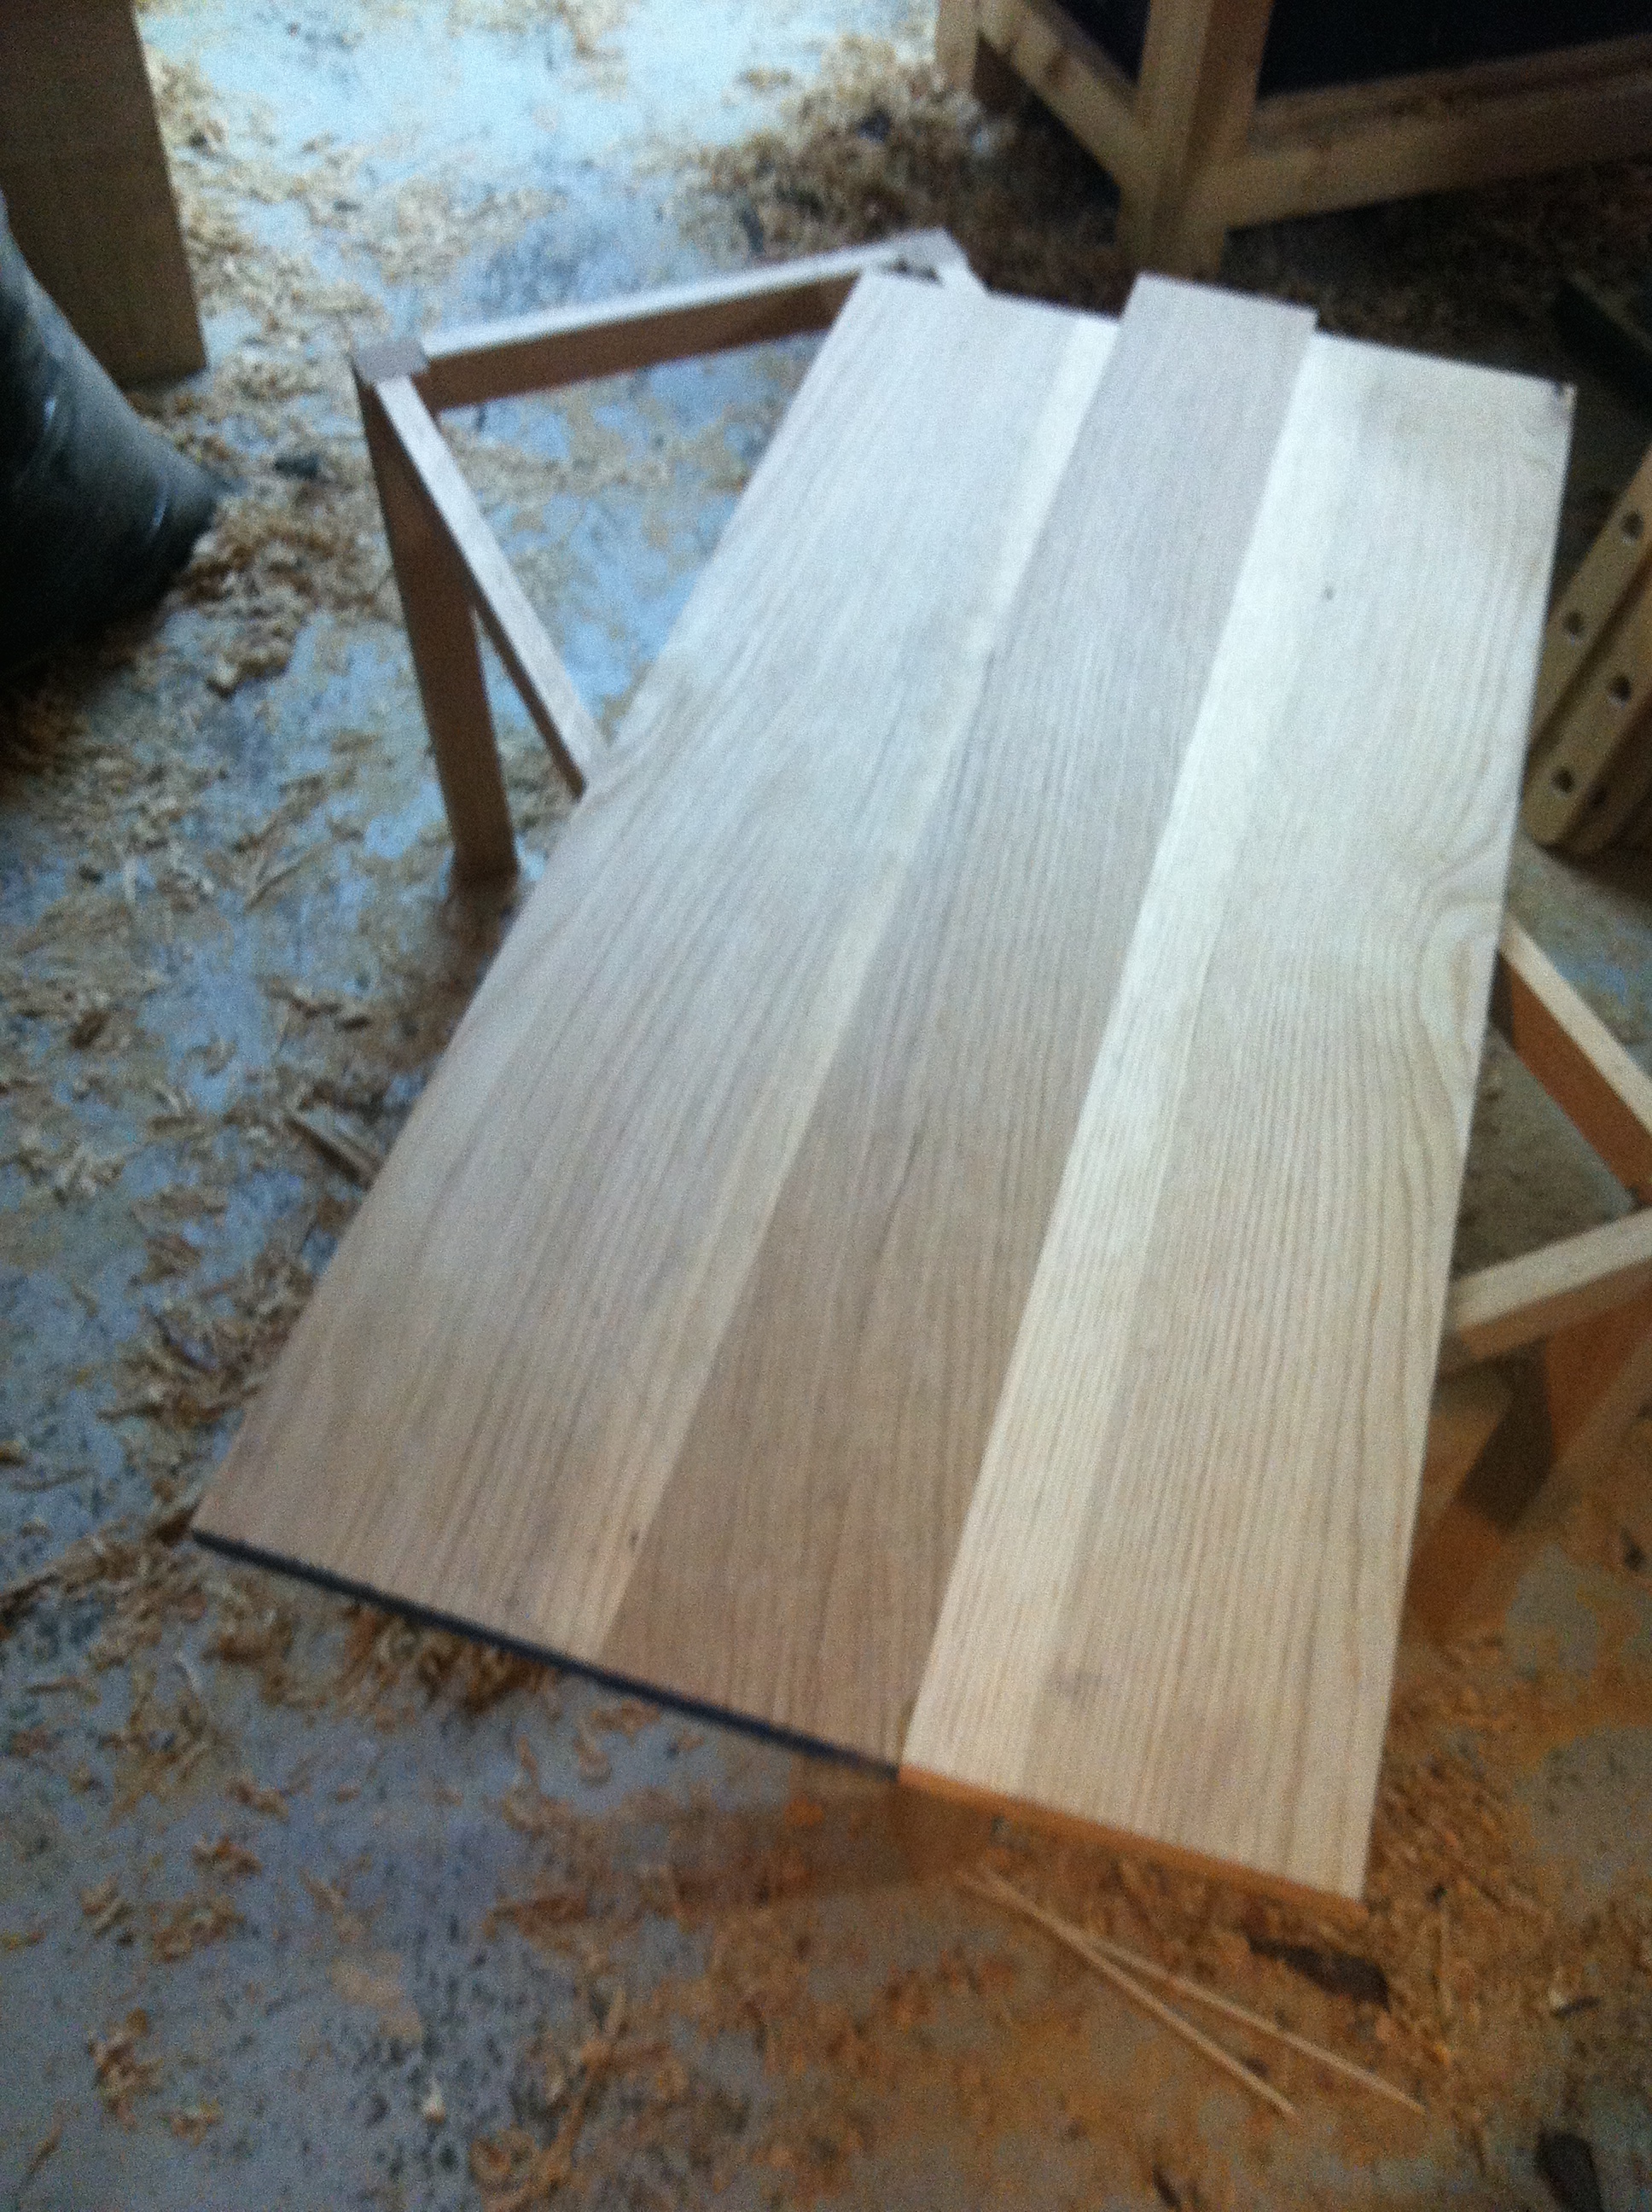
Though not pictured here, I added two supports between the two longest sides to support the top on either side of where the slot in the top was cut. I worried that with no support, the top might begin to cup.
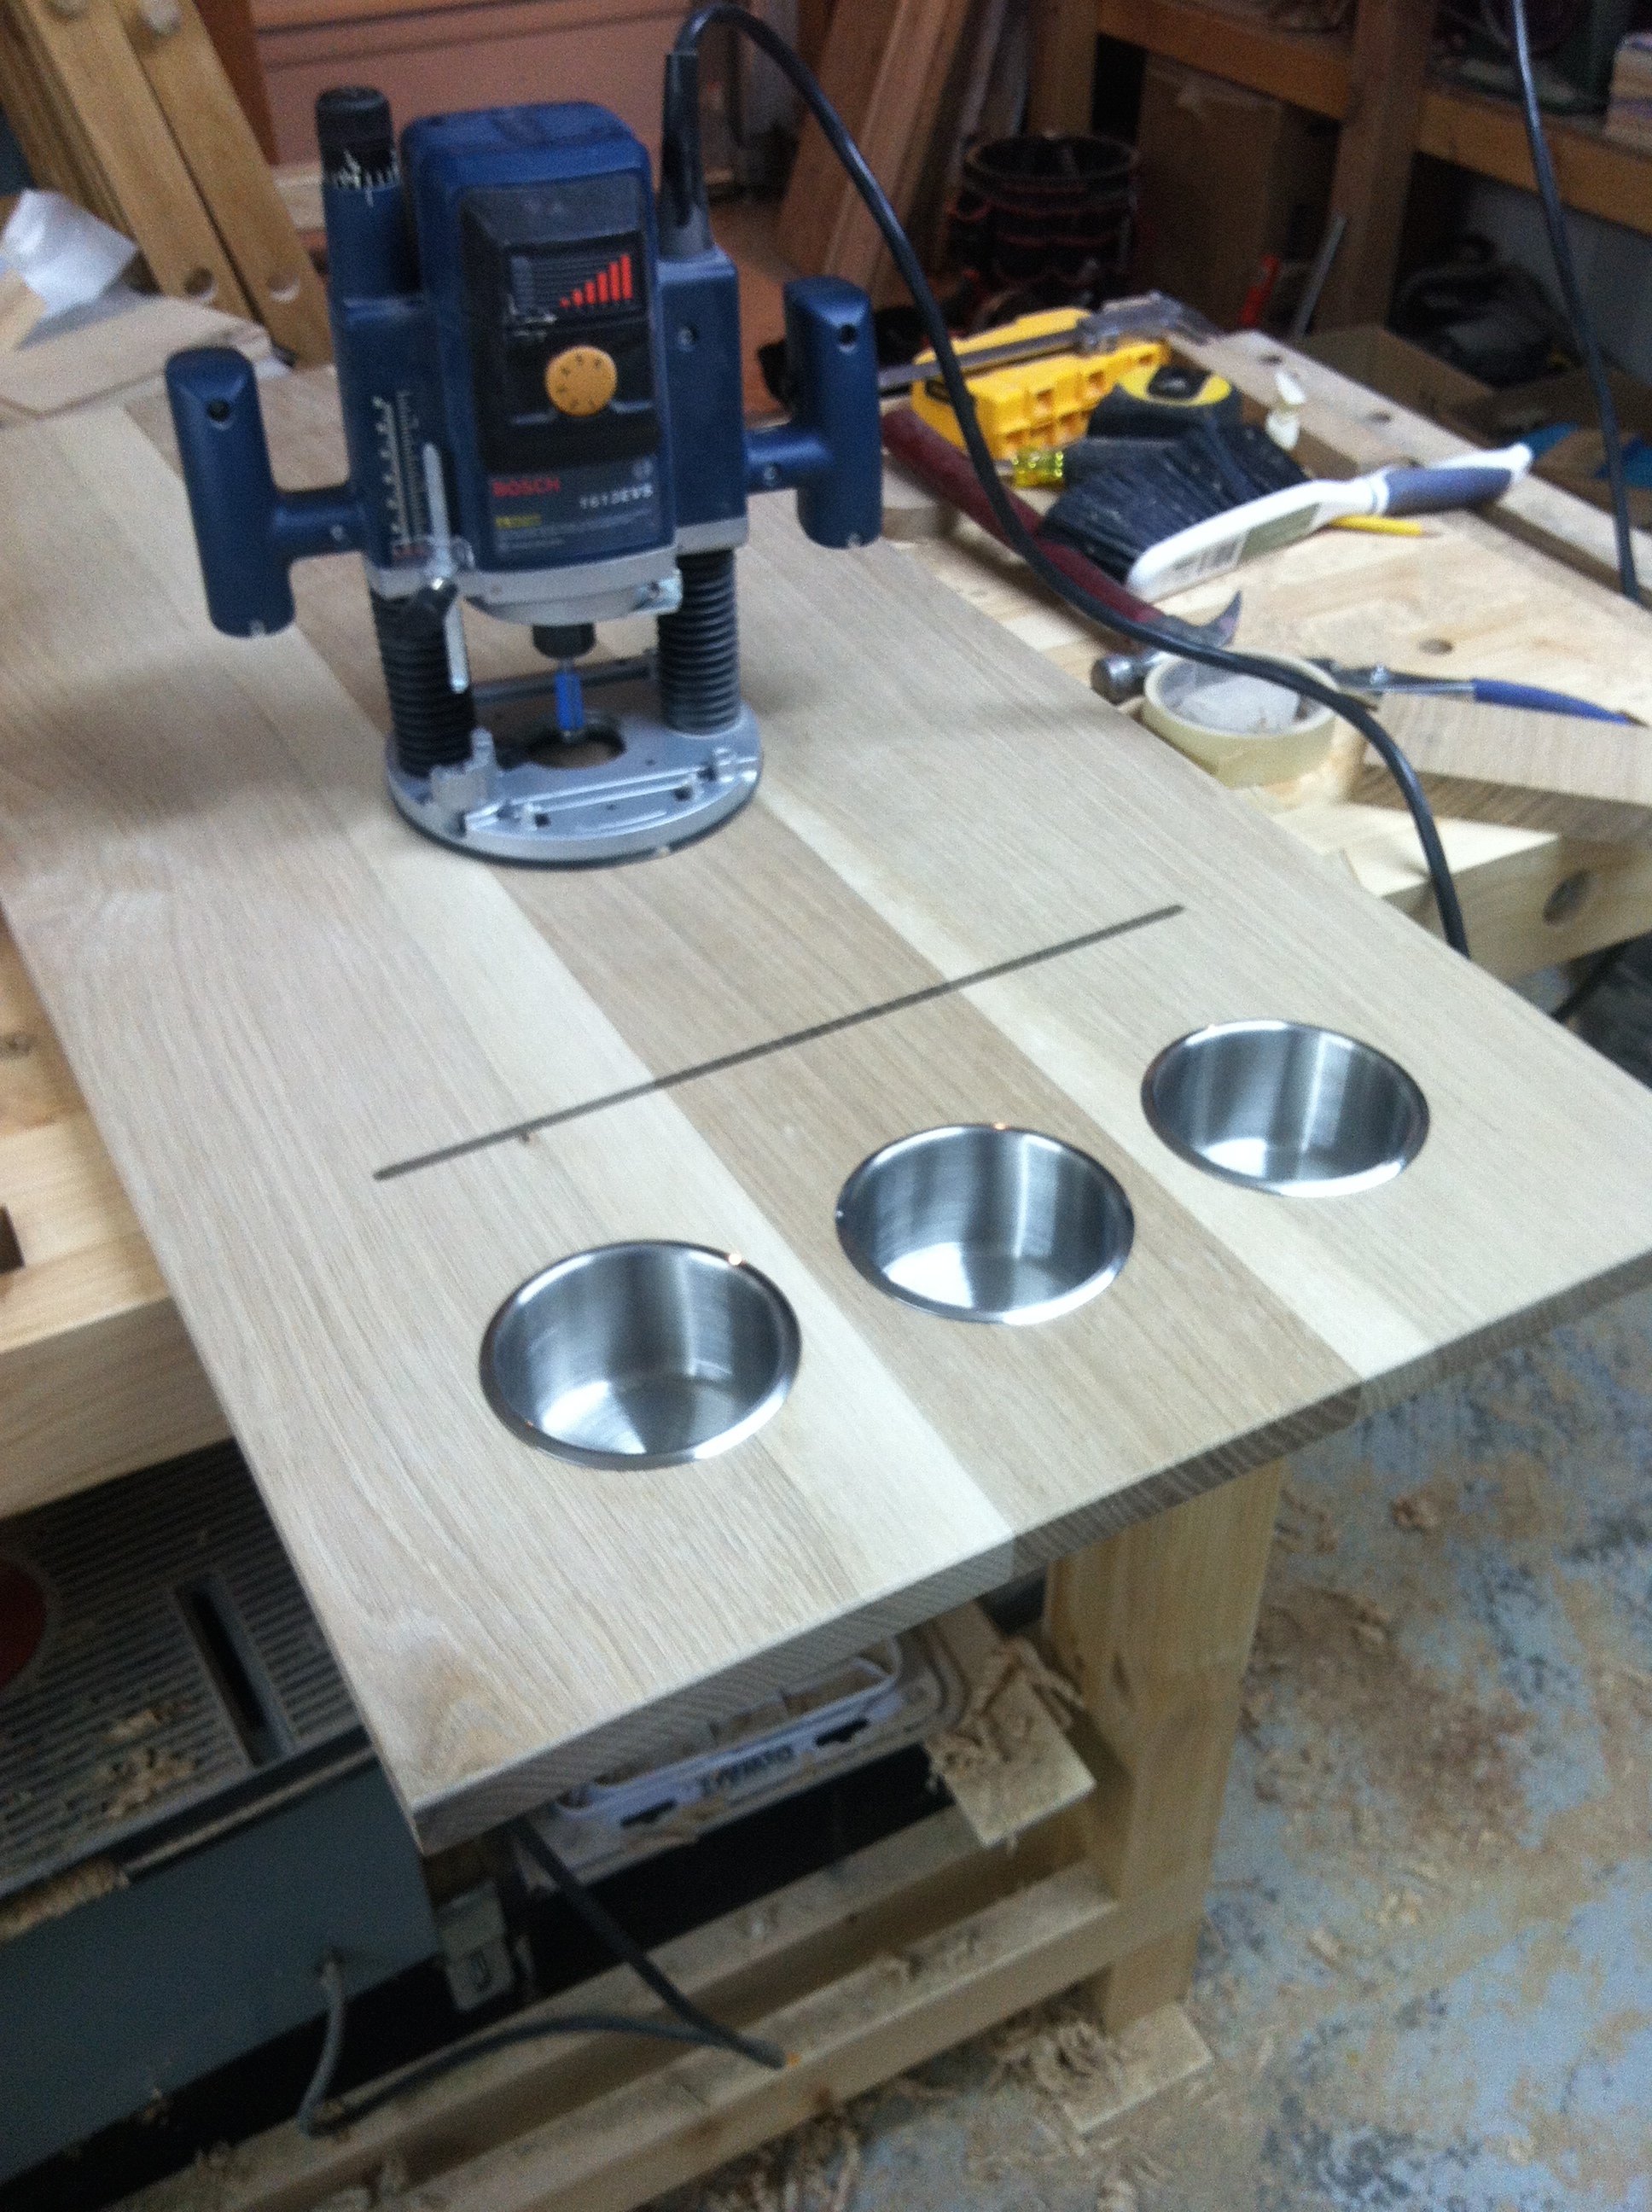
I routed out the holes for the cups since I didn’t have a hole saw of the appropriate size. At the same time, I was able to route out the slot through which paper gets pulled. On one of the holes I accidentally began the hole too large and had to glue in a patch. Fortunately the lip of the steel cups covers the patch completely.
Legs are connected in pairs along the shorter side. On the side without the cups, a dowel is simply glued in some holes drilled in each leg. On the side with the cups, however, the dowel actually comes through the front leg and screws into the back leg. The back leg has the same kind of hole as the rest, but at the bottom is a t-nut that I epoxied in place. On the end of the dowel, I glued in a threaded rod (it wasn’t perfectly centered, and so it’s a little touch to screw in or out). On the oppose it end, I cut a slit to accept a regular screwdriver to aid in removal.
When it comes time to change out the roll of paper (which won’t happen for some time – I got a 900’ roll), the dowel is simply unscrewed and the new roll added.